Every year on May 5th, we look toward the stars to celebrate National Astronaut Day. This date isn’t just a random choice; it marks a monumental milestone in human history. On May 5, 1961, Alan Shepard became the first American to travel into space aboard the Freedom 7 capsule.
Shepard’s journey to the stars was a testament to perseverance. After graduating from the U.S. Naval Academy and becoming a pilot, he faced immense challenges—including a mission cancellation and a persistent ear infection that grounded him for years. Yet, he never gave up. He eventually commanded the Apollo 14 mission, where he famously became the fifth person to walk on the moon (and even hit a few golf balls while he was there!).
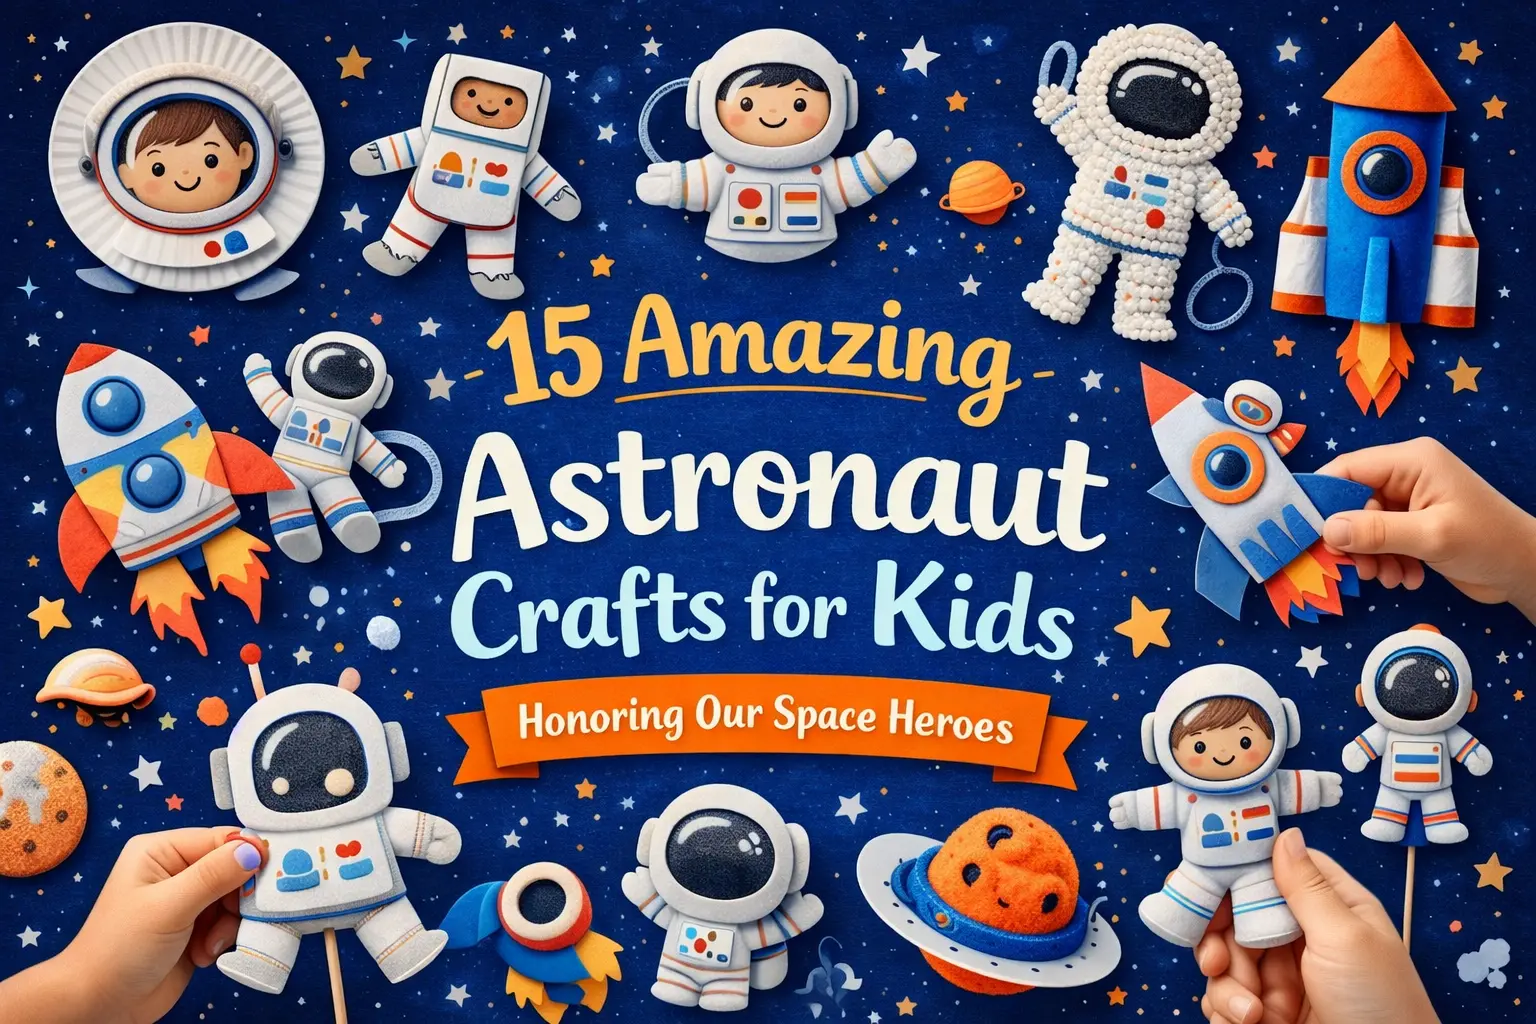
To honor Shepard and all the space heroes who followed—like Guion Bluford, the first African-American in space—we’ve gathered 15 “out-of-this-world” astronaut crafts. These activities are designed to celebrate diversity in space exploration while sparking a love for STEM in the next generation.
1. Paper Bag Astronaut Puppets
Puppets are perfect for storytelling and imaginative play. This craft is a favorite because it allows kids to see themselves as the hero.
- The How-To: Use a standard white paper lunch bag. The folded bottom flap serves as the astronaut’s head.
- The Detail: Cut out a circle of silver or blue paper for the visor. For a personalized touch, have the child glue a small photo of their own face inside the visor area!
- Diversity Focus: Provide various skin-tone markers or paper so kids can create a diverse crew of space explorers.
2. Cardboard Tube Space Shuttles
Recycle your empty toilet paper or paper towel rolls into the iconic vehicles that carried astronauts into orbit.
- The How-To: Paint the tube white. Cut out three or four triangles from sturdy cardstock to serve as the fins and glue them to the bottom.
- The Detail: Roll a piece of cardstock into a cone shape for the “nose” of the shuttle. Use a black marker to draw windows and the NASA logo.
3. “Egg-naut” Landing Modules
This is a classic STEM craft that teaches kids about the physics of a safe landing.
- The Activity: Challenge kids to build a “capsule” using straws, tape, and paper that can protect a raw egg (the “Egg-naut”) from a fall.
- The Learning: Discuss how real astronauts like those on the Artemis missions rely on heat shields and parachutes to return home safely.
4. Aluminum Foil Space Helmets
Nothing makes a child feel more like a space hero than a wearable helmet.
- The How-To: Take a large paper grocery bag and cut out a square for the face.
- The Detail: Cover the entire bag in aluminum foil. Use blue and red electrical tape to create “control buttons” on the sides. It’s shiny, futuristic, and ready for a moonwalk!
5. Fingerprint Galaxy Constellations
Space exploration is a global effort. This craft helps kids visualize the vastness of the universe.
- The Activity: Use black construction paper and white or silver ink pads.
- The Detail: Have kids press their fingerprints onto the paper to create “stars.” Use a silver gel pen to connect the dots and create their own constellations named after famous astronauts.
6. Puffy Paint Moon Surfaces
Astronauts spend years training to walk on the moon’s unique, cratered surface.
- The Craft: Mix equal parts white glue and shaving cream to create “puffy paint.”
- The Detail: Spread the mixture onto a black paper circle. While it’s wet, press bottle caps into the paint to create “craters.” Once it dries, it has a 3D texture just like the lunar landscape.
7. Straw-Rocket Launchers
Learn about the propulsion that sent the Mercury-Redstone rockets into the sky.
- The How-To: Roll a small piece of paper around a pencil and tape it to create a closed-end tube (the rocket).
- The Detail: Slip the paper rocket over a drinking straw. When the child blows into the straw, the “force” launches the rocket across the room!
8. Glove Box Research Station
Astronauts often use “glove boxes” to handle sensitive moon rocks without contaminating them.
- The Activity: Cut two holes in the side of a cardboard box. Tape a pair of rubber kitchen gloves to the holes so they reach inside.
- The Play: Fill the box with rocks and sand. Kids can reach in and “research” the lunar samples just like a real scientist on the International Space Station (ISS).
9. Pasta “Solar System” Necklaces
This is a great fine-motor activity for younger explorers.
- The How-To: Dye different shapes of pasta using food coloring.
- The Detail: String the pasta together to represent the sun, planets, and the “pathway” an astronaut travels.
10. Footprint Rocket Art
Capture a moment in time by using your child’s footprint as the base of a rocket.
- The How-To: Paint the child’s foot white and press it onto dark blue paper.
- The Detail: The heel is the top of the rocket! Add orange and red tissue paper “fire” to the toes to show the rocket blasting off.
11. Clothespin Astronauts
Clip these little heroes onto backpacks or curtains!
- The Craft: Paint a wooden clothespin white. Draw a small helmet at the top.
- The Detail: Use pipe cleaners to create flexible arms that can “hold” onto a string, representing an astronaut on a spacewalk tethered to their ship.
12. Paper Plate Porch-Hole
What does an astronaut see looking out the window?
- The Activity: Cut the center out of a paper plate and cover the hole with plastic wrap.
- The Detail: Glue the “window” over a drawing of the Earth, stars, or a distant nebula. This mimics the view from the Cupola on the ISS.
13. Jetpack Soda Bottles
Every astronaut needs a way to move in zero gravity!
- The How-To: Paint two 2-liter soda bottles silver. Tape them together and attach two elastic straps so the child can wear them like a backpack.
- The Detail: Stuff red and yellow crepe paper into the bottom of the bottles to look like roaring rocket flames.
14. Galaxy Jars
Capture the beauty of deep space in a bottle.
- The Craft: Layer cotton balls, water, food coloring, and plenty of silver glitter in a clear jar.
- The Result: It looks like a swirling nebula, the very thing astronauts hope to study one day.
15. Handprint “Sun” Suncatcher
The sun is the center of our solar system and the source of energy for many space missions.
- The Activity: Use yellow and orange tissue paper on contact paper to create a circle.
- The Detail: Add handprints around the edges to represent the sun’s rays. It’s a bright reminder of the “star” our astronauts orbit!
Tips for Celebrating National Astronaut Day
- Read Together: Pair these crafts with books about heroes like Guion Bluford or Mae Jemison.
- Watch the Skies: Use NASA’s “Spot the Station” tool to see if you can see the International Space Station flying over your house at night.
- Encourage Diversity: Remind children that space is for everyone—no matter their race, gender, or background.
Conclusion
National Astronaut Day is more than just a date on the calendar; it is a day to celebrate human curiosity and the courage to explore the unknown. By engaging in these Astronaut Crafts, your children can step into the boots of Alan Shepard and imagine their own journey to the stars.