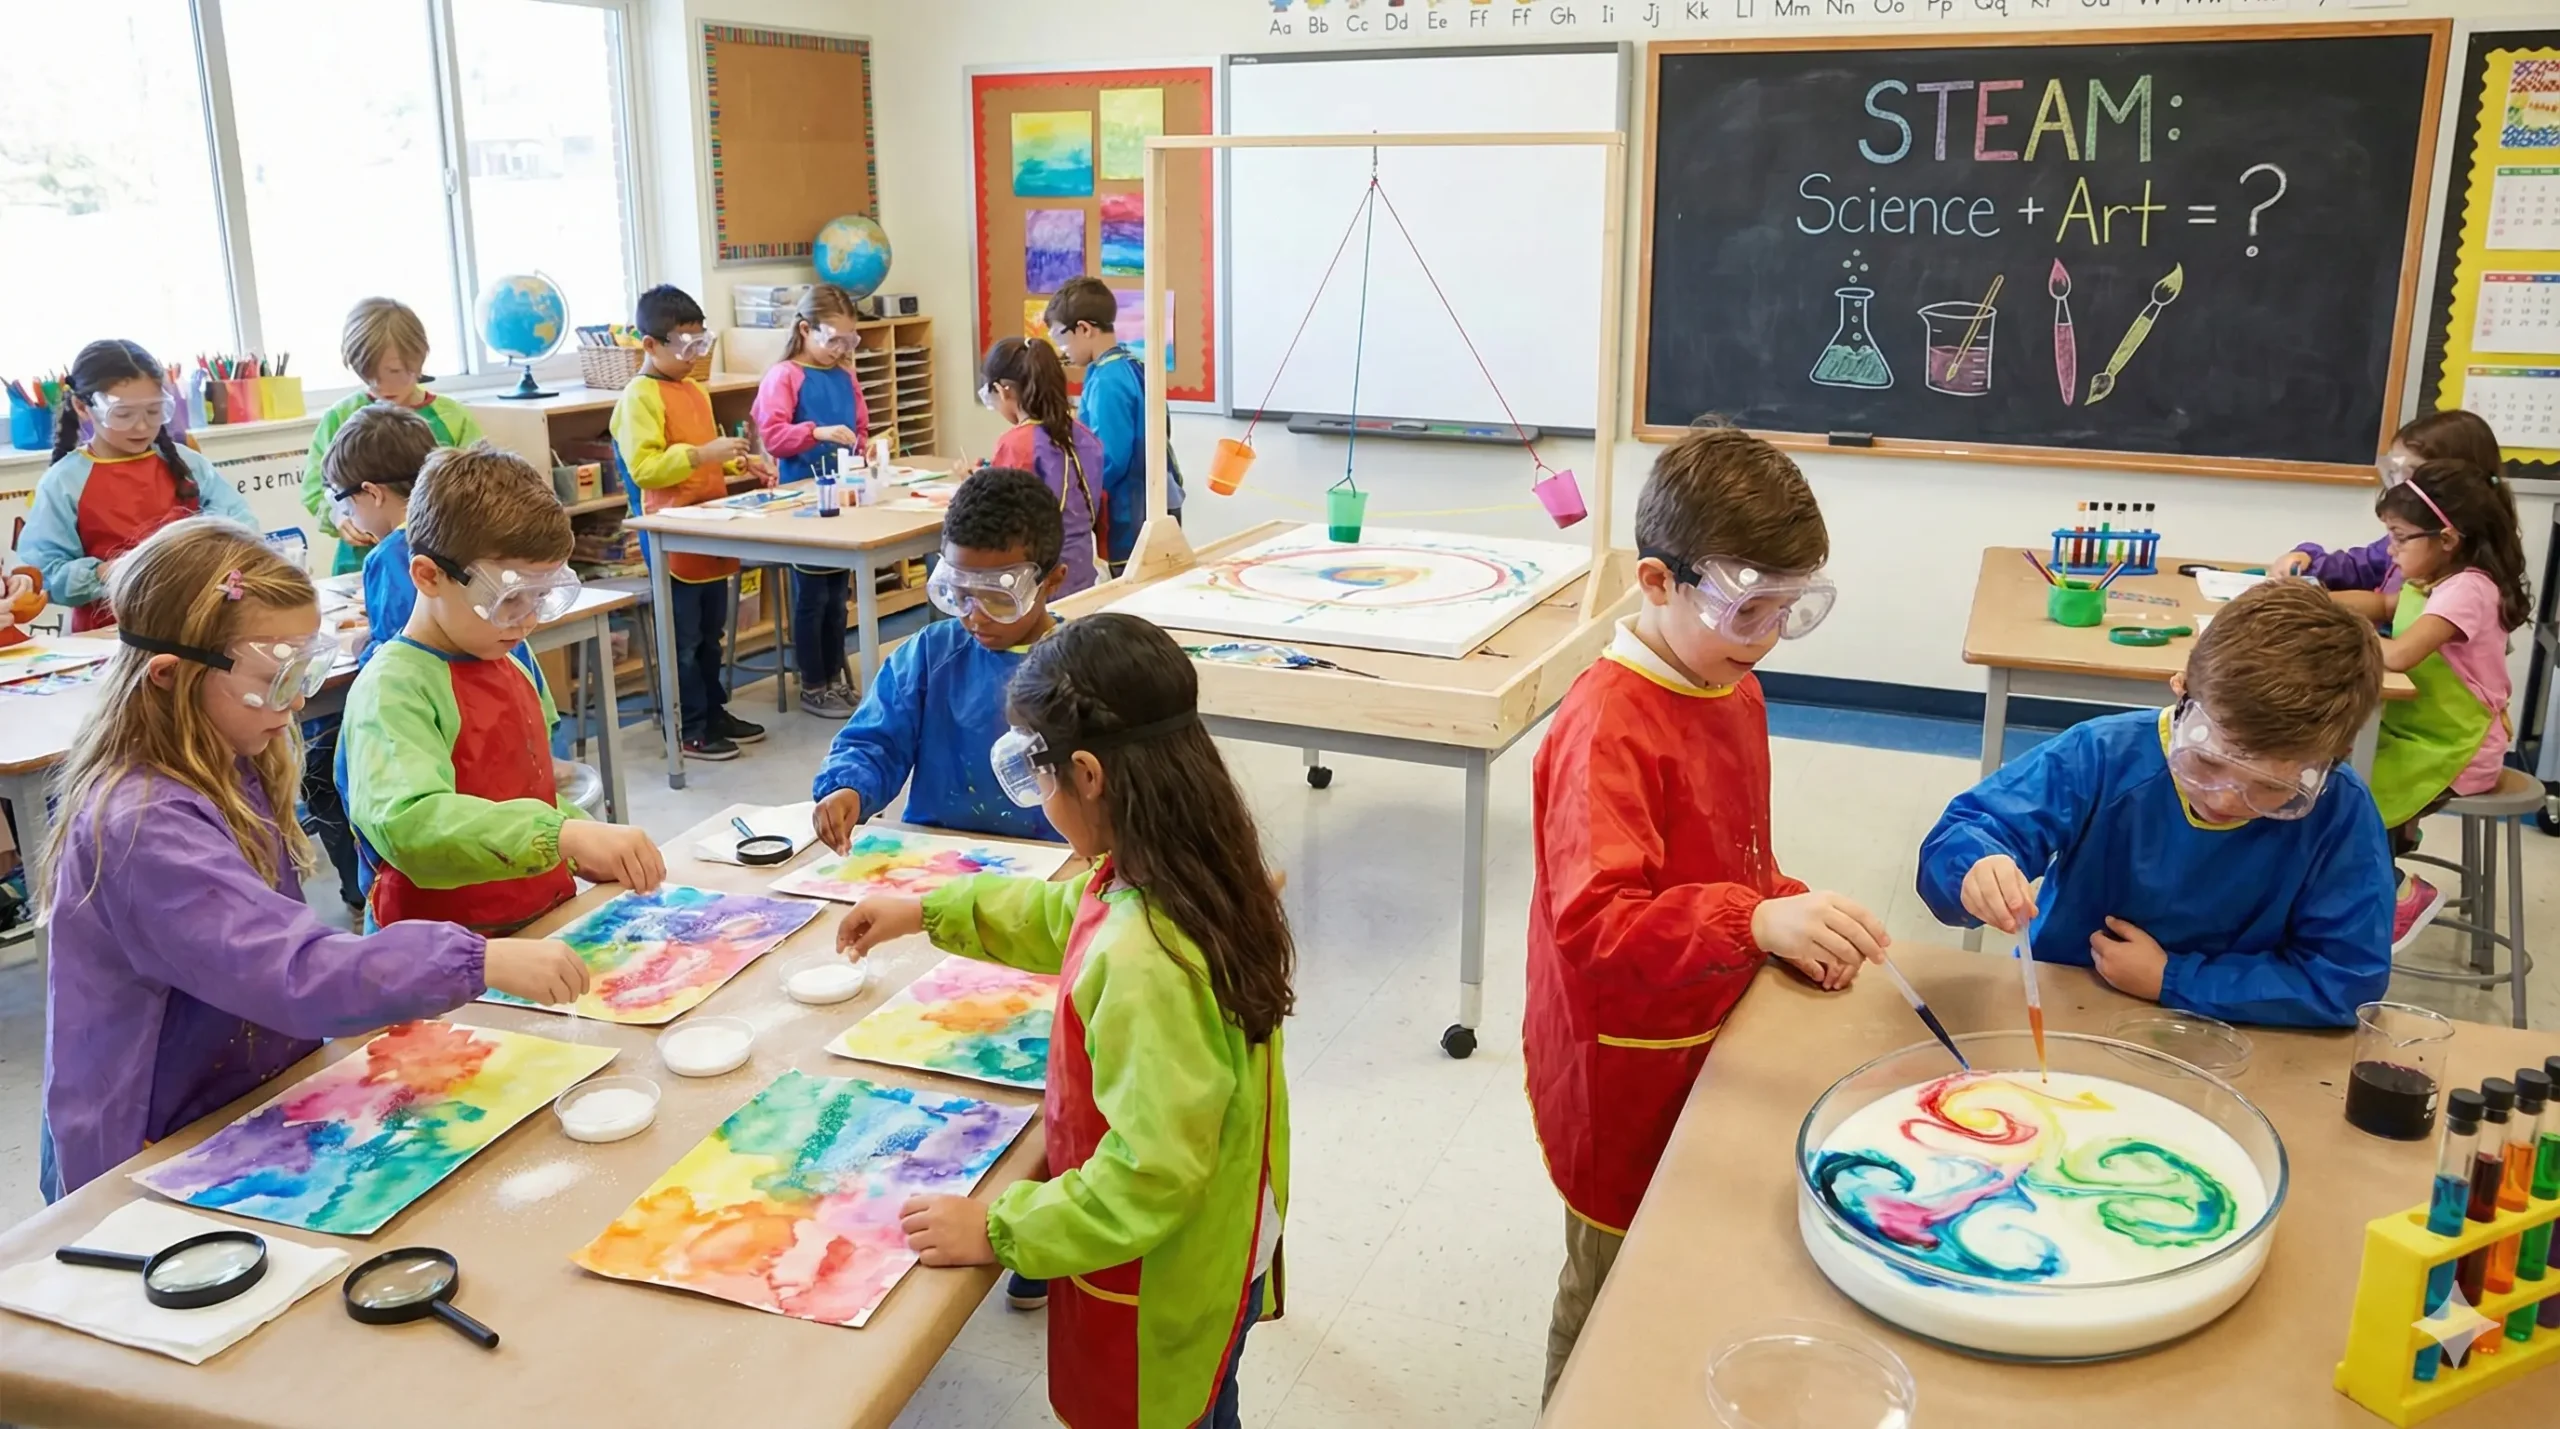
STEM (Science, Technology, Engineering, and Math) becomes STEAM when we integrate Art into the mix. By combining the logic of science with the creativity of art, we unlock a new level of engagement for children.
Get ready to have your mind blown! In this guide, we explore how curiosity drives discovery, using the inspiring story of a Nobel Laureate as our launchpad, followed by 15 Awesome Science Art Projects that you can do at home or in the classroom.
The Curiosity Behind the Science: The Story of Sir C.V. Raman
One day way back in 1921, a young scientist was sitting on a ship sailing on the Mediterranean Sea. He looked out at the gorgeous blue water and began to wonder—why is the sea blue?
At the time, the common belief was that the sea simply reflected the color of the sky. But this scientist wasn’t satisfied with that answer. He began investigating this phenomenon, extending his studies to the Bay of Bengal. Eventually, he discovered that the color of water is due to the scattering of light by water molecules.
And that, my friends, is the story of Sir C.V. Raman, the famous Indian physicist!
Who was Sir C.V. Raman?
C.V. Raman was a child prodigy, completing high school at 13, college at 16, and his master’s degree before he turned 20! It is not surprising that he won the Nobel Prize for Physics at the young age of 42. He was the first Asian to win a Nobel Prize in any field of science.
This Nobel Prize was for his work on the “scattering of light,” a phenomenon now known as the Raman Effect. Since 1986, the day of this discovery, February 28th, has been celebrated as National Science Day all over India.
This special day is an opportunity to encourage scientific research and curiosity. We think the best way to marvel at the magic of science is to get hands-on. Here are 15 projects that prove science and art are perfect partners.
1. Watercolor Salt Painting
Creating art with watercolor isn’t new, but what happens when you add salt into the mix? This project creates stunning, textured “starburst” effects that look like galaxies or frost on a window.
- The Process: Paint a picture using very wet watercolors on heavy paper. While the paint is still wet, sprinkle table salt or coarse sea salt over the colors. Let it dry completely, then brush off the salt.
- The Science: This demonstrates absorption. Salt is hygroscopic, meaning it absorbs moisture from the air and its surroundings. When placed on wet paint, the salt pulls the water (and the pigment) toward it, creating areas of concentrated color and lighter “bleached” spots.
2. Chromatography Butterflies
Transform black ink into a rainbow of colors using coffee filters.
- The Process: Draw a thick circle with a black water-based marker on a round coffee filter. Fold the filter into a cone and dip the very tip into a cup of water. Watch the water travel up the paper. Once dry, pinch the center to make butterfly wings.
- The Science: This is chromatography, a method used to separate mixtures. The water travels up the paper via capillary action. Because different pigments in the black ink travel at different speeds based on their size and solubility, the black ink separates into its component colors (usually blue, purple, and red).
3. Oil and Water Droplet Art
Prove that some things just don’t get along!
- The Process: Place a sheet of watercolor paper in a tray. Mix oil (baby oil or vegetable oil) with liquid watercolors or food coloring in small cups. Use a dropper to squirt the mixture onto the paper.
- The Science: This illustrates density and immiscibility. Water molecules are polar (they stick together), while oil molecules are non-polar. They refuse to mix. The oil sits on top or creates resist patterns because it is less dense than the water-based paint.
4. Magic Milk Fireworks
A classic experiment that creates moving, swirling modern art.
- The Process: Pour a thin layer of whole milk into a shallow dish. Add drops of food coloring in the center. Dip a cotton swab in dish soap and touch the center of the milk. The colors will explode outward!
- The Science: Milk contains fats and proteins. Dish soap is a “surfactant” that weakens the chemical bonds that hold the fats and proteins in solution. It also lowers the surface tension of the milk, causing the molecules to race around to find a new balance, carrying the food coloring with them.
5. Baking Soda & Vinegar Volcano Art
Take the classic volcano experiment and turn it into a painting.
- The Process: Sprinkle baking soda generously over a piece of paper. Mix vinegar with food coloring in several cups. Use a dropper to drip the colored vinegar onto the baking soda. It will fizz and bubble, creating a textured, abstract painting.
- The Science: This is an acid-base reaction. Vinegar (acid) reacts with baking soda (base) to create carbon dioxide gas. The bubbles you see are the gas escaping, leaving behind colorful patterns.
6. Pendulum Painting
Combine physics and gravity to create geometric masterpieces.
- The Process: Cut a hole in the bottom of a paper cup and cover it with tape. Poke holes in the sides to hang the cup from a tripod or a broomstick suspended between two chairs. Fill the cup with thinned paint, remove the tape, and swing the cup over a large canvas.
- The Science: This demonstrates gravity and inertia. The pendulum swings in an elliptical pattern due to the forces acting upon it. As the paint runs out, the friction of the air slows the cup down, changing the pattern into a tighter spiral (spirograph).
7. Shaving Cream Marbled Paper
Make your own fancy stationery.
- The Process: Spray a layer of shaving cream into a baking sheet. Drip food coloring or liquid watercolor on top and swirl it gently with a toothpick. Press a piece of cardstock onto the foam, lift it, and scrape off the shaving cream with a ruler. The design stays on the paper!
- The Science: The shaving cream acts as a suspension agent. The food coloring is hydrophilic (water-loving) and sinks into the paper, dyeing it instantly. The shaving foam is largely air and soap, allowing the dye to sit on the surface long enough to transfer.
8. Invisible Ink with Lemon Juice
Become a spy and an artist simultaneously.
- The Process: Dip a cotton swab or paintbrush into lemon juice and write a message or draw a picture on white paper. Let it dry completely (it will disappear). To reveal the art, hold the paper near a heat source (like a lightbulb or iron it carefully).
- The Science: This is a lesson in oxidation. Lemon juice is acidic and contains carbon compounds. When heated, these compounds break down and oxidize (react with oxygen) faster than the paper does, turning brown and revealing the secret message.
9. Crystal Geodes
Grow your own sparkling sculptures.
- The Process: Twist pipe cleaners into shapes (hearts, stars, spirals). Suspend them in a jar filled with a supersaturated solution of Borax and boiling water. Leave it overnight.
- The Science: By heating the water, you force it to hold more Borax powder than it usually could (supersaturation). As the water cools, the molecules move closer together and can no longer hold the dissolved Borax. The Borax comes out of the solution and clings to the pipe cleaners, forming crystals.
10. Magnet Painting
Paint without ever touching the brush to the canvas.
- The Process: Put a piece of paper inside a shallow cardboard box. Drop a few blobs of paint on the paper. Drop in a few metal items (paper clips, nuts, bolts). Hold a strong magnet under the box and move it around to drag the metal pieces through the paint.
- The Science: This explores magnetism and magnetic fields. The magnetic force passes through the cardboard, pulling the metal objects and creating drag lines in the paint.
11. Nature Sun Prints
Use the power of the sun to create silhouette art.
- The Process: Use construction paper (dark blue or black works best). Place flat nature items (leaves, ferns, flowers) on the paper and leave it in direct sunlight for a few hours. Remove the items to see the print.
- The Science: UV rays from the sun break down the dyes in the construction paper, causing the exposed areas to fade. The areas blocked by the leaves remain dark. This mimics the chemical process of early photography (cyanotypes).
12. Spinning Top Art
Mix colors using centrifugal force.
- The Process: Cut a circle of paper and poke a pencil or marker through the center to make a top. Or, place a paper inside a salad spinner, add drops of paint, and spin it!
- The Science: Centrifugal force pushes the wet paint away from the center of the rotation. It also demonstrates optical mixing—as the top spins, distinct colors blur together to the human eye to create new colors (e.g., red and blue look purple while spinning).
13. Bubble Painting
Capture the geometric beauty of spheres.
- The Process: Mix dish soap, water, and paint in a cup. Use a straw to blow bubbles until they rise above the rim of the cup. Gently press a piece of paper onto the bubbles.
- The Science: Bubbles always form spheres because that shape has the smallest surface area for the volume of air trapped inside (surface tension efficiency). The print on the paper captures the geometric pattern of these bubbles popping.
14. Ice Cube Painting
Explore states of matter with frozen paint.
- The Process: Mix water and washable paint, pour it into an ice cube tray, and insert craft sticks. Freeze them. Once solid, use the “paintsicles” to draw on paper.
- The Science: This showcases melting points and states of matter. As the warm air and friction from the paper interact with the ice, it undergoes a phase change from solid to liquid, depositing the pigment.
15. Slime Art
The ultimate sensory chemistry project.
- The Process: Mix clear glue, baking soda, and contact lens solution (containing boric acid). Add glitter or confetti.
- The Science: Glue is a polymer (long chains of molecules that slide past each other). The boric acid acts as a cross-linker, connecting these chains so they can no longer slide easily. This transforms the liquid glue into a non-Newtonian fluid (slime).
Conclusion: Fostering the Next Generation of Innovators
Just as Sir C.V. Raman looked at the sea and asked “Why?”, these projects encourage children to look at their materials and ask “What if?”.
When we treat science and art as separate subjects, we miss the opportunity to show how they overlap. Architects use physics to design beautiful buildings; photographers use optics to capture emotion; and chefs use chemistry to create culinary masterpieces.