Every parent knows the “Crayon Graveyard.” It’s that bin at the bottom of the art cart filled with headless blues, paperless reds, and those tiny, unusable nubs of “mystery” colors. While they might seem like trash, these bits are actually goldmines for creativity.
If you’re stuck at home and your craft supply closet is looking a little lean, don’t worry. You don’t need a trip to the store to keep the kids entertained. From stunning wall art to functional new tools, we’ve rounded up 15 incredible crayon-based projects that turn waste into wonder.
⚠️ Essential Safety Note: Many of these projects involve melting wax using hair dryers, irons, or ovens. Adult supervision is mandatory. Always perform the melting steps yourself and ensure your workspace is well-ventilated to avoid inhaling wax fumes.
1. The “Watercolor” Melted Crayon Butterflies
These butterflies are a showstopper. Because the wax spreads thinly between sheets of paper, the result looks remarkably like a professional watercolor painting.
How to make them:
- Shave various crayon colors using a handheld pencil sharpener or a cheese grater.
- Place the shavings on a sheet of wax paper, folding it in half to create a “sandwich.”
- Place a thin towel over the wax paper and iron on a low, no-steam setting for 5–10 seconds.
- Once the wax cools and hardens, use a template to cut out butterfly shapes.
2. Personalized Crayon Monogram Art
Perfect for a bedroom door or a personalized gift, this project uses the physical shape of the crayons to create a bold, 3D effect.
Pro-Tip: Use a hot glue gun to secure the crayon bits to a canvas in the shape of your child’s initial before applying any heat.
3. Vibrant Muffin Tin “Rainbow” Crayons
This is the ultimate recycling project. Instead of throwing away bits, you’re creating giant, easy-to-grip circular crayons that draw in multiple colors at once.
- Prep: Preheat your oven to 275°F.
- Method: Fill a silicone muffin mold with assorted crayon chunks. Bake for 10–12 minutes.
- The Reveal: Once cooled completely (pop them in the freezer for 20 minutes to speed it up), the new “discs” will pop right out.
4. Melted Crayon Rocks
Turn a backyard nature walk into an art session.
- Find smooth, flat river rocks and wash them.
- Heat the rocks in the oven at 300°F for 10 minutes (Adults only!).
- Carefully remove the rocks and place them on a protected surface.
- Let the kids press crayons against the hot stones. The wax will melt instantly, creating a glossy, enameled look.
5. DIY Wax Paper Lanterns
Bring a magical glow to the playroom. By sandwiching crayon shavings between wax paper and framing them with craft sticks, you can create beautiful “stained glass” panels. Connect four panels to form a box and place a battery-operated tea light inside.
6. Crayon Drip Canvas (The Classic)
We couldn’t leave out the most iconic crayon craft! Line up a rainbow of crayons at the top of a canvas and use a hair dryer to melt them.
- Expert Move: Tape a silhouette (like an umbrella or a person) to the canvas before melting. Once the wax is dry, peel the tape away to reveal a clean “white space” design amidst the colorful rain.
7. Pointillism with Softened Tips
For older kids with more patience, this technique teaches them about the art style of George Seurat.
- Lightly dip the tip of a crayon into a warm (not hot) cup of water or hold it near a warm lamp for a few seconds.
- The softened wax will leave thick, raised dots on the paper, allowing kids to “build” a picture out of thousands of colorful points.
8. Crayon Shaving “Sand Art”
Who needs expensive colored sand?
- Grate crayons into fine dust.
- Fill clear plastic ornaments or small jars with layers of different colored “dust.”
- Use a toothpick to swirl the edges for a marbled effect.
9. Crayon-Embedded Candles
If you have some old candle stubs or plain white candles, you can “upcycle” them. Melt the clear wax, then stir in crushed crayon bits to create custom-colored candles. You can even layer colors for a striped effect.
10. Textured Leaf Rubbings
A classic for a reason. During the autumn months, collect leaves with prominent veins. Place them under a thin sheet of paper and use the side of a crayon (paper removed) to rub over the leaf.
- The Crafty Twist: Use multiple colors on one leaf to show the changing seasons!
11. Crayon Scratch Art
Remember those black scratch-off boards? You can make your own!
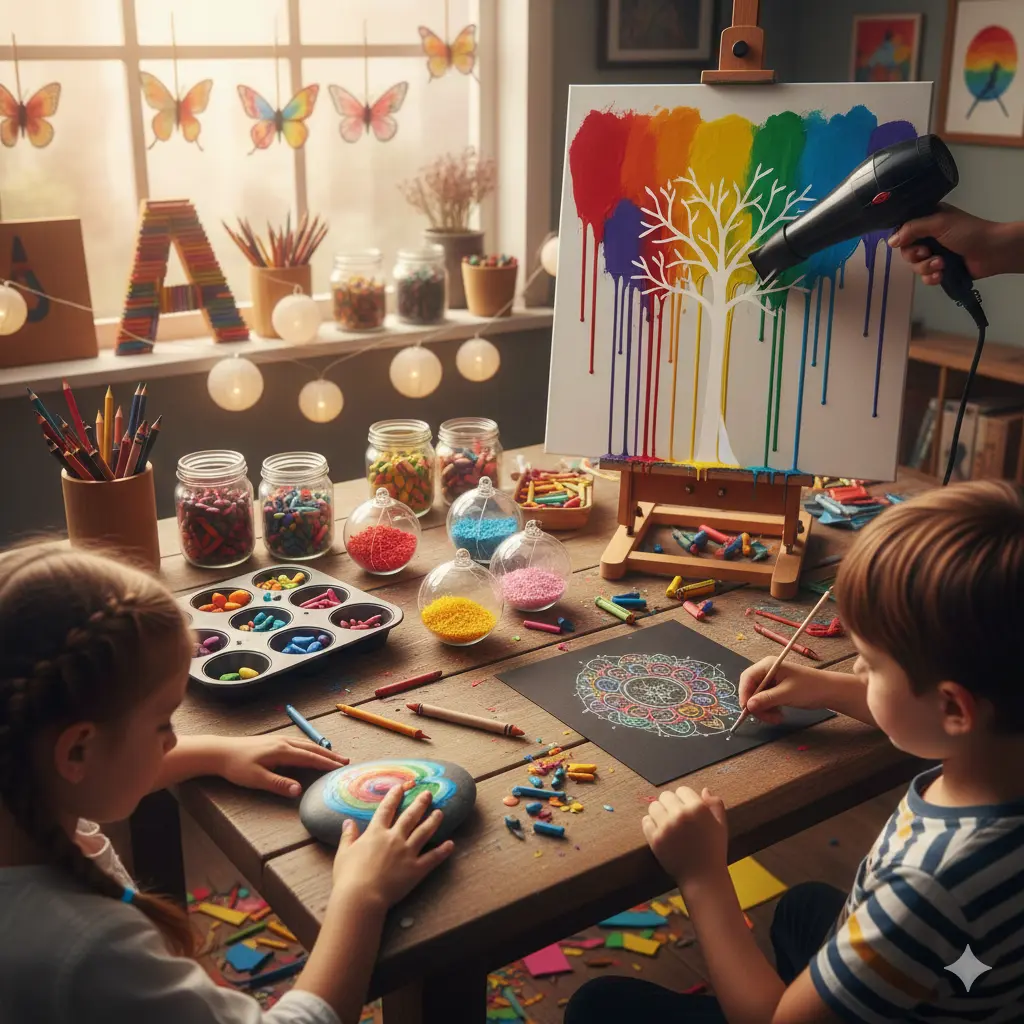
- Color a heavy piece of cardstock with a thick layer of bright rainbow colors.
- Paint over the entire thing with a mix of black acrylic paint and a drop of dish soap.
- Once dry, use a wooden skewer to scratch designs into the black paint, revealing the “neon” colors underneath.
12. Melted Crayon Jewelry Pendants
Use small metal washers or bottle caps. Fill the center with tiny crayon shavings and place them on a baking sheet in a low oven until the wax levels out. Once cool, they look like high-end enamel jewelry.
13. Homemade Crayon Lip Gloss (Eco-Friendly)
Since many crayons are made from non-toxic paraffin or soy wax, they can be used for beauty crafts!
- Mix a small bit of crayon with coconut oil and melt them together.
- Pour into a small tin for a custom-tinted, kid-safe lip balm.
14. “Starry Night” Canvas Art
Using a hair dryer and dark blue, yellow, and white crayon bits, kids can attempt to recreate Van Gogh’s famous swirls. The thick texture of the wax perfectly mimics the impasto style of the original masterpiece.
15. Crayon Etched Coasters
Take plain white ceramic tiles and color them heavily with crayons. Use a toothpick to etch intricate geometric patterns into the wax. To make them permanent, an adult can give them a quick blast with a heat gun to “set” the wax into the tile’s pores.
Why Crayon Recycling is Great for Kids
Beyond the fun, these projects serve as a fantastic educational tool.
- Sustainability: It teaches children that “broken” doesn’t mean “garbage.”
- Science: Observing the state change from solid to liquid and back to solid is a great introductory lesson in thermodynamics.
- Fine Motor Skills: Peeling the paper off crayons and breaking them into small pieces is excellent for developing the small muscles in a child’s hands.
SEO & Publisher Notes for Success
To ensure this content ranks well and meets AdSense standards, we’ve focused on:
- Keyword Optimization: Naturally integrating terms like “recycled crayon crafts,” “melted crayon art,” and “kids activities at home.”
- User Intent: Providing clear, actionable steps that solve the “boredom” problem for parents.
- Readability: Using bullet points, bold text, and clear headings to make the article “scannable” for mobile users.
- Safety Transparency: Including prominent warnings to ensure the content is categorized as “Family Safe.”