Why stick to two dimensions when you can explore the third? We live in a world of depth, volume, and structure, yet so much of children’s art is confined to a flat sheet of paper. While drawing and coloring are fundamental skills, stepping into the world of 3D crafts opens up a completely new realm of creativity and cognitive development.
In the age of Instagram and Pinterest, we are often bombarded with images of impossibly complex paper sculptures that look like they require a degree in engineering to construct. It can be intimidating. But here is the good news: You don’t need specialized materials, expensive tools, or expert skills to create stunning 3D art.
If you have paper, scissors, and glue, you have everything you need to build cities, grow gardens, and launch rockets.
Below, we have curated a list of 15 Spellbinding 3D Crafts for Kids. These projects range from simple cut-and-paste activities for toddlers to more structural challenges for older kids. Whether you need a standout idea for a school project or just a fun rainy-day activity, these crafts are sure to make your creativity “pop.
Why 3D Crafts Matter for Development
Before we dive into the list, let’s touch on why these activities are so beneficial. Moving from 2D (flat) to 3D (volume) is a massive leap for a child’s brain.
- Spatial Awareness: Kids learn how shapes occupy space, how to balance objects, and how different angles change the look of an object.
- Engineering Basics: They learn about structural integrity—why a cylinder is stronger than a flat sheet, or how a triangle base provides stability.
- Problem Solving: 3D crafts often require troubleshooting. Why is my tower falling over? How do I make this strip of paper curl?
Category 1: Nature Comes Alive
Nature is rarely flat, so why should our nature crafts be? These projects bring the outdoors in, adding depth and texture to botanical themes.
1. The Pop-Up Flower Garden
This is the perfect entry-level project for young children. It teaches the basic mechanism of “pop-up” cards.
- How to do it: Fold a piece of green cardstock in half. On the folded edge, make two parallel cuts about an inch deep. Push the tab created by these cuts inward (invert the fold). When you open the card, a “box” pops up. Glue a paper flower to this box. Repeat with different sized cuts to create a tiered garden.
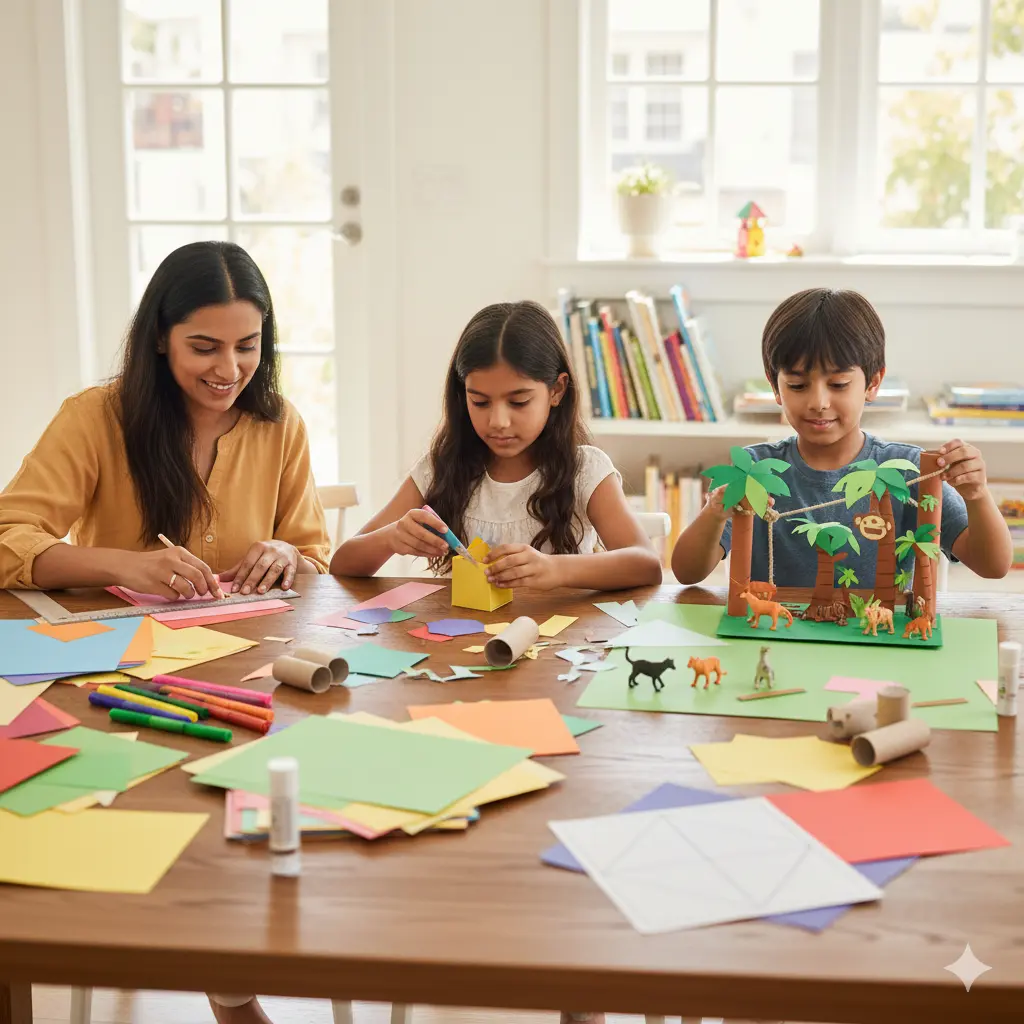
2. The Cardboard Tube Jungle
This project transforms waste into a dense, 3D ecosystem.
- How to do it: Collect empty toilet paper or paper towel rolls. Paint them green or wrap them in construction paper. Cut slits in the top to insert paper leaves (palm tree style). Group them together on a cardboard base to create a forest. Add paper monkeys hanging from “vines” (green yarn) connecting the tubes.
3. 3D Paper Rainbows
Instead of drawing a rainbow, build one!
- How to do it: You need two white “clouds” (cotton balls or white paper) as the base. Cut strips of colored paper. The red strip should be the longest, the violet the shortest. Glue the ends of the strips to the clouds, arching them high to create a standing tunnel of color.
4. The Four-Season Tree
A craft that stands on its own and teaches about the cycle of the year.
- How to do it: Cut out two identical tree trunk shapes from brown cardboard. Cut a slit in the top of one and the bottom of the other (halfway through). Slide them together to form a “X” shape that stands up. Dedicate each of the four sections to a season: pink tissue buds for spring, green leaves for summer, orange for autumn, and white cotton for winter.
Category 2: Paper Engineering & Structures
These crafts are perfect for school projects or for kids who love to build with blocks.
5. The Geometric Paper City
This introduces children to “nets”—2D patterns that fold into 3D shapes.
- How to do it: Draw a “T” shape pattern on grid paper to create a cube, or a star shape to create a pyramid. Cut, fold, and tape the edges. Decorate these cubes to look like houses, skyscrapers, and shops. Arrange them on a poster board to create a bustling 3D metropolis.
6. The Tunnel Book
A tunnel book is a series of paper layers with a hole in the middle, creating a deep perspective scene.
- How to do it: You need 4 sheets of paper. The front sheet has a large hole, the next slightly smaller, and the back sheet has no hole (the background). Draw different elements of a scene (like an underwater ocean) on the frames. Connect the sides with accordion-folded paper strips. When you look through the front, you see a 3D world.
7. Paper Strip Hot Air Balloons
A beautiful hanging decoration that looks complex but is incredibly simple.
- How to do it: Cut 4-6 strips of paper of equal length. Punch a hole at the top and bottom of the stack. Use a paper fastener (brad) to secure them. Fan the strips out to form a sphere. Hang a small paper “basket” from the bottom using string.
8. The Paper Roller Coaster
This is the ultimate STEM challenge.
- How to do it: Use strips of cardstock to create tracks, loops, and tunnels. Tape them to a cardboard base or use cups as support pillars. The goal is to build a 3D structure that a marble can travel down without falling off.
Category 3: Animals & Creatures
Bringing characters to life makes storytelling much more fun.
9. The Accordion Caterpillar
A moving 3D toy that is great for toddlers.
- How to do it: Cut two long strips of paper (different colors). Glue the ends together at a 90-degree angle. Fold strip A over strip B, then B over A, repeating until the paper is gone. You get a springy “accordion.” Add a face to the front.
10. Paper Plate Dinos
- How to do it: Fold a paper plate in half. This is the dinosaur’s body. Cut a head and tail out of cardstock and staple them to the ends. Use toilet paper rolls cut in half as the legs (cut slits in the rolls so the plate slides in). The dinosaur will stand up on its own!
11. The Bobblehead Dog
- How to do it: Create a simple paper box body and a paper box head. Connect the head to the body using a small spring made of paper (like the accordion fold mentioned above). When you tap the head, it wobbles and bobs!
12. Spiraling Snakes
Gravity does the work here.
- How to do it: Draw a spiral on a paper plate or a square of green paper. Cut along the spiral line. Decorate with scales. Punch a hole in the center and tie a string. When you lift the string, the snake uncoils and hangs down in a 3D spiral.
Category 4: Wearable & Decorative 3D Art
Art isn’t just for looking at; sometimes it is for wearing or decorating a room.
13. Low-Poly Paper Masks
“Low-poly” refers to a 3D mesh style. This is great for older kids.
- How to do it: You can find templates online for these. They involve cutting out geometric triangles and taping them together to form a mask (like a fox or a bear) that has volume and contours, rather than a flat mask.
14. 3D Paper Stars (Barn Stars)
These look great hanging from the ceiling.
- How to do it: Cut out a star shape. Score (lightly scratch) lines from the tip of each point to the center, and from the “valley” between points to the center. Fold the “tip” lines up (mountain fold) and the “valley” lines down. The star will pop up into a 3D shape.
15. Quilled Paper Art
Quilling involves rolling thin strips of paper into coils and shaping them.
- How to do it: Roll colored paper strips around a toothpick. Pinch the coils to make teardrops, squares, or eyes. Glue these coils onto a backing sheet standing up on their edge. The result is a textured, 3D relief painting.
Tips for Success with 3D Crafts
To ensure your 3D crafting session is a success (and not a frustration), keep these tips in mind:
- Paper Weight Matters: Standard printer paper is often too flimsy for structural 3D crafts. Invest in a pack of cardstock or use construction paper. It holds a crease better and stands up straighter.
- The Art of Scoring: If you want a crisp fold on thick paper, use a ruler and a dull object (like a dried-out ballpoint pen) to trace the line before folding. This “score” breaks the paper fibers and makes the fold perfect every time.
- Patience with Glue: White school glue is strong, but it takes time to dry. For 3D crafts where gravity is fighting you, use glue sticks for light paper or double-sided tape for instant adhesion on heavier structures.
- Start with “Bases”: Every good building needs a foundation. If you are making a scene, always start with a sturdy piece of cardboard (like an old cereal box) as the base to glue everything onto.
Conclusion
The transition from a flat drawing to a standing structure is a magical moment for a child. It turns them from an observer into a builder, an engineer, and an inventor.
These 15 3D crafts prove that you don’t need expensive plastic kits or complicated instructions to create something amazing. With just a humble stack of paper and a little imagination, you can build jungles, cities, and galaxies right on your kitchen table.
So, the next time your child says “I’m bored,” or has a school project due, skip the poster board. Go 3D. It makes everything—including the fun—pop out so much better!