The weather outdoors may not actually be all bright and sunshine just yet, but that doesn’t mean you can’t have spring indoors! Butterflies are the ultimate symbol of transformation and beauty, making them a favorite subject for children’s art projects.
If you like butterflies as much as we do, this collection of 20 Super Cute Butterfly Crafts for Kids will have your little ones asking for more. Not only are these crafts super fun and colorful, but they also provide excellent opportunities for children to fine-tune their motor skills, explore color theory, and connect with nature.
Whether you are a teacher looking for classroom decor or a parent needing a rainy-day activity, these ideas range from simple toddler crafts to more intricate projects for older kids. Let’s spread our creative wings!
Nature-Inspired Butterfly Crafts
One of the best ways to teach children about butterflies is to combine crafting with outdoor exploration. These projects start with a nature walk and end with a masterpiece.
1. Petal and Twig Collage
This is more than just a craft; it is a sensory experience.
- The Activity: Take the kids to the backyard or a park to collect fallen petals, small twigs, and interesting leaves.
- The Craft: On a piece of sturdy cardstock, draw a simple butterfly outline. Have the children glue the twigs as the body and layer the petals to create vibrant, textured wings.
- Educational Tip: Discuss the different colors and shapes of the plants you find. This helps with observation skills.
2. Stick and Leaf Butterflies
Similar to the collage, but these are 3D!
- How to Make It: Find a sturdy stick for the “body.” diverse leaves act as the wings. You can paint the leaves with acrylic paint to make them pop, or leave them natural for a rustic look. Glue the leaves to the back of the stick and add googly eyes.
- Why It’s Great: It costs absolutely nothing and encourages kids to see art supplies in the world around them.
3. Painted Rock Butterflies
Rock painting is a craze that isn’t going away.
- The Process: Find smooth, oval stones. Paint the center black for the body and use bright colors to paint wing shapes on the sides.
- Usage: These make adorable paperweights or can be hidden in the community for neighbors to find.
Paper & Cardstock Creations
Paper is the most accessible craft material, and these projects transform flat sheets into fluttering beauties.
4. Accordion Fold Garland
This garland will surely bring a little bit of the outdoors into your home.
- The Technique: Take two squares of colored paper (one slightly larger than the other). Fold them back and forth like an accordion. Pinch them in the middle and tie them together with a pipe cleaner (which also forms the antennae).
- Motor Skills: The repetitive folding action is fantastic for strengthening your little one’s fingers and improving dexterity. String them together to decorate a mantelpiece or window.
5. Handprint Keepsakes
Handprint crafts are parents’ favorites because they freeze a moment in time.
- The How-To: Trace your child’s hands on colored paper and cut them out. These cutouts become the wings! Glue them to a central body shape (a popsicle stick or paper oval).
- Gift Idea: These make wonderful cards for Mother’s Day or grandparents.
6. Stained Glass Window Art
When it’s cold outside and the little ones are stuck inside, let them add color to the windows.
- Materials: Black cardstock, contact paper (sticky back plastic), and colorful tissue paper.
- The Method: Cut a butterfly outline from the black cardstock. Place it on a sheet of sticky contact paper. Let kids stick torn pieces of tissue paper inside the wings. Seal with another sheet of contact paper and cut out the shape.
- The Effect: When the sun hits them, they glow beautifully!
7. Paper Plate Weaving
This craft introduces the basics of weaving.
- The Setup: Cut a paper plate into a butterfly shape. Cut small slits around the edges of the wings.
- The Action: Give the child yarn and let them weave it back and forth across the wings. This is excellent for hand-eye coordination.
8. Cupcake Liner Butterflies
- The Craft: Flatten two cupcake liners (one standard, one mini). Fold them in half or scrunch them in the middle. secure with a clothespin.
- Why Kids Love It: The crinkly texture and the pre-existing patterns on the liners make for instant success with very little effort.
Recycled Material Butterflies
Teach a lesson about sustainability by upcycling household items into art.
9. Cardboard Tube Butterflies
Don’t throw away those toilet paper rolls!
- The Transformation: Paint the roll a bright color. Cut wings out of construction paper or even a cereal box. Glue the wings to the back of the roll.
- The Details: Add pipe cleaner antennae and draw on a happy face. This is deceptively easy and requires only basic supplies found in every home.
10. Egg Carton Wings
- The Prep: Cut a strip of two cups from an egg carton (leaving them attached). These two bumps look exactly like butterfly wings!
- The Decor: Paint them, add glitter, and glue a pom-pom in the center for the head. Thread string through the top to make them fly.
11. Wooden Spoon Puppets
Turn ordinary woodcraft spoons into one-of-a-kind beauties.
- The Idea: The spoon part is the head, and the handle is the body. Attach cardstock or felt wings to the neck of the spoon.
- Playtime: These are great as decor, but even better for an afternoon of puppet play. Kids can put on a show behind the sofa!
12. Bubble Wrap Prints
- The Art: Cut a piece of bubble wrap into a wing shape.
- The Messy Fun: Paint the bubbly side with wet tempera paint. Press it onto a plain piece of paper. Lift it up to reveal a cool, textured print that looks like insect scales.
Science & Art Fusion
These crafts include a little bit of science magic, making them perfect for curious minds.
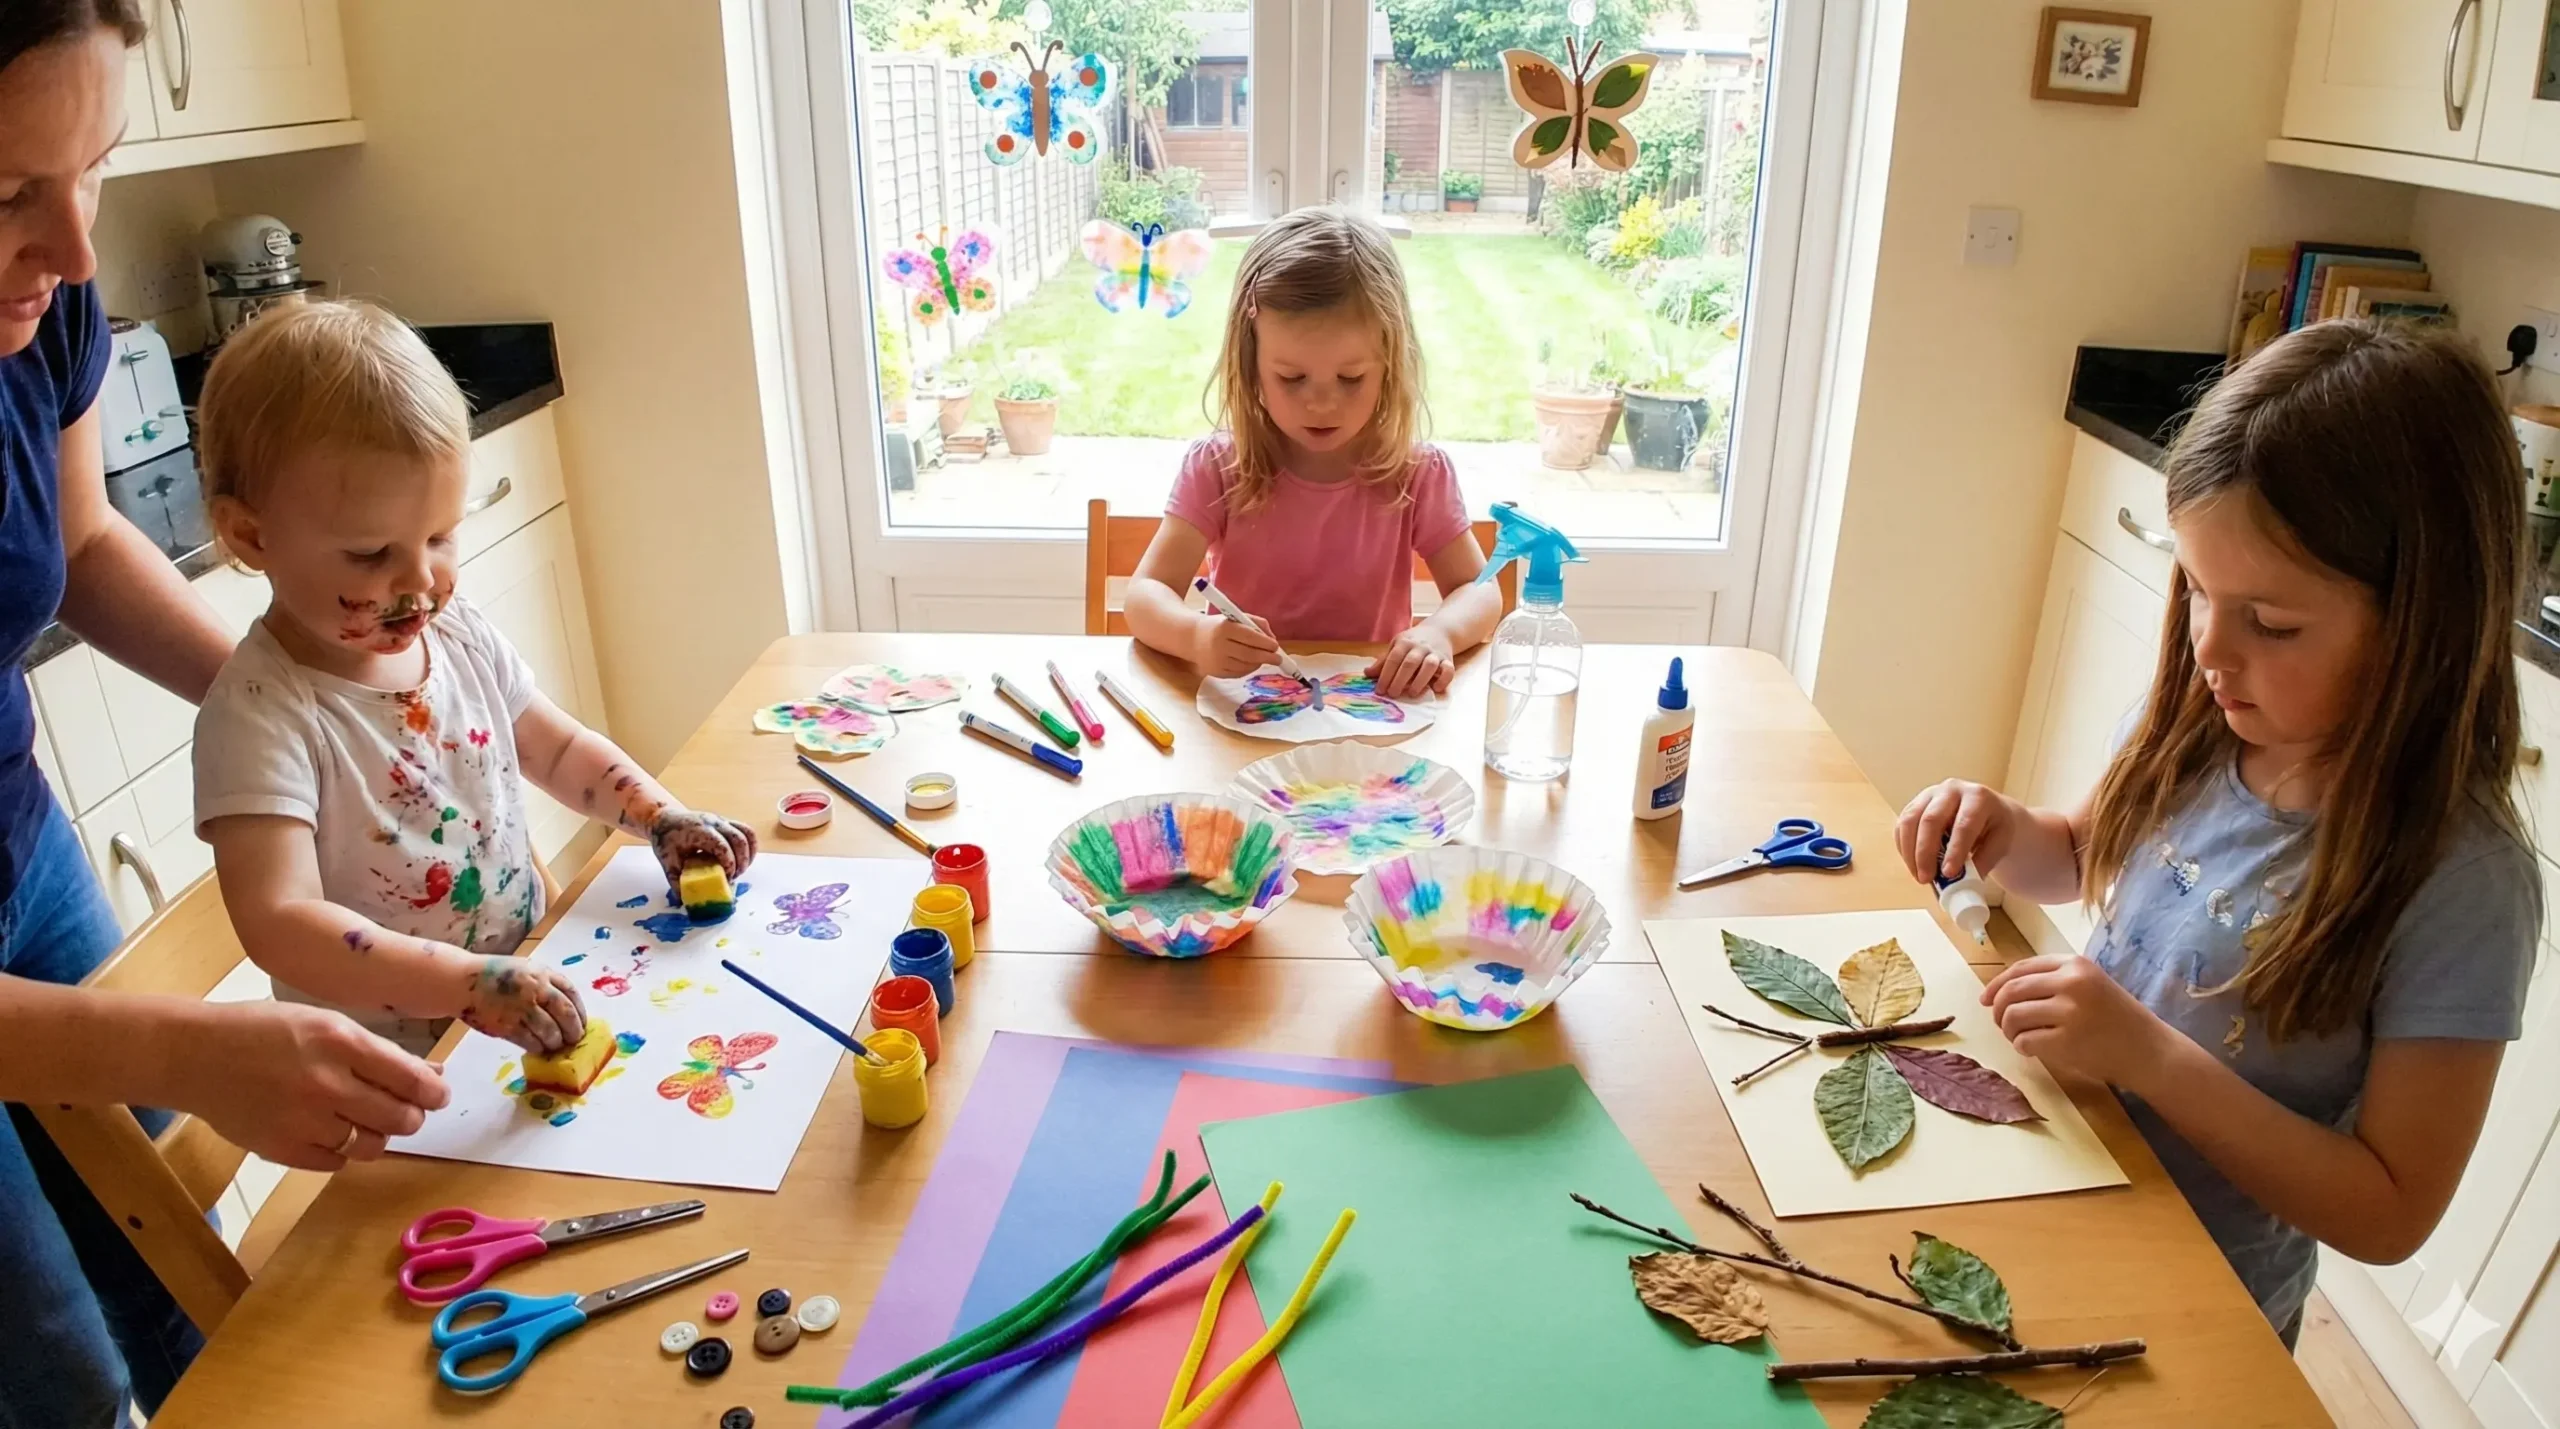
13. Coffee Filter Chromatography
This is a classic science experiment that results in beautiful art.
- The Experiment: Flatten a coffee filter. Draw circles or lines with washable markers (not permanent). Spray the filter lightly with water. Watch as the colors bleed and blend to create a tie-dye effect.
- The Finish: Once dry, pinch the center and wrap a pipe cleaner around it to create the butterfly body.
14. Symmetry Squish Painting
Teach the concept of symmetry (mirror images).
- The Lesson: Fold a piece of paper in half. Open it and place drops of paint on only one side of the fold.
- The Reveal: Fold the paper closed and rub it gently. Open it up to reveal a perfectly symmetrical butterfly wing pattern.
Textiles and Mixed Media
Using different textures keeps children engaged and stimulates their sense of touch.
15. Yarn Wrapped Sticks
- The Construction: Cross two sticks and tie them together. Have the child wrap yarn around the sticks in a figure-eight pattern.
- The Look: This creates a woven, bohemian look that is very sturdy. It’s great for older kids who want a challenge.
16. Clothespin Snack Bags
This is a craft you can eat!
- The Snack: Fill a ziplock bag halfway with grapes on one side and goldfish crackers on the other.
- The Body: Decorate a wooden clothespin with paint and googly eyes. Clip the clothespin in the center of the bag to separate the snacks and create the butterfly body. Perfect for school lunches!
17. Beaded Pipe Cleaners
- The Skill: Threading beads onto pipe cleaners is one of the best ways to improve fine motor precision.
- The Shape: Thread beads onto two pipe cleaners. Twist them into loops to form wings and twist them together.
18. Bow Tie Pasta Art
- The Material: Farfalle (bow tie) pasta is already shaped like a butterfly!
- The Project: Paint the dry pasta with acrylics. Once dry, glue them onto a painted canvas or card. Kids can create a whole swarm of mini butterflies in a garden scene.
19. Sponge Stamping
- The Tool: Take a clean kitchen sponge. Draw a wing shape and cut it out.
- The Activity: Dip the sponge in paint and stamp it onto paper. This allows kids to create many butterflies quickly, perhaps making a wrapping paper design.
20. Felt Finger Puppets
- The Sewing: Cut a small butterfly shape from felt (two layers). Sew the edges but leave a gap in the middle for a finger.
- No-Sew Option: You can also use fabric glue. These are soft, durable, and quiet toys for church or waiting rooms.
Why Crafting Matters for Kids
Engaging in these butterfly crafts is about more than just keeping kids busy. It fosters creativity, improves focus, and provides a sense of achievement. When a child holds up a paper plate they have transformed into a butterfly, they feel a boost of confidence.
Furthermore, these activities are a gateway to learning about the natural world. While you craft, you can talk about the life cycle of a butterfly—from egg to caterpillar to chrysalis to beauty.