Let’s face it: whether it’s homework, homeschooling, or a long day in the classroom, writing can sometimes feel like a chore for kids. But what if every time they looked down at their page, a tiny, colorful friend was smiling back at them?
DIY pencil toppers are the ultimate stationery hack. They are fun, quirky, and an easy way to personalize a boring pencil case. Beyond just looking cute, crafting these toppers is a fantastic way for children to develop fine motor skills and express their unique personalities. They also make incredible handmade gifts for friends, festive party favors, or even a small “thank you” token for a favorite teacher.
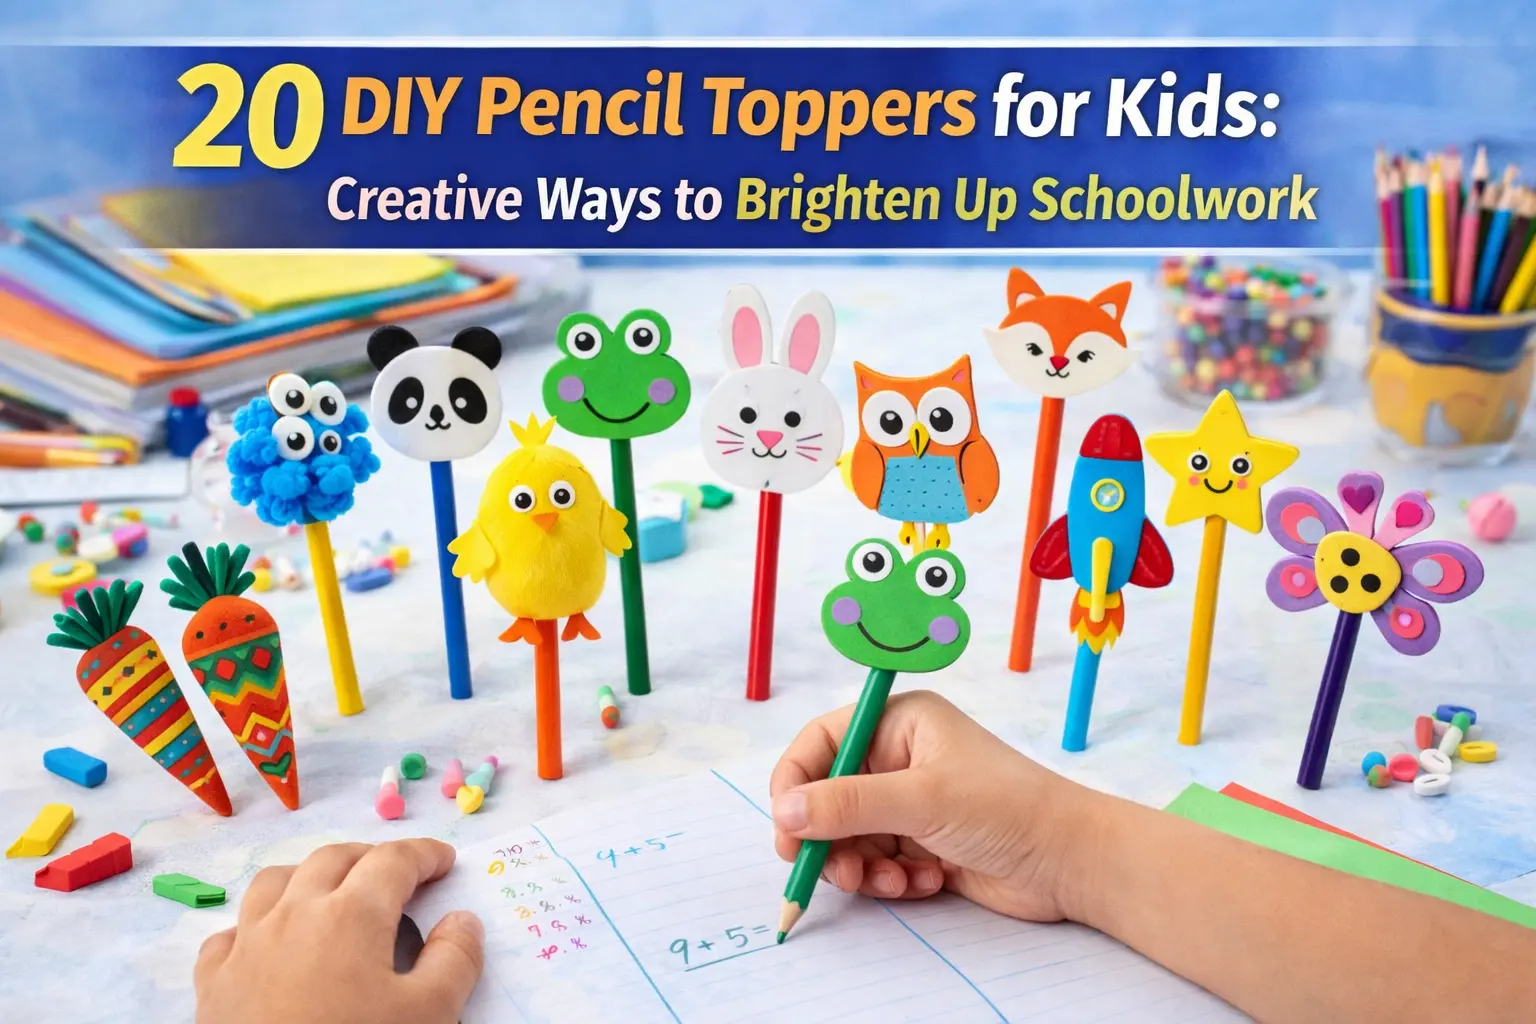
In this guide, we’ve rounded up 20 of the most creative and easy-to-make pencil toppers that will turn any writing task into a creative adventure!
Why Make Your Own Pencil Toppers?
In a world of mass-produced school supplies, there is something special about “made by me.”
- Personalization: Kids can match their toppers to their favorite movie characters, animals, or hobbies.
- Affordability: Most of these projects use scrap materials like felt, pipe cleaners, and leftover clay.
- Focus & Motivation: A “special” pencil can actually motivate a child to sit down and finish those math problems!
- Gift-Giving: Perfect for Valentine’s Day, end-of-term treats, or birthday party goody bags.
Top 20 DIY Pencil Topper Ideas for Kids
1. Felt Monster Toppers
Get ready for some spooky fun! Using small scraps of felt and a handful of googly eyes, kids can create “monster” toppers. Simply cut two layers of felt into a square or blob shape, glue the sides (leaving the bottom open for the pencil), and add as many eyes as possible. The crazier, the better!
2. Minion Paper Toppers
Who doesn’t love those yellow, gibberish-speaking henchmen? Using yellow cardstock or foam, create a cylinder. Add a blue “overalls” strip at the bottom and a silver-painted washer or paper circle for the goggles. They are guaranteed to bring a smile to anyone’s face.
3. Chic Pastel Sloths
For a touch of elegance and “slow-living” vibes, try making sloth toppers. Using soft felt in pastel pinks, greys, and mint greens, cut out a sleepy sloth face. These look beautiful on wooden pencils and add a bit of “chic” to a student’s desk.
4. Air-Dry Clay Pikachu
If you have a Pokémon fan at home, this is a must-try. Air-dry clay is perfect for molding a tiny Pikachu head. Once it dries, use permanent markers to add the iconic red cheeks and black-tipped ears. It’s like having a pocket monster right on your desk!
5. Customizable Canvas Flags
Looking for something more sophisticated? Use small scraps of canvas or stiff fabric to create “flag” toppers. Kids can paint their own logos, pirate symbols, or even their initials. These are great for older kids who want a “cool” rather than “cute” aesthetic.
6. Fluffy Pom-Pom Animals
Take a large craft pom-pom and glue it to the top of a pencil. Add tiny felt ears and a bead nose to create bears, bunnies, or cats. These are incredibly tactile and serve as a great “fidget” tool for kids who like soft textures.
7. Pipe Cleaner Flowers
This is a mess-free craft! Twist colorful pipe cleaners into petal shapes and wrap the “stem” tightly around the top of the pencil. You can create a whole bouquet in minutes.
8. Foam Heart Toppers (Valentine’s Special)
Cut two identical hearts out of craft foam. Glue the edges together, leaving a gap for the pencil. These are perfect for handing out to classmates on Valentine’s Day with a little note that says, “You’re just write!”
9. Tulle Tutu Toppers
For the aspiring ballerina, wrap small strips of tulle around an elastic band or the pencil eraser. It creates a puffy “tutu” effect that looks like a little cloud of color.
10. Perler Bead Shapes
If your kids love fuse beads, they can create flat designs like stars, lightning bolts, or donuts. Leave one bead out of the center design to slide the pencil through, or glue the finished design to a small plastic ring.
11. Outer Space Alien Toppers
Use green foam and silver pipe cleaners for “antennae.” Add three or four eyes to give it a truly extraterrestrial look.
12. Ribbon Tassel Toppers
Tie several lengths of colorful ribbon or ric-rac around the top of the pencil. As the child writes, the ribbons dance around, making the process much more dynamic.
13. Duct Tape Roses
Duct tape comes in amazing patterns now! Fold strips of tape into “petals” and layer them around the pencil top to create a durable, waterproof rose.
14. Origami Butterfly Toppers
Fold a small piece of square origami paper into a butterfly. Use a tiny bit of blue-tack or double-sided tape to perch it on top of the pencil. It looks like a butterfly has just landed to help with homework.
15. Eraser Clay Creations
Did you know you can buy clay that turns into an actual eraser when baked? Kids can sculpt their own shapes—like a slice of pizza or a watermelon—and then use their “topper” to fix mistakes!
16. Feathered Owl Toppers
Use a cork or a small foam ball as the base. Glue on some feathers and large paper eyes. This “wise” owl is the perfect study buddy.
17. Button Stack Toppers
Thread a few colorful buttons onto a piece of wire or a pipe cleaner, then wrap the end around the pencil. It’s a great way to use up that miscellaneous button jar.
18. Beaded Dragonfly
Slide colorful beads onto two pipe cleaners. Twist them together to form wings and a body. It’s a great project for practicing pattern-making.
19. Superhero Cape Toppers
Cut a small rectangle of fabric and “neck” holes. Slide the pencil through so it looks like it’s wearing a cape. Perfect for “super” students!
20. Seasonal Christmas Trees
In December, use green felt triangles and tiny “bauble” sequins to make festive tree toppers. It’s a great way to countdown to the holidays.
Materials Checklist for Your DIY Station
To get started with most of these projects, you’ll want to have these basics on hand:
- Adhesives: White glue, glue dots, or a low-temp glue gun (with adult supervision).
- Materials: Felt scraps, craft foam, pipe cleaners, and air-dry clay.
- Decor: Googly eyes, sequins, ribbons, and permanent markers.
- Tools: Safety scissors and, of course, a fresh pack of pencils!
Summary Table: DIY Pencil Toppers at a Glance
| Topper Type | Primary Material | Difficulty | Best For… |
| Monster | Felt | Easy | Beginners |
| Pikachu | Air-dry clay | Moderate | Pokémon Fans |
| Flag | Canvas/Fabric | Easy | Older Kids |
| Flower | Pipe Cleaners | Very Easy | Last-minute gifts |
| Eraser | Special Clay | Moderate | Practical use |
Conclusion: Writing Has Never Been This Fun!
DIY pencil toppers are more than just a craft; they are a way to bring a little bit of magic into the daily routine of learning. Whether your child wants a “brave” superhero pencil to tackle a big test or a “soft” pom-pom friend to keep them calm during writing, these 20 ideas offer something for everyone.
The best part? These crafts encourage kids to think outside the box and realize that they can create their own joy with just a few simple materials. So, clear off the table, grab those pencils, and let the “topping” begin!