Let’s face it: getting kids excited about homework or schoolwork can sometimes feel like pulling teeth. Whether you are homeschooling, helping with evening homework, or just looking for a way to spark some creativity during the weekends, the solution might be simpler (and smaller) than you think.
Enter the world of DIY Pencil Toppers.
We believe in making life colorful no matter what the circumstances. Why should a math worksheet be dull? Today, we are exploring an easy, budget-friendly way to make “back to school” (or “stay at school”) much more interesting. These pencil toppers are easy enough for kids to make themselves, and they serve a dual purpose: they are a fun craft activity and a functional tool that makes writing fun.
We love pencil toppers because they are quirky, bright, and deeply personal. They are a great way to customize a pencil case, making sure your child never mixes up their stationery with a classmate’s again. Plus, they make fabulous party favors, Valentine’s Day gifts, or thoughtful presents for teachers.
Ready to transform those boring yellow No. 2 pencils into magical wands of creativity? Here are 20 DIY Pencil Topper ideas and a guide on why this simple craft is a must-do.
Why You Should Encourage DIY Stationery Crafts
Before we dive into the list, it is important to understand why these tiny crafts are so beneficial for child development. It isn’t just about making something cute; it’s about skill-building.
- Fine Motor Skills: Twisting pipe cleaners, cutting felt shapes, and gluing small googly eyes all require dexterity. These movements strengthen the small muscles in the hands and fingers, which actually helps improve handwriting!
- Ownership and Pride: When a child uses a pencil they decorated themselves, they feel a sense of ownership. This can translate into a more positive attitude toward the work they do with that pencil.
- Budget-Friendly Fun: Most of these ideas use scraps you already have lying around the house—leftover yarn, stray buttons, or the last bit of a pipe cleaner pack. You don’t need to spend a fortune to have fun.
Essential Materials for Your Crafting Station
To get started, gather a “Pencil Topper Survival Kit.” having these items in a bin makes it easy to start crafting whenever boredom strikes.
- Pipe Cleaners (Chenille Stems): The holy grail of pencil toppers. They grip the pencil naturally.
- Felt Scraps: Perfect for sewing or gluing. It doesn’t fray, making it kid-friendly.
- Googly Eyes: Self-adhesive ones are best to avoid messy glue.
- Craft Foam Sheets: easy to cut and holds its shape well.
- Yarn and Ribbons: For wrapping and making hair.
- Air-Dry Clay: For 3D sculpting.
- Glue Gun (Low temp for kids) or Tacky Glue.
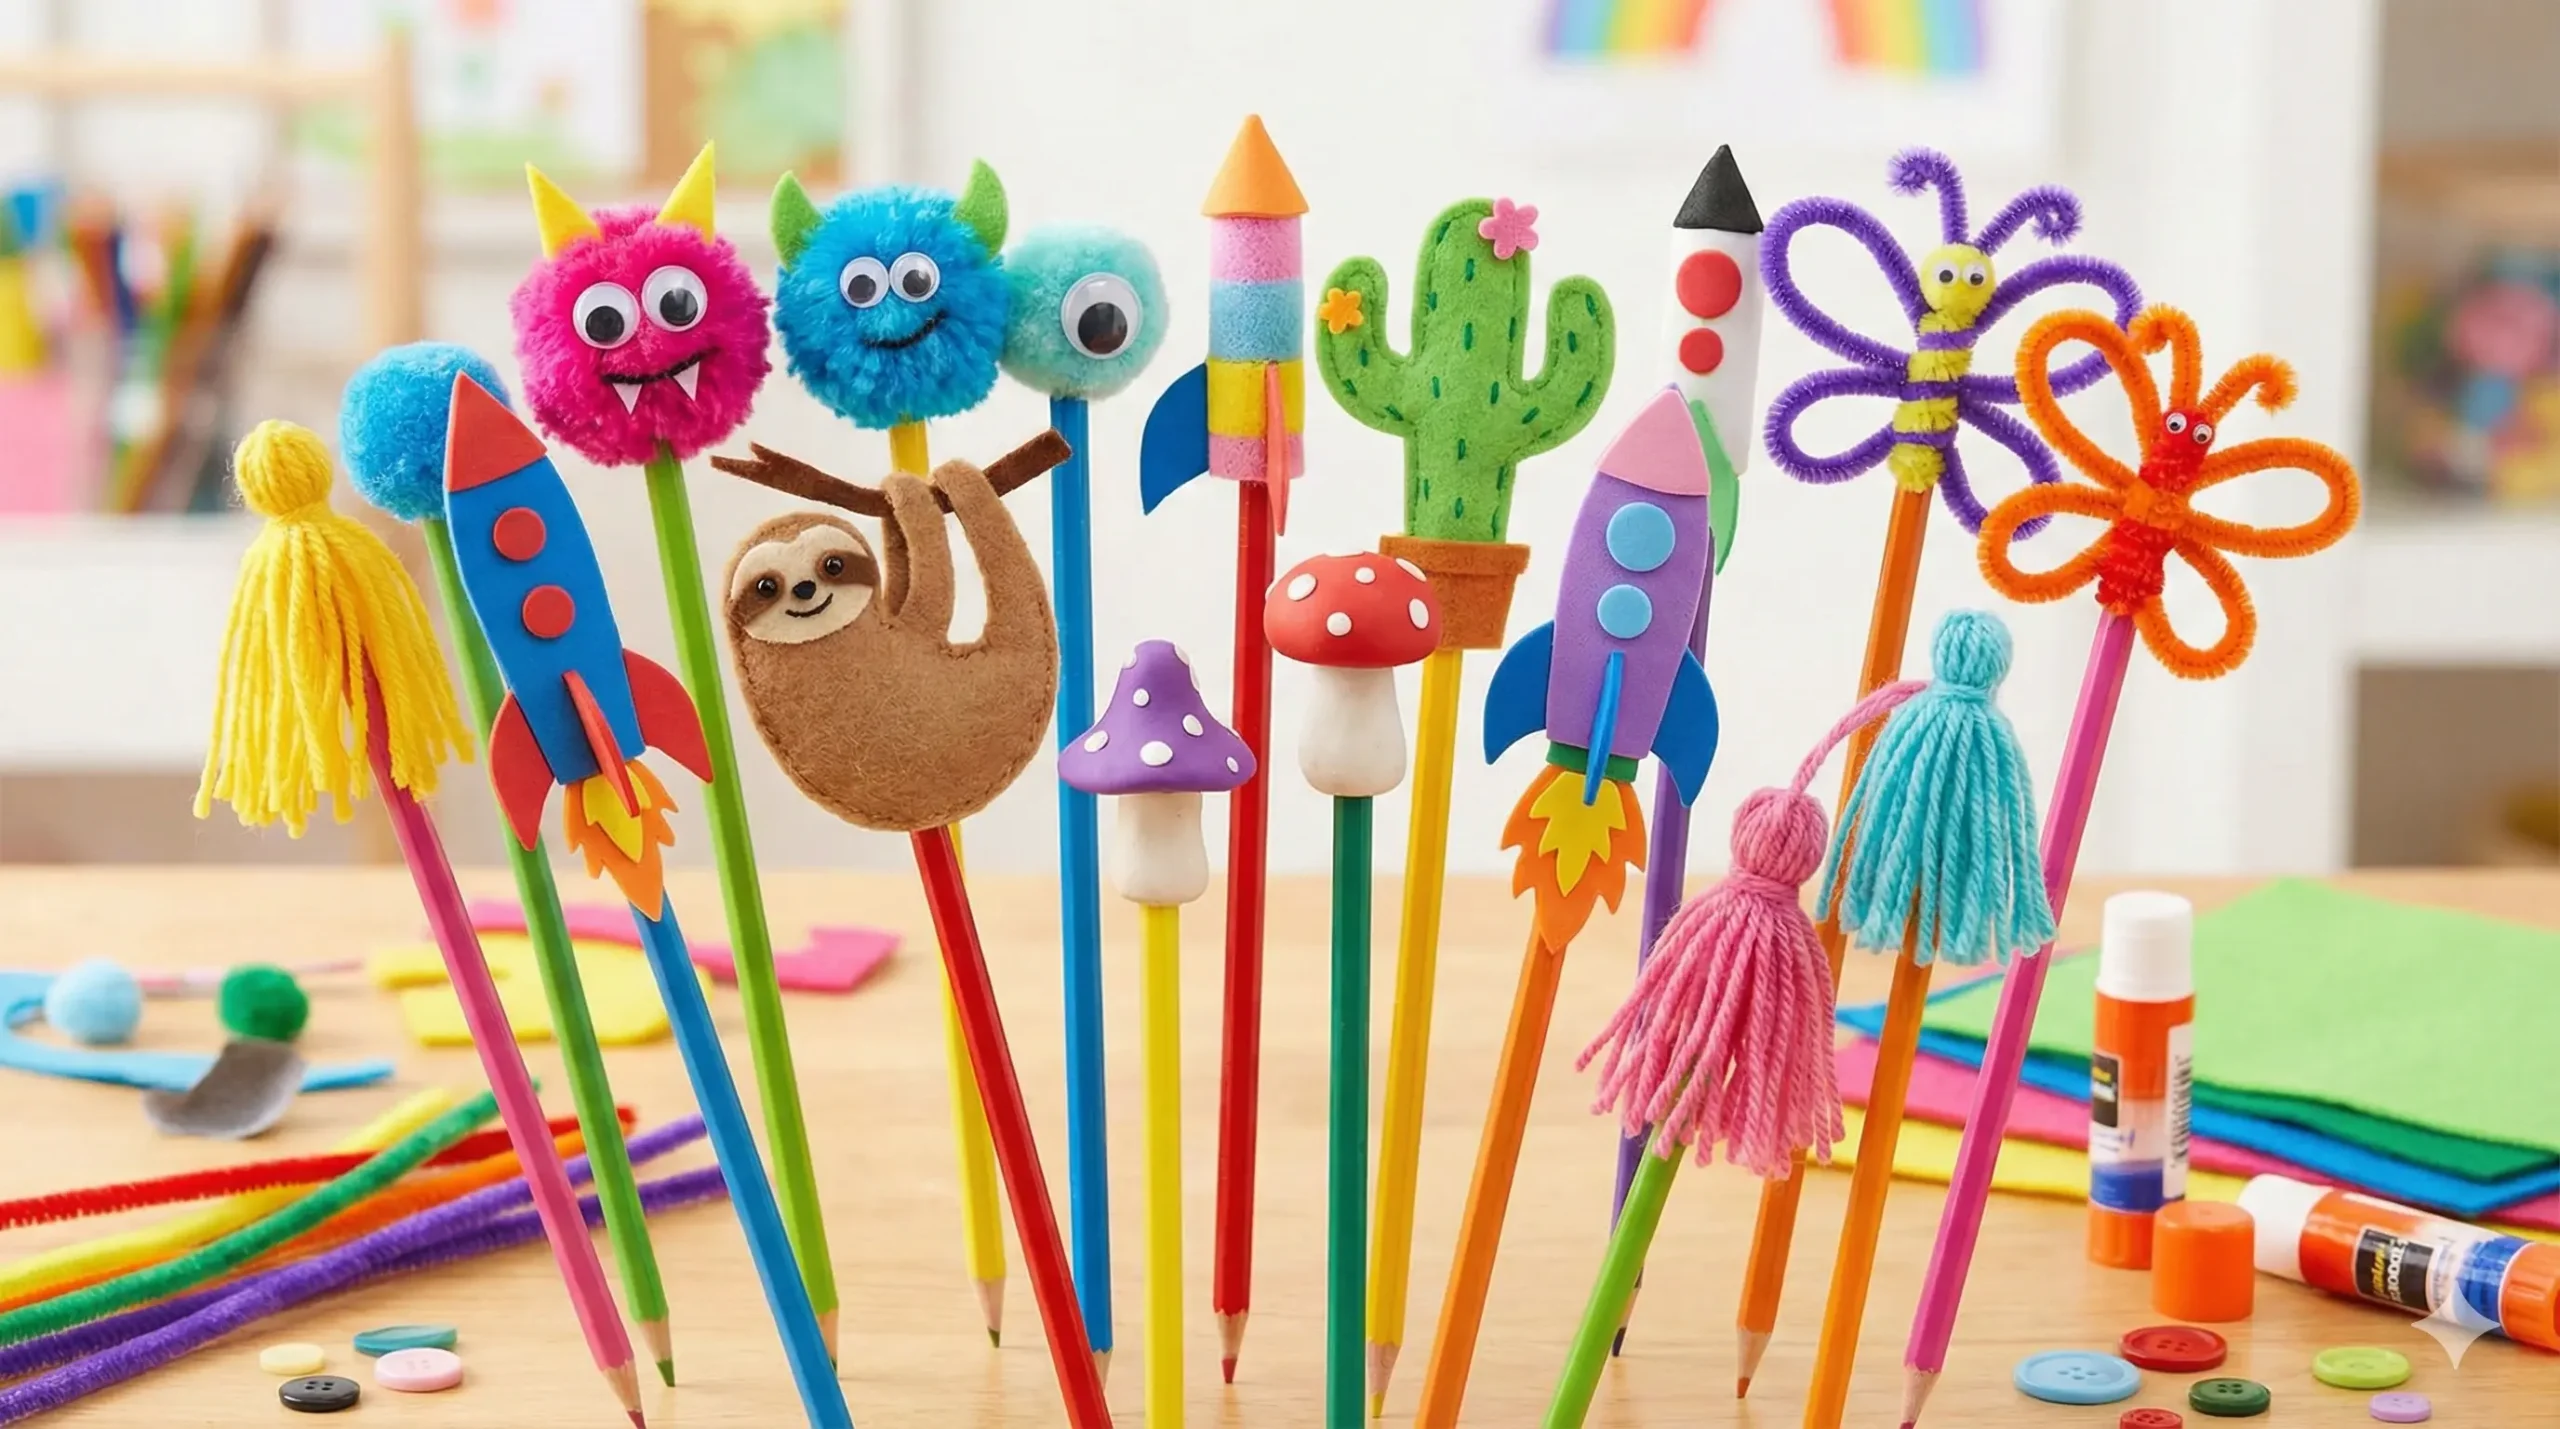
20 Creative DIY Pencil Topper Ideas
We have categorized these into themes to help you find the perfect project for your child’s interests.
Category 1: The fuzzy and Furry (Pipe Cleaners & Yarn)
1. The Classic Pipe Cleaner Spiral This is the easiest topper for beginners. Simply take two different colored pipe cleaners. Twist them together to make a candy-cane pattern. Then, tightly wrap them around the top of the pencil. Leave a bit sticking out at the top and curl it into a fun spring shape.
2. The Pom-Pom Monster Using a large, fluffy pom-pom, glue it to the top of the pencil (or attach it using a pipe cleaner wrapped around the eraser). The key here is personality: add three or four googly eyes and maybe some felt teeth. These are great for Halloween!
3. Yarn Tassel Toppers Make a mini tassel by wrapping yarn around a fork about 20 times. Tie it off, cut the loops, and attach it to the pencil with a dab of glue or a rubber band. It creates a “mop-top” look that sways as the child writes.
4. The “Troll” Hair Remember the Troll dolls with the wild hair? Recreate this by gluing a tuft of bright neon fur or unraveled yarn to the top of the eraser. Add a band of ribbon to hide the glue spot.
5. Pipe Cleaner Butterflies Form a simple wing shape (like a figure 8) with a pipe cleaner. Slide the pencil through the center of the 8. Use a second pipe cleaner to wrap around the center to secure it and create the antennae.
Category 2: Felt Friends (Soft & Durable)
6. Sleepy Sloth Topper Cut a small sloth body shape out of brown felt. You will need two identical pieces (front and back). Stitch or glue the edges together, leaving the bottom open to slide the pencil in. Use a marker to draw a sleepy face.
7. Heart Messages Cut two heart shapes out of red or pink felt. Before gluing them together, write a motivational word like “Write,” “Love,” or “Smart” on one side with a fabric marker. It serves as a little confidence booster during tests.
8. Superhero Logos Is your child a fan of a certain caped crusader? Cut out simple diamond or shield shapes from felt and glue on the initial of their favorite superhero. It makes them feel powerful while doing math!
9. Cactus Cuties Green felt is all you need. Cut a cactus shape (like a pickle with arms). Add tiny white stitches to look like spikes. Top it with a tiny pink felt flower. This is very trendy and cute for older kids.
10. Pizza Slice Cut a triangle of yellow felt (the cheese) and a slightly larger triangle of brown felt (the crust). Glue them together. Add small red felt circles for pepperoni. It’s a delicious way to decorate a pencil!
Category 3: Foam & Paper Fun
11. Rocket Ships to Mars Using craft foam, cut out a fuselage and triangle wings. Glue them to the top of the pencil. Add streamers of red and orange ribbon at the bottom of the rocket—when the pencil moves, it looks like the rocket is blasting off!
12. Emoji Faces Cut yellow foam circles. Let the kids draw their favorite emoji expressions—heart eyes, laughing tears, or sunglasses. Sandwich the pencil between two circles and glue.
13. Origami Crane If you have an older child who enjoys paper folding, fold a small origami crane or box. Because paper can slip, secure this to the pencil using a bit of washi tape.
14. Pinwheels Create a tiny paper pinwheel using a square of paper and a push pin (be careful with the sharp point—push it into the eraser). If done correctly, the pinwheel will actually spin when the child blows on it!
15. Dinosaur Silhouettes Cut the profile of a T-Rex or Stegosaurus out of sturdy cardstock or stiff foam. Punch two holes in the middle of the body (one top, one bottom) and weave the pencil through the holes.
Category 4: The 3D Sculptures (Clay & Upcycling)
16. Air-Dry Clay Mushrooms Mold a small mushroom cap out of red air-dry clay and a stem out of white clay. Press the end of the pencil into the stem while the clay is wet to create the hole. Let it dry completely off the pencil. Once dry, you can slide it on and off.
17. LEGO Bricks Note: This requires adult help. If you have a spare LEGO brick with a hole in the bottom (or a Technic piece), you can often wedge it onto a pencil. Kids can then build a small tower right on top of their writing tool!
18. Button Stacks Take 4 or 5 colorful buttons with large holes. Thread a pipe cleaner through the holes to stack them up, then wrap the remaining pipe cleaner stem around the pencil. It creates a cool, tactile sensory tower.
19. Feathered Quill Turn a regular pencil into a Harry Potter-style quill. Simply tape a large, colorful craft feather to the side of the pencil using electrical tape or colorful washi tape.
20. Initial Letters Bend a pipe cleaner or cut a piece of cardboard into the shape of the child’s first initial. Decorate it with glitter or sequins. It’s the ultimate way to say, “This pencil belongs to me!”
Step-by-Step: Making the “Monster” Topper (The Crowd Favorite)
Since Halloween is always a favorite theme (and monsters are fun year-round), here is a quick detailed guide for the most popular topper: The Felt Monster.
Supplies: Scraps of felt (purple, green, or orange), scissors, glue, googly eyes.
- Cut the Shape: Cut a rectangle of felt roughly 2 inches wide and 3 inches tall.
- Fringe the Hair: On one of the short ends, cut vertical slits about halfway down. This will be the monster’s crazy hair.
- Wrap it: Put a line of glue along the uncut bottom edge of the felt.
- Roll it: Place your pencil at one end of the glue line and roll the felt tightly around the pencil top. Hold it for a minute until the glue sets.
- Fluff and Decorate: Push the fringed “hair” down so it looks messy. Glue two (or three!) googly eyes onto the hair. You can cut tiny white triangles for fangs and glue them on too.
Voila! You have a study buddy that stares back at you while you write.
Conclusion: Making Memories with Stationery
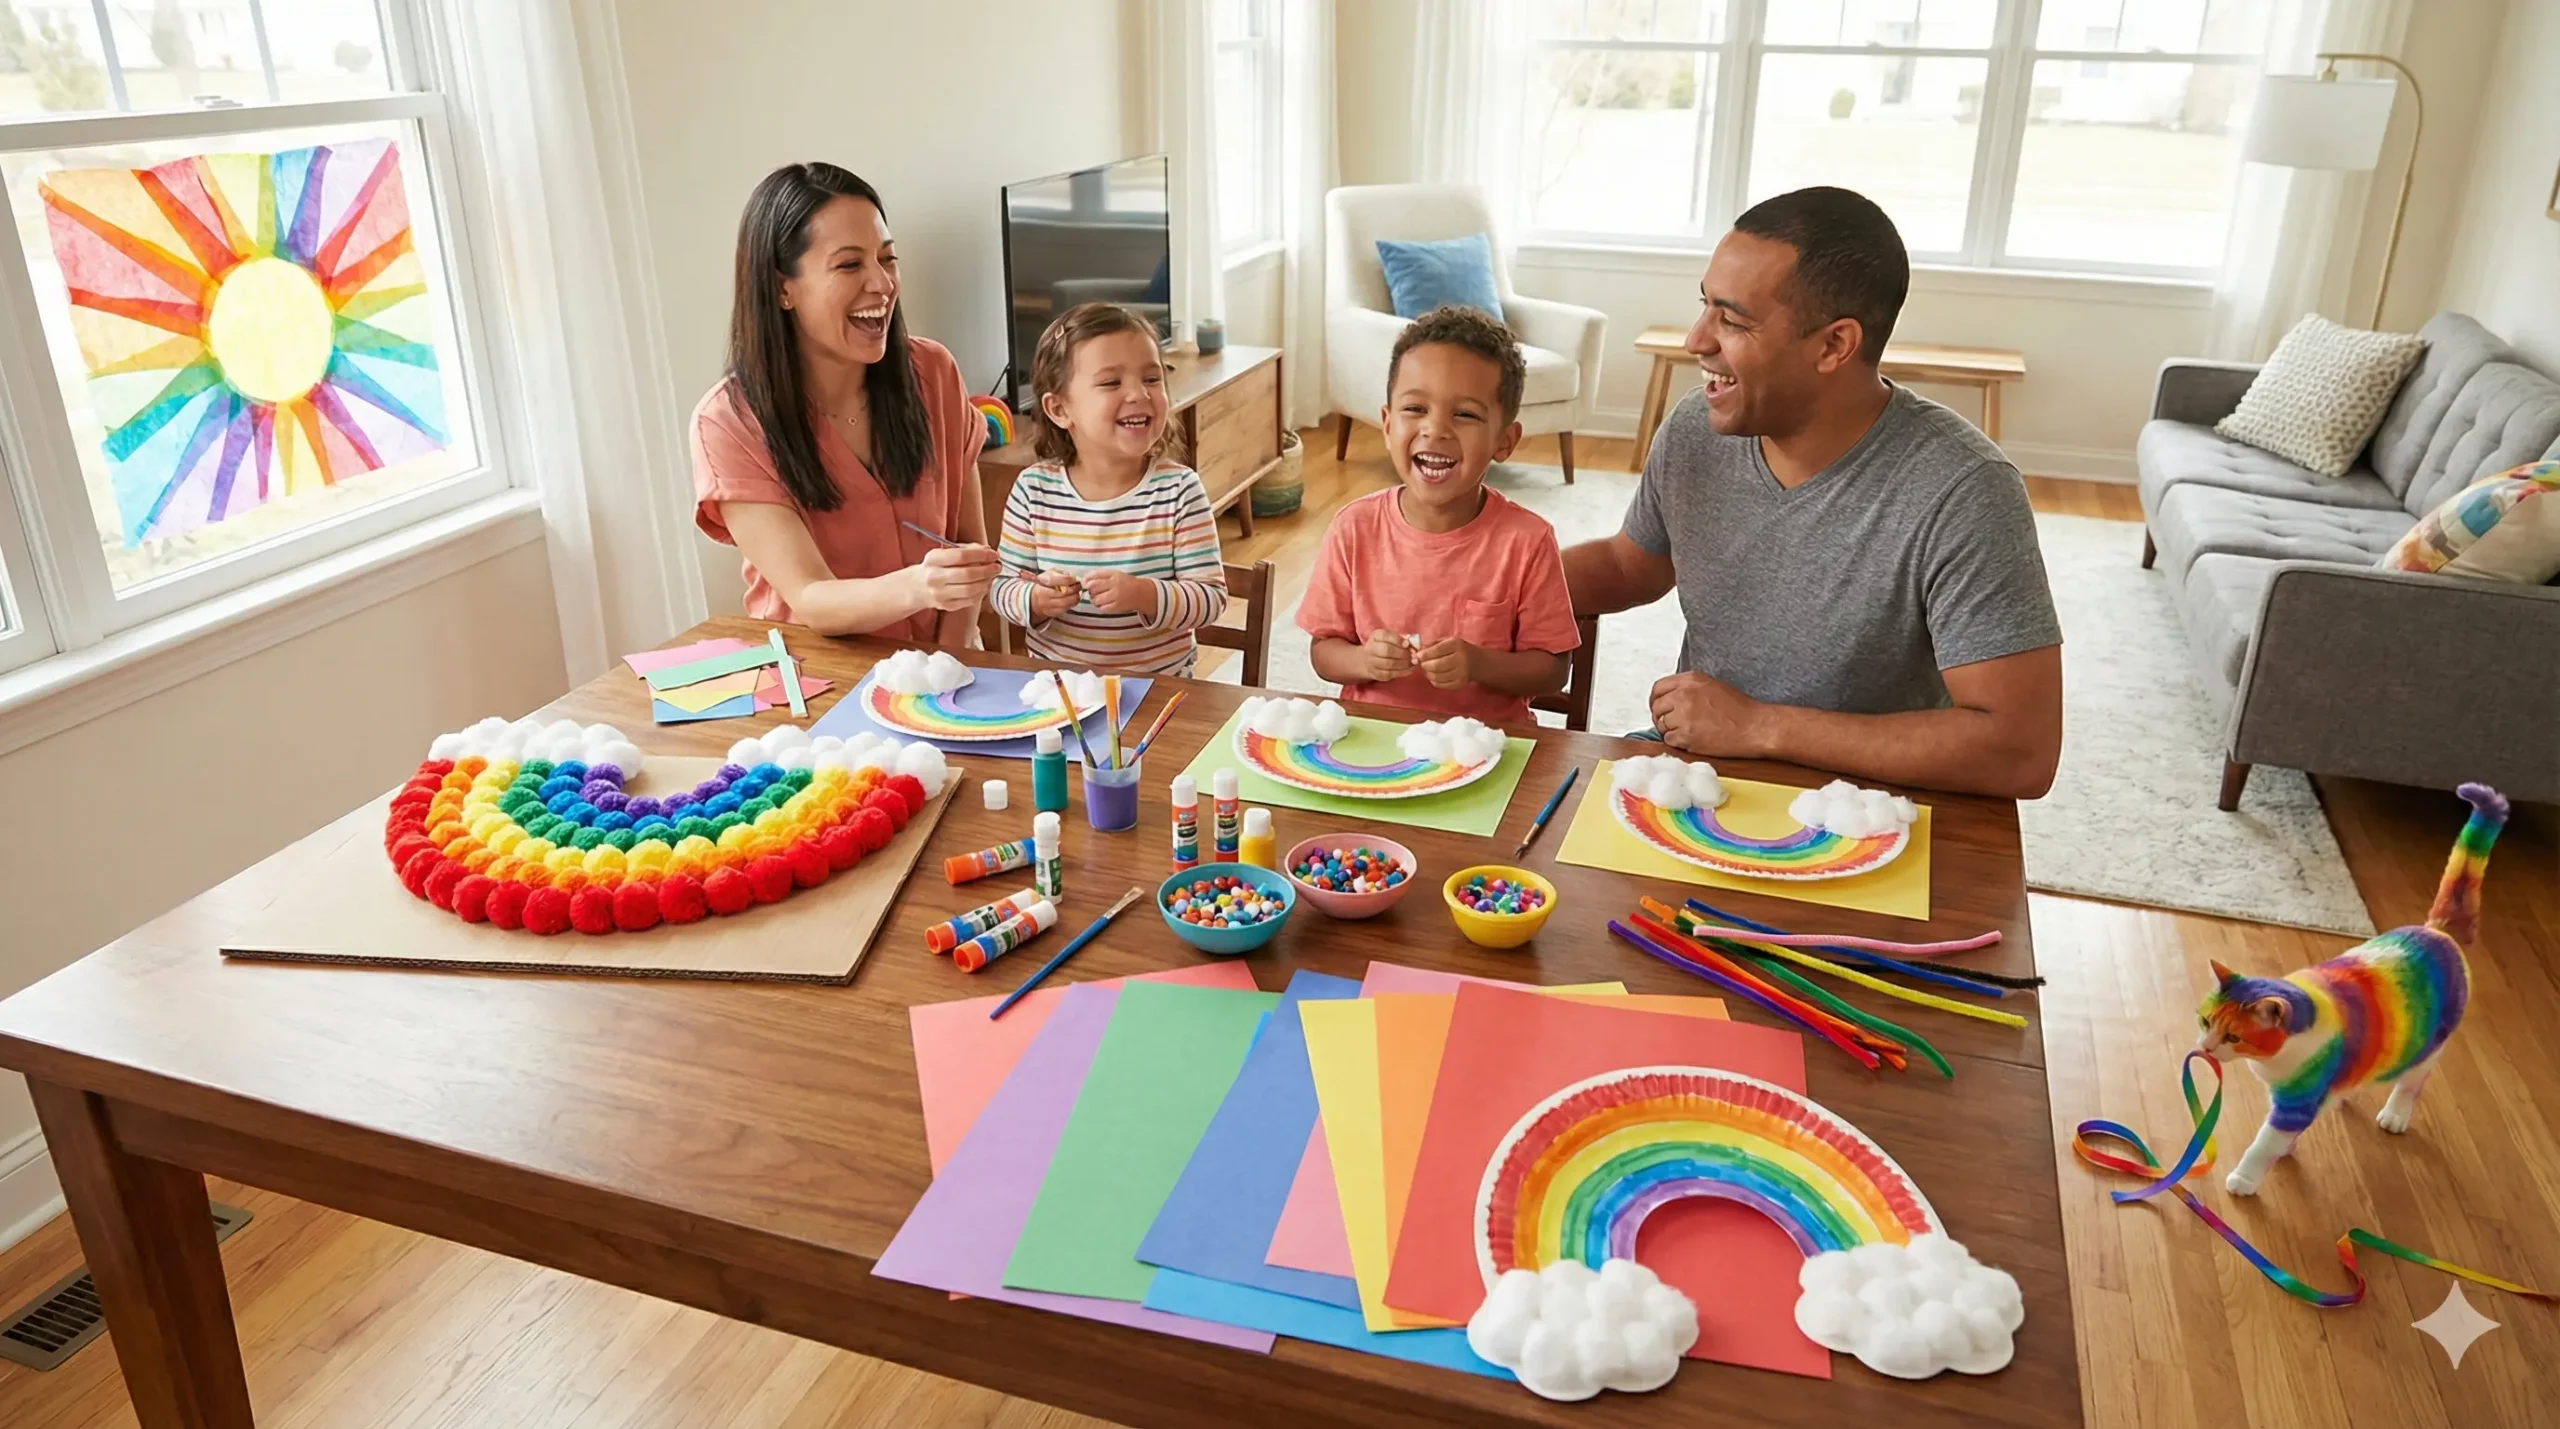
The beauty of these DIY pencil toppers isn’t just in the final product; it’s in the hour you spend sitting at the table with your kids, chatting, gluing, and creating. In a world dominated by screens, these tangible, tactile crafts provide a much-needed break.
Whether you are prepping for the first day of school, looking for a rainy day activity, or just want to bring a smile to your child’s face during homework hour, these 20 ideas are your starting point.