We believe in making life colorful no matter what the circumstances. Whether your children are heading back to a physical classroom or setting up for homeschooling at the dining table, schoolwork is just better when it’s fun. Today, we have an easy way to make writing, drawing, and homework much more interesting: DIY Pencil Toppers!
These pencil toppers are easy enough for kids to make (with a little adult supervision), and they won’t get bored because the possibilities are endless. We love pencil toppers because they are bright, quirky, and a fantastic way to personalize a boring yellow #2 pencil.
Beyond just being cute, these crafts serve a purpose. They make fabulous party bag activities, thoughtful handmade gifts for Valentine’s Day, and are a sweet gesture for Teacher Appreciation Week. If you are looking for a quick, simple, and budget-friendly stationery DIY, you have come to the right place.
Here are 20 creative DIY pencil topper ideas to spark your imagination, categorized by materials so you can use what you already have at home!
Why Crafting Pencil Toppers is Great for Kids
Before we dive into the list, let’s talk about why this specific craft is a winner for development:
- Fine Motor Skills: Wrapping pipe cleaners, threading beads, and cutting felt helps strengthen little fingers.
- Personal Expression: It allows kids to show off their personality on their desk.
- Motivation: A child is often more excited to pick up a pencil and write their spelling words if a cute monster or sloth is staring back at them.
The Felt Collection
Felt is forgiving, cheap, and comes in vibrant colors. It’s the perfect material for soft, durable toppers.
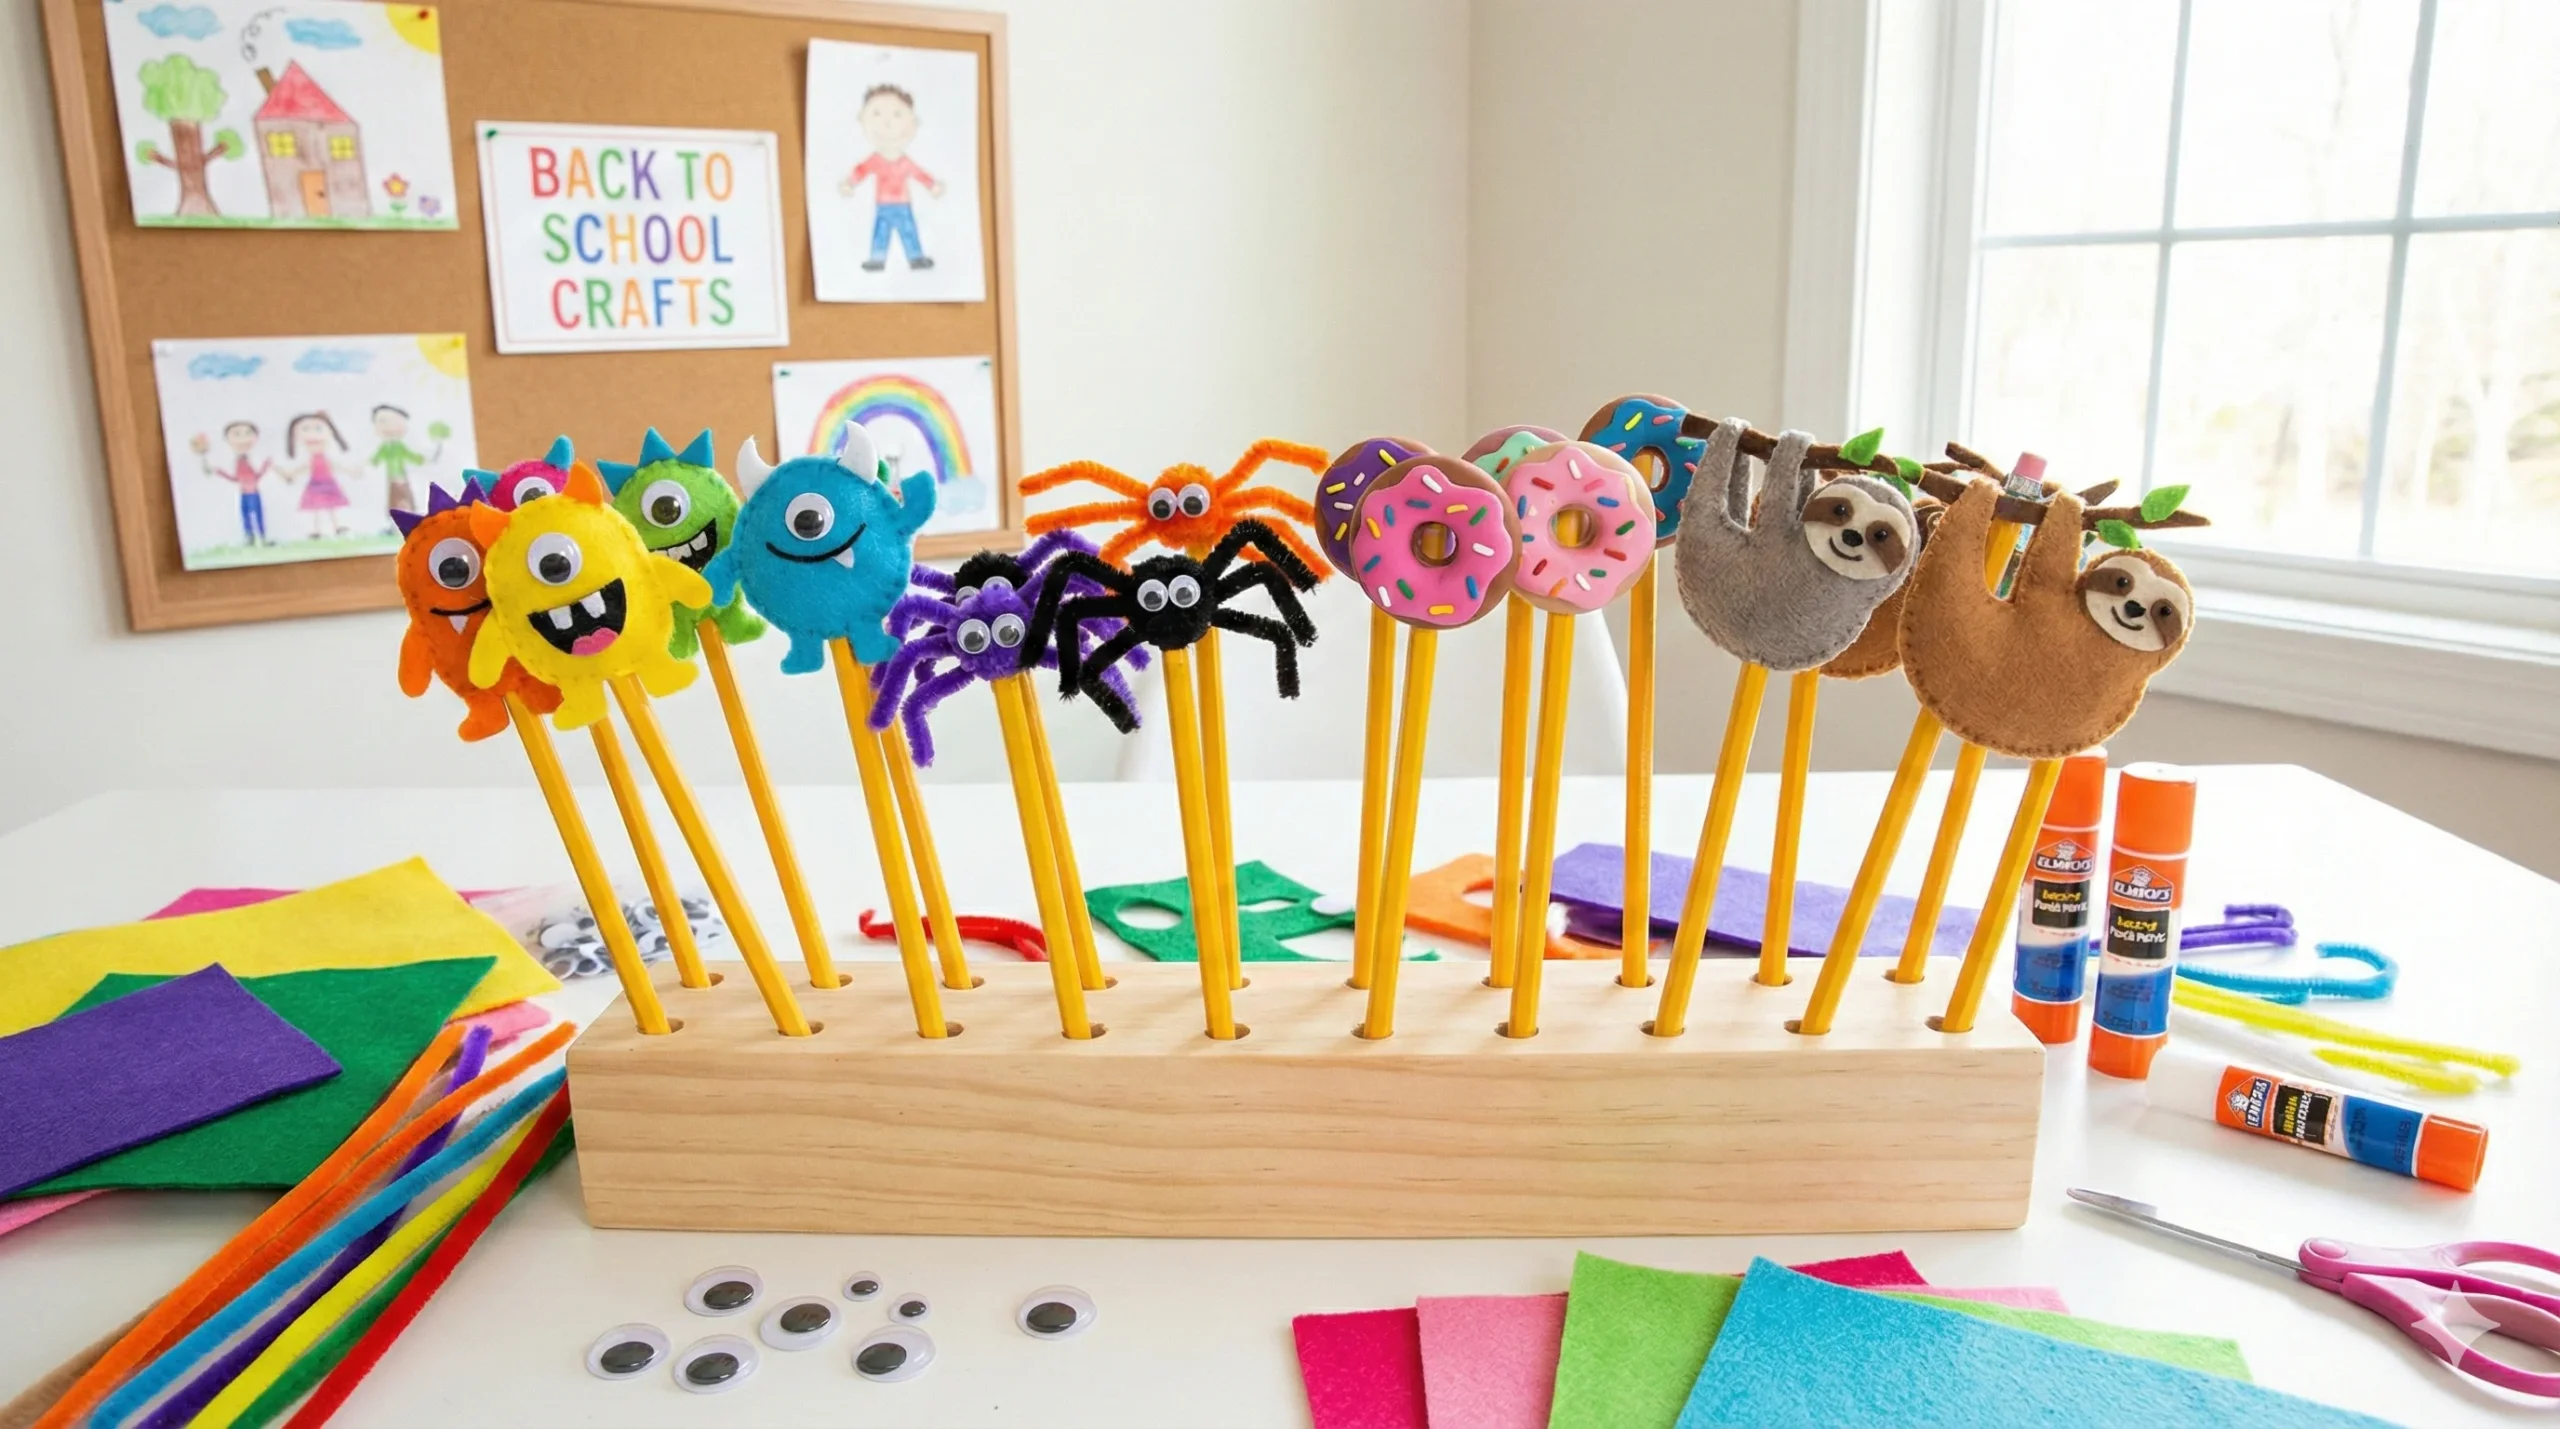
1. Googly Eye Monsters
With Halloween often around the corner during the school term, getting into the spooky mood is a must. These are incredibly simple.
- The How-To: Cut two identical arch shapes from bright felt (purple, neon green, or orange). Glue the edges together, leaving the bottom open for the pencil. The fun part? Go crazy with the decorations! Add three googly eyes, jagged felt teeth, or yarn hair.
2. The Happy Minion
Who doesn’t love those yellow, gibberish-speaking helpers? Just looking at them reminds us of happiness.
- The How-To: Use a yellow felt base. Cut a strip of blue felt for the overalls and a strip of black for the goggle strap. Use a silver marker or grey felt for the goggle lens. These are sure to bring a smile to any student’s face.
3. Sleepy Sloths
Sloths are trendy, adorable, and represent a relaxed vibe—something we all need during exam season!
- The How-To: These look best in soft pastel colors like beige or light grey. Cut a body shape that wraps around the pencil (like it’s climbing a tree). Use fabric glue to secure the arms around the pencil shaft. Add a sweet, sleepy face with a fine-tip black marker.
4. Tropical Pineapples
Bring some summer vibes into the winter months.
- The How-To: Cut two ovals from yellow felt and cross-hatch them with an orange marker to create texture. Sandwich the pencil between them. Don’t forget a spiky green felt crown on top!
5. Magical Unicorns
Unicorns are timeless.
- The How-To: Create a white horse head silhouette. The magic lies in the details: use gold glitter glue for the horn and rainbow yarn strands for the mane. These make excellent gifts for friends.
Pipe Cleaner Creations
Pipe cleaners (chenille stems) are a mess-free crafting staple. No glue required for most of these!
6. The Silly Spider
Great for Halloween or bug-loving kids.
- The How-To: Wrap a black pom-pom with four black pipe cleaners (so eight legs stick out). Twist the center around the top of the pencil. Glue two tiny googly eyes onto the pom-pom fluff.
7. Spiral Snakes
This is perhaps the easiest craft for toddlers and preschoolers.
- The How-To: Take two different colored pipe cleaners and twist them together. Tightly wrap them around the pencil to create a coil body. Leave one end sticking up and bend it to form a head. Glue on a red paper tongue.
8. Fluttering Butterflies
- The How-To: Form two loops from a pink pipe cleaner (wings) and twist them in the center. Use a purple pipe cleaner to wrap around the pencil and secure the wings in place. Bead the antennae for extra sparkle.
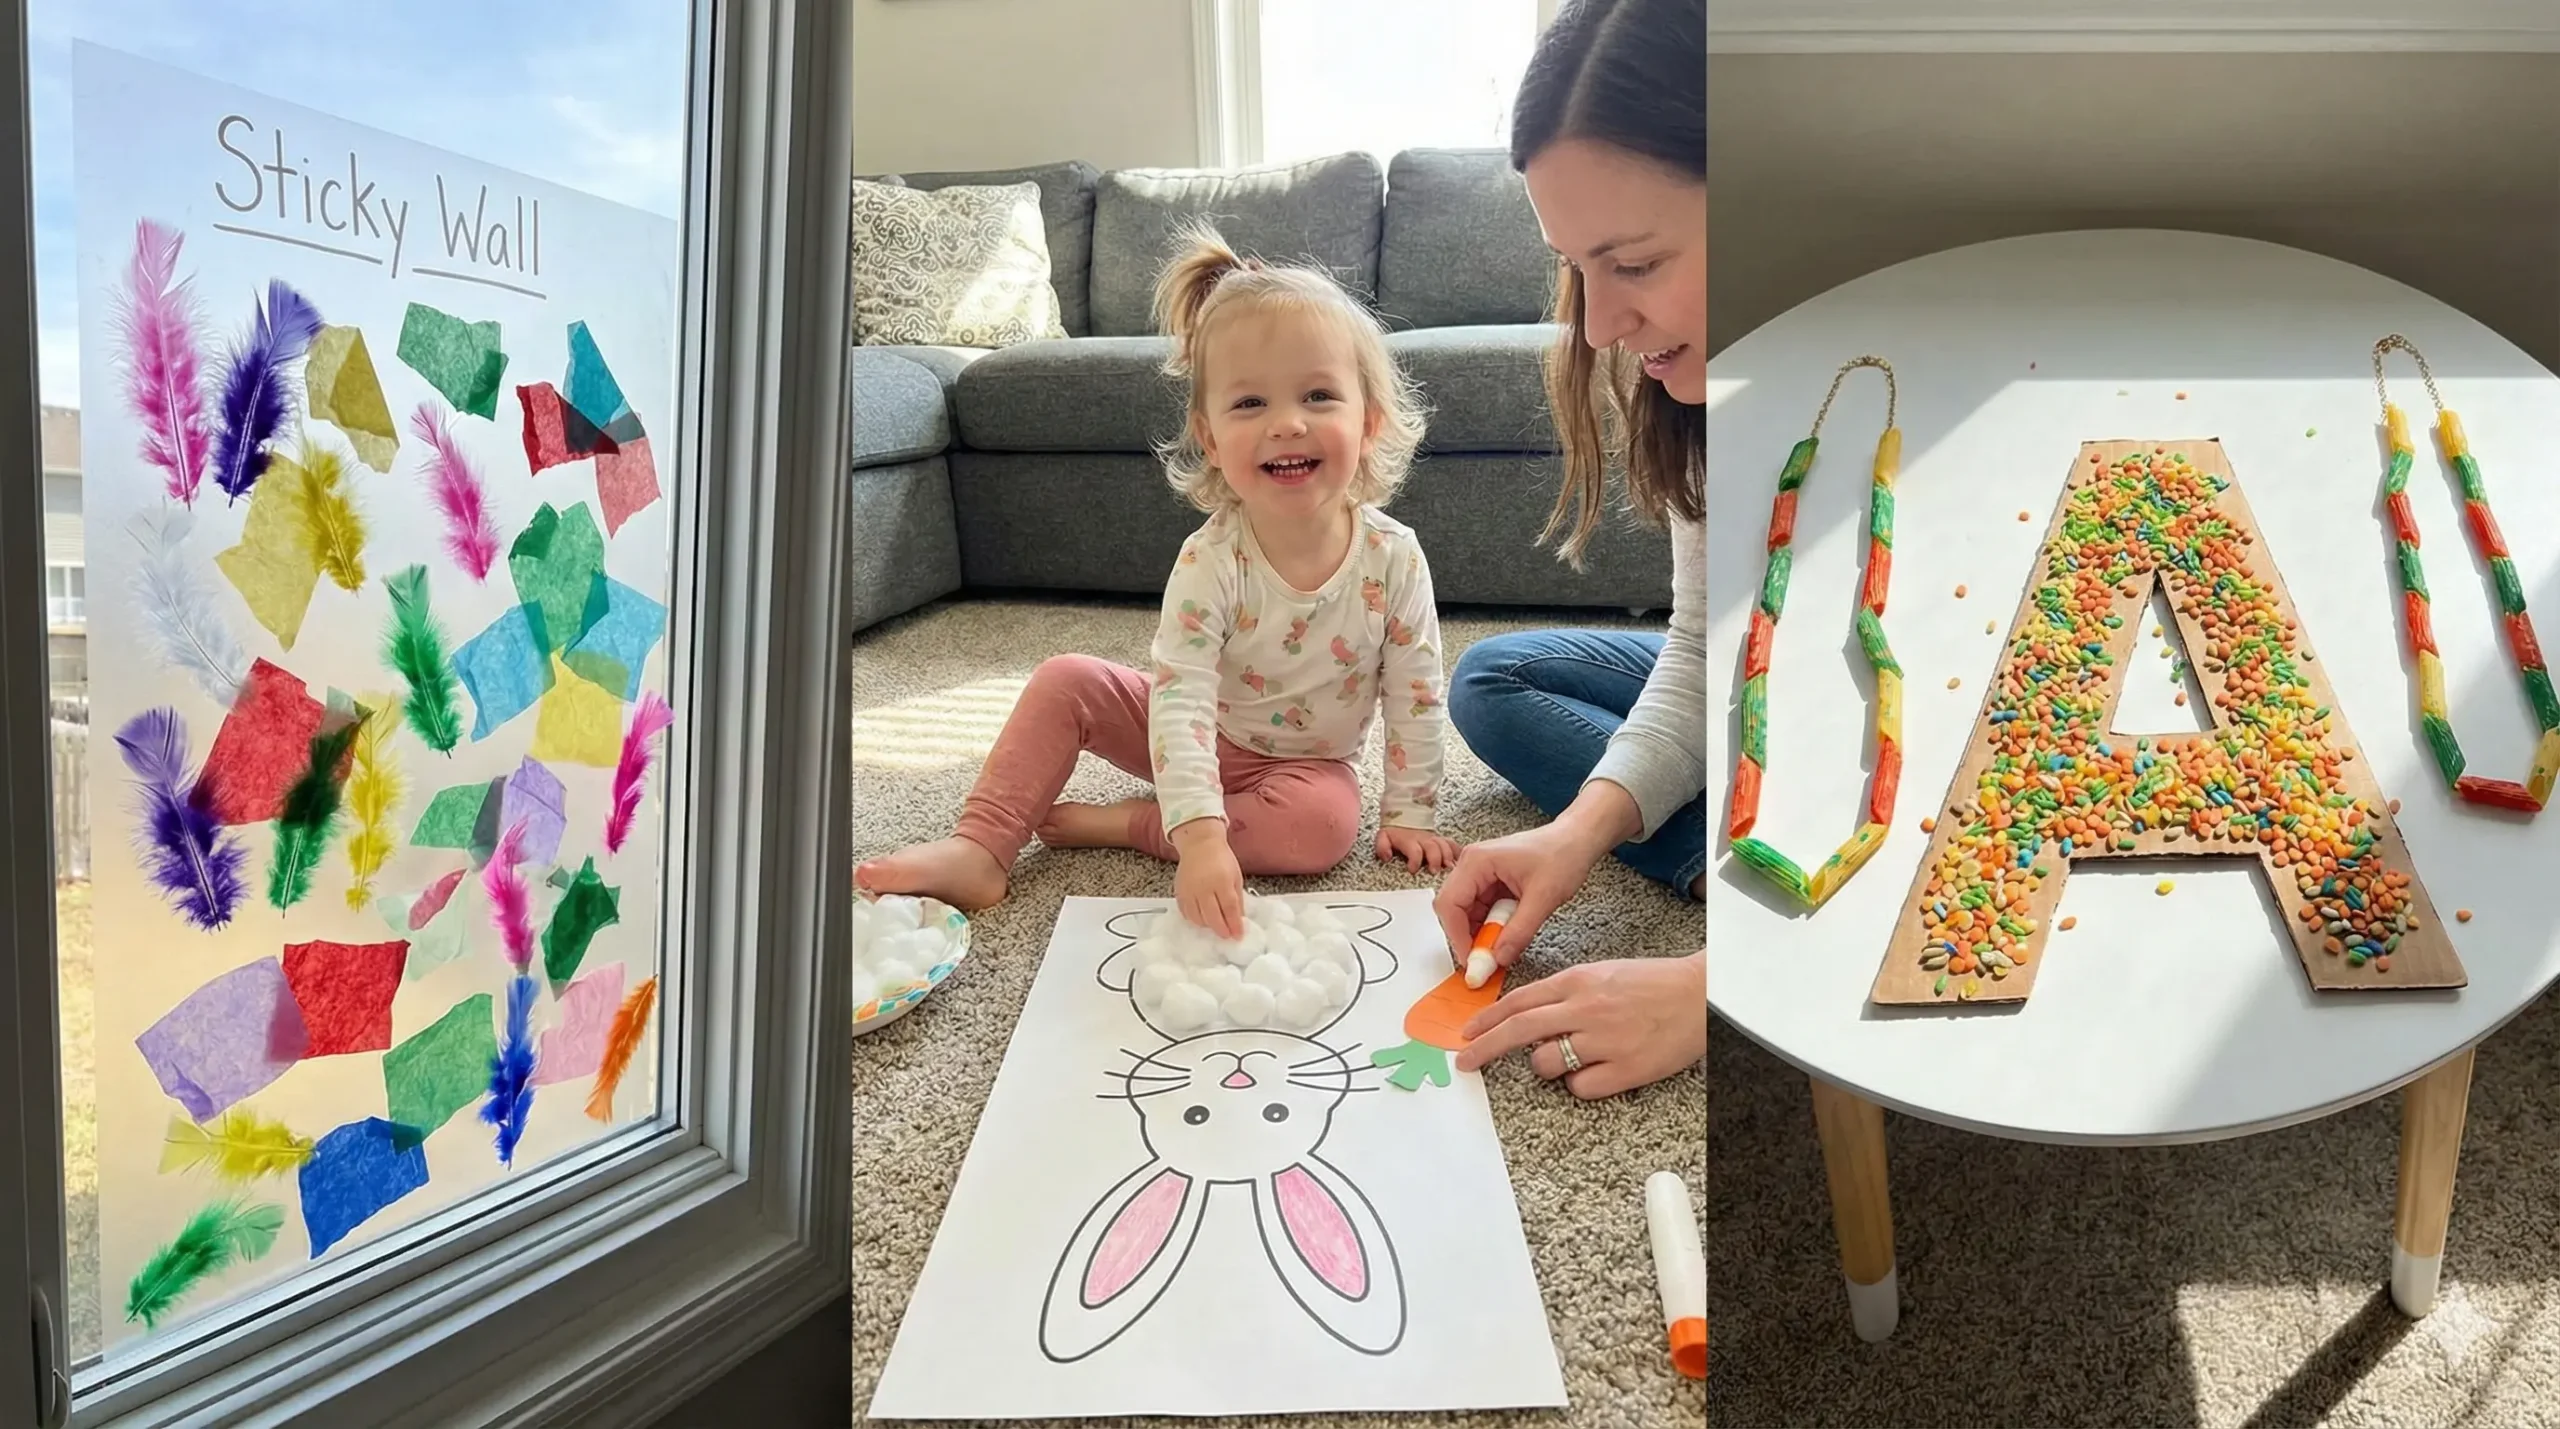
9. Bunny Ears
Perfect for Easter or spring.
- The How-To: Take a white pipe cleaner and form a “V” shape. Twist the bottom of the V around the pencil. Bend the two sticking-up ends into oval ear shapes. Use a pink marker to color the inside of the ears.
10. Buzzing Bees
- The How-To: Wrap yellow and black pipe cleaners alternately around the pencil tip. Twist a small piece of white pipe cleaner into a figure-8 shape and attach it to the back for wings.
Clay, Foam, and Upcycled Materials
Use what you have in your recycling bin or craft drawer.
11. Polymer Clay Donuts
If you have older kids who want a more professional look, polymer clay (which is baked in the oven) is fantastic.
- The Idea: Shape a ring of dough. Add a layer of pink clay for “frosting” and use real sprinkles (or clay bits) on top. Poke a hole the size of the pencil before baking!
12. Pom-Pom Ice Cream Cones
- The How-To: Make a cone shape out of tan craft foam or heavy cardstock. Glue a colorful pom-pom on top. Add a tiny red bead as a cherry. These are lightweight and won’t make the pencil top-heavy.
13. Washi Tape Flags
The quickest craft on the list!
- The How-To: Take a strip of colorful Washi tape. Fold it over the top of the pencil so it sticks to itself. Use scissors to cut a triangle out of the end to create a banner or flag look. You can write motivating words like “You Got This!” on the flag.
14. Emoji Air-Dry Clay
Air-dry clay is lightweight and easy to paint.
- The Idea: Roll a ball of clay and push it onto the end of the pencil. Let it dry completely (24 hours). Paint it yellow and add your favorite emoji expression—heart eyes, sunglasses, or the laughing face.
15. Feather Birds
- The How-To: Glue a large colorful feather to the side of the pencil eraser. Add a small beak made of orange foam and two eyes. When you write, the feather bobbles and shakes!
16. Button Stacks
Do you have a jar of mismatched buttons?
- The How-To: Thread a pipe cleaner through the holes of buttons, stacking them from largest to smallest to create a tree or a pyramid shape. Twist the bottom of the wire around the pencil.
17. Origami Hearts
Paper folding is a great brain exercise.
- The Idea: Fold a small square of paper into a heart or a crane. Leave a small opening at the bottom to slide the pencil cap in. Secure with a dot of glue if needed.
18. Tassel Toppers
- The How-To: Make a small tassel using embroidery floss or thin yarn. Attach it to the metal band of the pencil using a dab of hot glue or a rubber band. It creates a fun “swish” movement while writing.
19. Foam Star Wands
- The How-To: Cut two star shapes out of glitter foam sheets. Glue the edges together with the pencil inside. It makes every writing assignment feel like casting a spell.
20. Personalized Name Initials
- The Idea: Cut the first letter of the child’s name out of thick cardboard or stiff felt. Decorate it with sequins or paint. It ensures no one accidentally steals their pencil!
A Quick Step-by-Step Tutorial: The “Monster” Topper
If you are ready to start right now, here is the detailed breakdown for the most popular choice: The Felt Monster.
Supplies Needed:
- Felt scraps (various colors)
- Scissors
- Craft glue (or a hot glue gun for adults)
- Googly eyes
- A pencil
Instructions:
- Cut the Shape: Cut a rectangle of felt approximately 1.5 inches wide and 3 inches long. Fold it in half.
- Trim: Round off the top corners with your scissors to give it a head shape.
- Glue: Run a line of glue along the two sides, leaving the bottom open. Press the edges together. Tip: Insert the pencil while gluing to ensure it fits, then remove it to let it dry.
- Hair: Snip small cuts into the top of the felt (making a fringe) to create “hair.”
- Face: Glue on your eyes. Cut a jagged mouth from white felt and glue it on.
- Dry: Let it sit for 30 minutes before using.
Final Thoughts
Crafting is about the process, not just the result. When you sit down with your kids to make these DIY pencil toppers, you aren’t just making stationery; you are making memories. These little colorful additions to their pencil cases serve as a reminder that learning can be fun and creativity has a place in the classroom.