In a world filled with digital pings and instant messages, the tactile beauty of a handmade card has become a rare and cherished treasure. As we embrace the “Mindful Gifting” trend of 2026, creating a personalized birthday card is no longer just a rainy-day activity—it’s a meaningful way for children to practice empathy and express their unique artistic voice.
Whether you are heading to a classmate’s party or making a special keepsake for a grandparent, these 20 DIY birthday card ideas are designed to be easy, colorful, and completely customizable. Best of all, they use simple supplies you likely already have in your craft drawer.
Why Handmade Cards Matter
There is a unique charm in a card that isn’t perfectly symmetrical or professionally printed. For kids, the act of making a card involves:
- Creative Problem Solving: Deciding which colors and textures best represent their friend.
- Fine Motor Development: Cutting, gluing, and the precise work of “quilling” or “beading.”
- Literacy Skills: Crafting the perfect message to go inside.
20 Creative DIY Birthday Card Ideas
1. The 3D “Calorie-Free” Cake Card
You can’t have a birthday without a cake! Create a multi-tiered cake by cutting three rectangles of patterned cardstock in decreasing sizes. Use foam adhesive dots to stack them on the front of the card for a 3D effect. Add “flames” made from scraps of yellow glitter paper and “frosting” using white puffy paint.
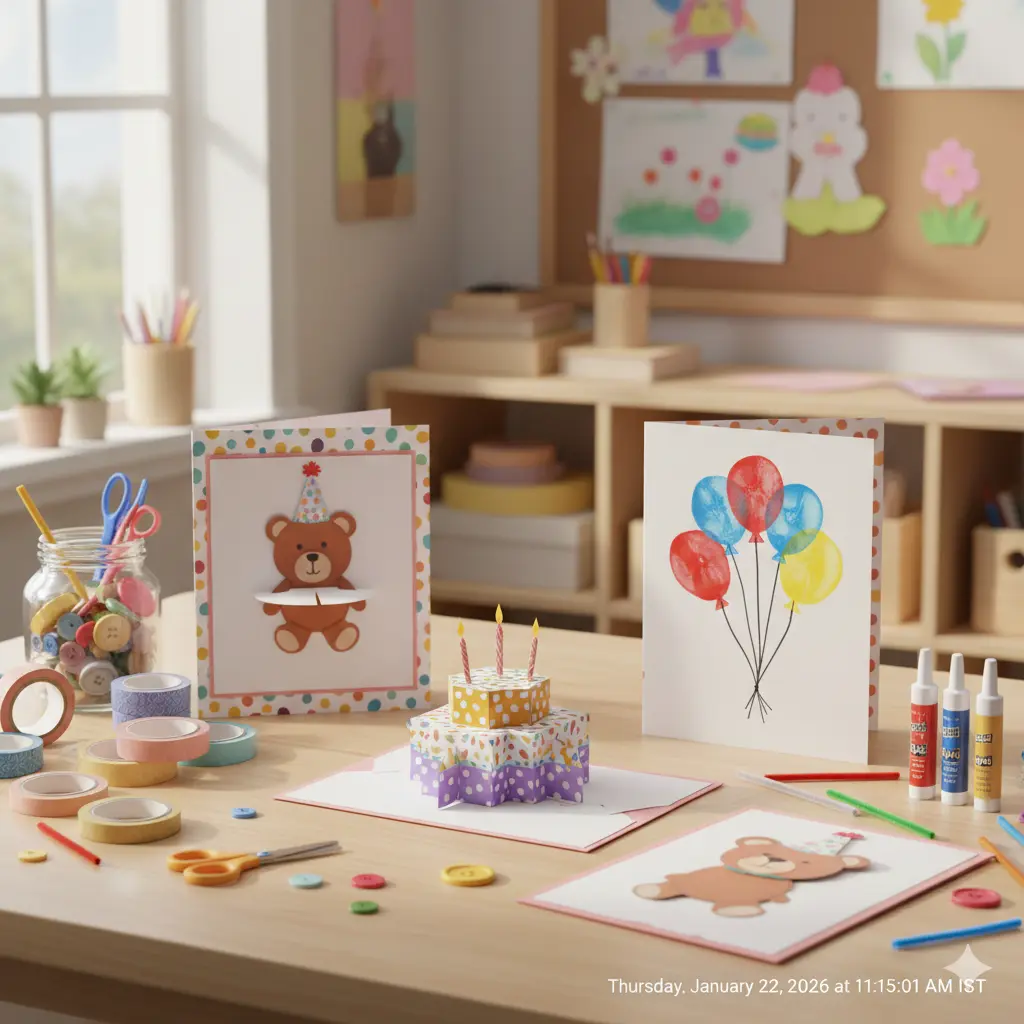
2. The Pop-Up Party Bear
This card features a surprise guest! Fold a piece of cardstock in half and make two small parallel slits on the fold. Push the resulting “tab” inward so it stands up when the card opens. Glue a hand-drawn bear wearing a tiny paper party hat onto the tab. It looks like the bear is jumping out to join the celebration!
3. Washi Tape “Candle” Card
If you’re short on time, this is a lifesaver. Place vertical strips of different patterned washi tapes on the front of a blank card. Draw a small flame at the top of each strip with a gold marker. In seconds, you have a vibrant row of birthday candles that look modern and stylish.
4. Fingerprint Balloon Bunch
Perfect for younger children. Have the child dip their thumb into various bright acrylic paints and press them onto the card. Once dry, draw thin black lines from the bottom of each “balloon” to a single point, creating a colorful bunch. It’s a personalized keepsake that captures the size of their little hands.
5. Upcycled Scrap Paper Collage
Sustainability is a major focus in 2026. Instead of buying new paper, gather scraps from previous projects. Cut them into random geometric shapes—triangles, circles, and crescents—and layer them to create an abstract, mosaic-style background. Top it with a bold “Happy Birthday” sticker or hand-lettered message.
6. Pressed Flower “Botanical” Card
For a spring or summer birthday, use nature as your palette. Lightly glue a few pressed pansies or daisies onto a piece of high-quality watercolor paper. This creates an elegant, sophisticated card that feels much more expensive than a store-bought version.
7. Button-Centered Flower Card
Dig through the spare button jar! Glue bright, colorful buttons onto the card to serve as the centers of flowers. Draw the petals and stems around them with markers. The different sizes and textures of the buttons add a playful, tactile element.
8. Hand-Stitched Constellation Card
For the budding astronomer, use a needle and metallic thread to “sew” the recipient’s zodiac constellation onto dark blue cardstock. It’s a quiet, meditative craft that results in a truly one-of-a-kind piece of art.
9. The “Neverending” Folding Card
This is a puzzle and a card in one. Using specific folding techniques, you can create a card that flips and rotates infinitely, revealing four different “hidden” messages or drawings. It’s guaranteed to be the talk of the gift table!
10. Ribbon-Wrapped “Gift Box” Card
Glue a square of beautiful floral fabric or paper to the center of the card. Tie a real satin ribbon around it with a tiny bow, making the card front look like a miniature wrapped present.
11. Watercolor Resist Card
Write “Happy Birthday” or the recipient’s name in white wax crayon on white cardstock. Have your child paint over the entire surface with vibrant watercolors. The wax will “resist” the paint, making the hidden message magically appear in white.
12. Paper Clip “Balloon” Card
Bend colorful paper clips into heart or balloon shapes and glue them to the card. It’s a clever way to use office supplies for a minimalist, “industrial-chic” look that older kids will appreciate.
13. Pom-Pom Cupcake Card
Draw a simple cupcake liner. Glue a single, oversized fluffy pom-pom on top to represent a giant swirl of frosting. Add a few tiny “sprinkles” using multi-colored beads.
14. Yarn-Haired Portrait Card
Draw a simple “emoji” face of the birthday boy or girl. Use scraps of yarn for the hair—braiding it, curling it, or letting it stand up wildly. It’s a hilarious and personalized way to say “Happy Birthday.”
15. The “Secret Message” Decoder Card
Write the main message in light yellow marker and then “hide” it by scribbling over it with a red marker. Provide a piece of red cellophane for the recipient to hold over the card, which will reveal the yellow message underneath!
16. Nature-Print “Leaf” Card
Similar to the butterfly leaf prints, use the underside of a leaf as a stamp. Use “Spring Green” and “Petal Pink” paints to create a repeating pattern that looks like designer stationery.
17. Glitter Glue Galaxy Card
On black cardstock, use swirls of purple, blue, and silver glitter glue to create a shimmering galaxy. It’s messy, fun, and looks spectacular under party lights.
18. Origami Heart Card
Fold a simple origami heart from a piece of square paper and glue only the center to the card, allowing the “wings” of the heart to pop out. It’s simple, sweet, and classic.
19. “Age” Die-Cut Card
Celebrate a milestone! Cut the number of the birthday out of the front of the card. Glue a piece of bright, contrasting patterned paper to the inside of the card so it shows through the number-shaped window.
20. Stencil and Sponge Card
Create your own stencils out of scrap cardboard—stars, hearts, or lightning bolts. Use a small sponge to “dab” paint through the stencil onto the card. This creates a soft, textured look that is very easy for small children to master.
SEO Insights for DIY Creators
If you’re documenting your card-making process, keep these 2026 search trends in mind:
- Low-Waste Crafting: Highlighting projects that use household scraps.
- Tactile Art: Using 3D elements like buttons, yarn, and pom-poms.
- Personalized Stationery: The shift toward one-of-a-kind, “slow” gifts.
Conclusion: Small Effort, Big Impact
A birthday card doesn’t need to be a masterpiece to be meaningful. The “unique copy” aspect of a handmade card is what makes it special—it shows the recipient that you took time out of your day to think solely of them.