Have you ever heard someone use the phrase “sweating like a pig”? It is one of those common sayings we hear all the time, but if you look at the science, it is actually quite a funny mistake! In reality, pigs don’t sweat at all. They lack functional sweat glands, which is exactly why you see them happily splashing around in mud puddles. The mud acts as a natural coolant and sunscreen for their skin.
Whether they are cooling off in the mud or snuffling for treats, pigs are some of the most intelligent and charming animals on the farm. In fact, they are so beloved that March 1st is officially designated as National Pig Day!
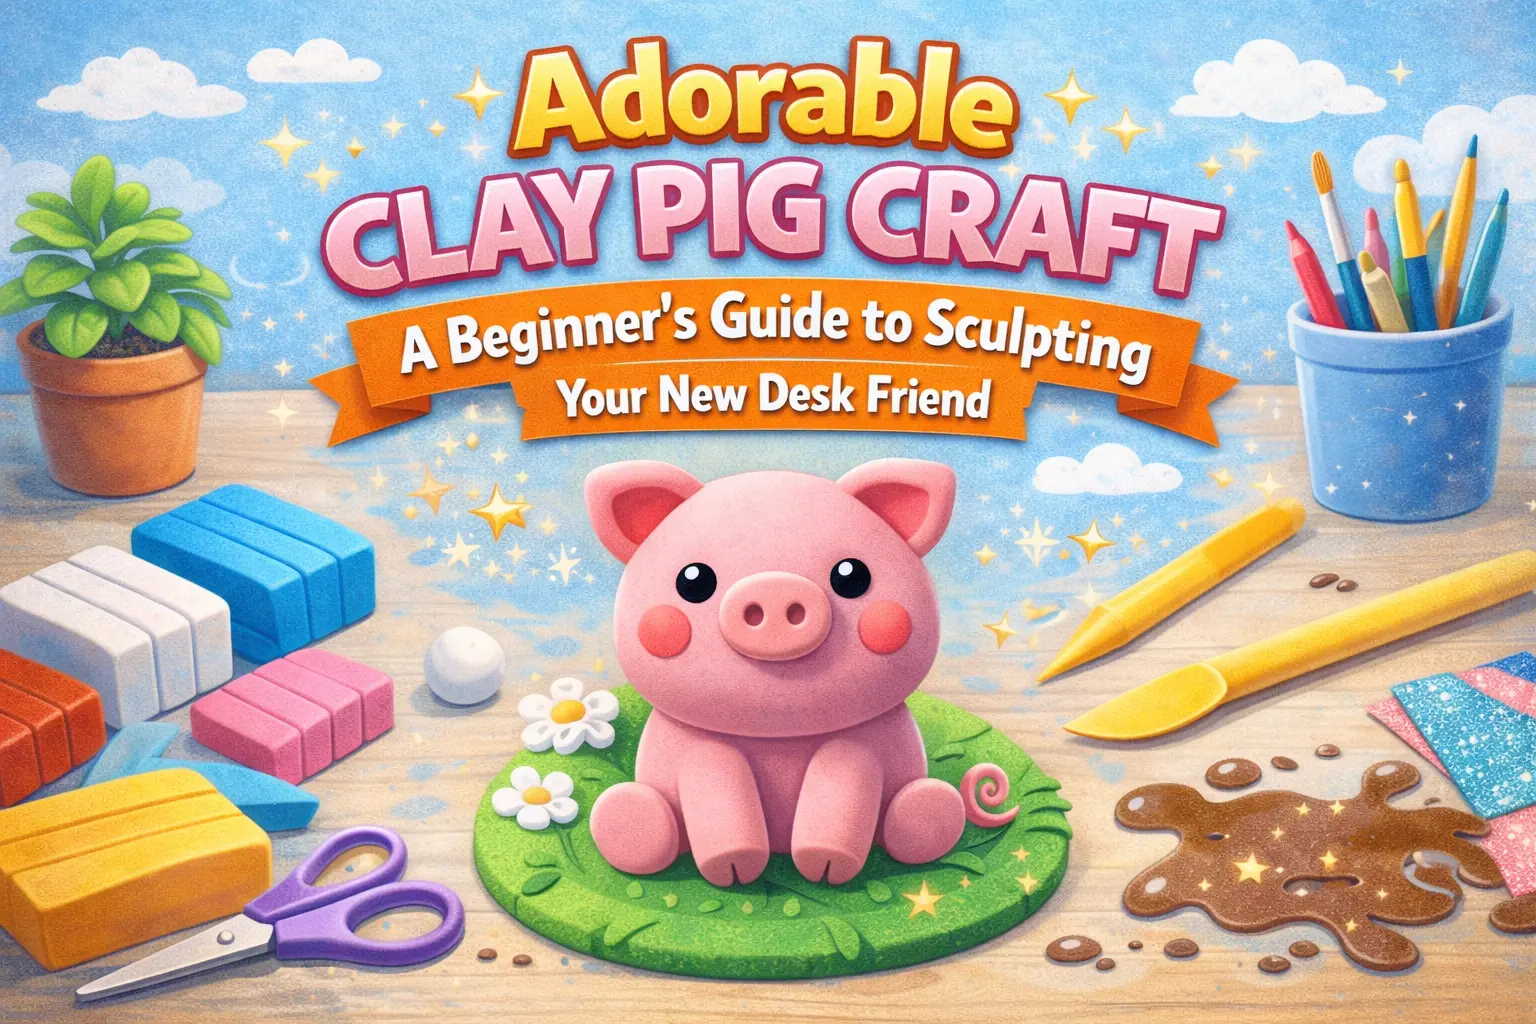
To celebrate these smart, pink wonders, we have put together an easy-to-follow Clay Pig Craft Tutorial. This project is perfect for beginners, kids, and anyone who wants to add a dash of “oink-tastic” charm to their desk or bookshelf. Using lightweight foam clay, you can create a durable, cute little companion that doesn’t require a kiln or messy cleanup.
Why Clay is the Perfect Medium for Kids
Working with clay—especially foam clay—is a fantastic developmental activity. Unlike traditional ceramic clay, foam clay is:
- Air-Drying: No need for an oven; just leave it out overnight.
- Mess-Free: It doesn’t stick to hands or tabletops the way playdough or pottery clay does.
- Sensory-Friendly: The squishy, soft texture is great for relieving stress and building hand strength.
- Lightweight: Once dry, the finished pig is light enough to be turned into a keychain or a Christmas ornament.
Supplies Required
Before we start “playing in the mud” (metaphorically speaking!), gather these basic supplies:
- Foam Clay: You will need two shades of pink (a light pastel pink and a deeper rose pink), a small amount of black, and a touch of white.
- Clay Sculpting Tools: A basic plastic knife, a ball-tool (for indentations), and a needle tool (or a toothpick).
- A Clean Workspace: A silicone mat or a piece of parchment paper works best to prevent sticking.
How to Make the Clay Pig Craft: Step-by-Step
Step 1: Preparing the Base Colors
Every great sculpture starts with preparation. Take your foam clay and knead it slightly to make it extra pliable. You should have two primary balls of clay ready:
- Light Pink: This will form the bulk of your pig, including the head, body, ears, and limbs.
- Dark Pink: This will be used for the accent details like the inner ears and the iconic snout.
Step 2: Sculpting the Head
Take a generous chunk of the light pink clay and roll it between your palms until it forms a smooth, crack-free ball.
- Pro Tip: If your clay has cracks, add a tiny drop of water or keep rolling; the warmth of your hands helps smooth the surface. This ball will serve as the pig’s head. Set it aside gently on your mat.
Step 3: Crafting the Ears
Pigs have adorable, floppy ears that give them a lot of personality.
- Pinch out two small, equal-sized balls of light pink clay.
- Take two even smaller pieces of dark pink clay (about half the size of the light pink ones).
- Flatten the light pink balls into small discs. Flatten the dark pink balls on top of them.
- Pinch one end to create a teardrop shape, then fold the tip over slightly to give it that “floppy” look.
Step 4: The Snout (The Most Important Part!)
What is a pig without its snout?
- Take a small piece of dark pink clay and roll it into an oval.
- Flatten it slightly so it looks like a thick disc.
- Press it onto the center of the light pink head.
- Using your toothpick or a small sculpting tool, poke two small holes in the center of the dark pink disc for the nostrils.
Step 5: Bringing the Pig to Life (The Eyes)
Eyes are the window to the soul—even for a clay pig!
- Use your ball tool to make two small indentations just above the snout.
- Roll two tiny balls of black clay and press them into the holes.
- For an “extra cute” look, add a microscopic dot of white clay to the top corner of each black eye to create a “sparkle” or reflection.
Step 6: The Body and Limbs
Roll a larger oval of light pink clay for the body. It should be slightly larger and heavier than the head.
- To make the legs, roll four small cylinders of light pink clay.
- Attach them to the bottom of the body oval.
- Press the head onto the front of the body. Foam clay usually sticks to itself easily, but if it has started to dry, a tiny dab of water acts as “glue.”
Step 7: The Curly Tail
No pig is complete without its signature corkscrew tail!
- Roll a very thin “snake” of light pink clay.
- Wrap it around a toothpick or your pinky finger to create a spiral.
- Gently pull it off and attach it to the back of the pig.
Fun Pig Facts for National Pig Day
While you wait for your clay pig to air-dry (usually takes 12–24 hours), here are some fun facts to share:
- Super Sniffers: Pigs have an incredible sense of smell. They are even trained in some parts of the world to find truffles buried deep underground!
- Smarty Pants: Research has shown that pigs are as smart as (and sometimes smarter than) three-year-old human children. They can learn tricks, recognize their names, and even play simple video games with joysticks.
- Clean Animals: Despite the “dirty as a pig” stereotype, they are actually very clean. They never go to the bathroom where they sleep or eat if they have a choice.
- Social Butterflies: Pigs love to sleep “snout-to-snout” with their friends and family. They are very social creatures that form close bonds.
Tips for Clay Success
- Storage: Always keep unused foam clay in an airtight container or Ziploc bag. It starts to dry the moment it hits the air!
- Scale: If you want to make a “Pig Family,” vary the sizes of your light pink clay balls. Make a large “Mama Pig” and several tiny “Piglets.”
- Display: Once your pig is fully dry, it will be firm and slightly bouncy. You can use a permanent marker to write your name or the date on the bottom.
Conclusion
Crafting a clay pig is a wonderful way to celebrate National Pig Day and explore the world of 3D art. It teaches patience, follows a logical sequence of steps, and results in a handmade treasure that lasts much longer than a drawing on paper.
Whether you’re making this for a school project or just for fun, remember that every pig is unique—some might have bigger ears, and some might have shorter snouts, but they are all “some pig!”