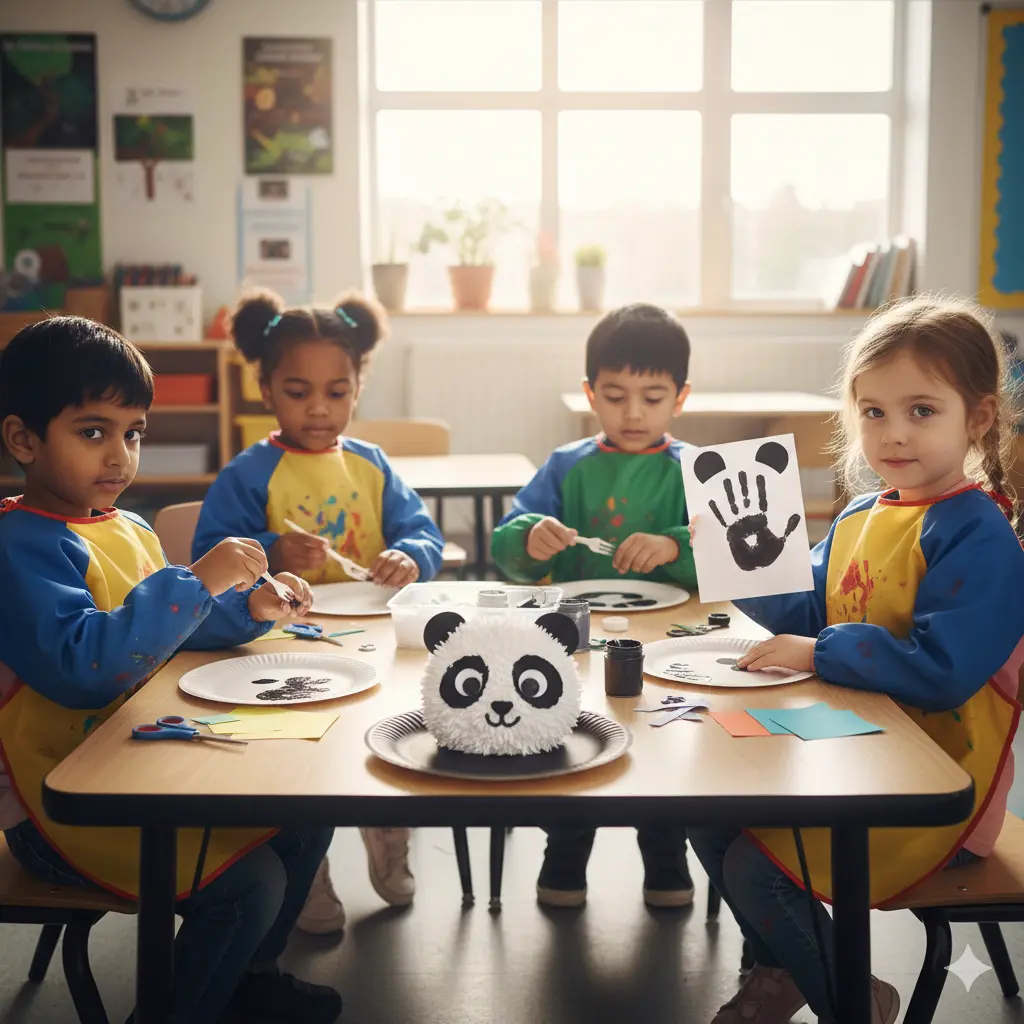
As soon as the first amber leaf falls from the trees and the air takes on that familiar autumn chill, the excitement for the “spooky season” begins. For families and educators, this transition marks the start of the hunt for the perfect costumes, festive home decor, and, most importantly, engaging activities to keep little hands busy.
While we have all seen classic Halloween crafts made from popsicle sticks, paper plates, or toilet paper tubes, we wanted to introduce something a bit more architectural and unique this year. By using the simple technique of paper rolling, kids can create 3D characters that stand on their own—perfect for a windowsill display or a Thanksgiving table centerpiece.
Today, we are sharing a step-by-step guide to creating four iconic fall characters: Frankenstein, a Spooky Black Cat, a classic Jack-O-Lantern, and a festive Thanksgiving Turkey.
Why “Rolled Paper” Crafts Are Great for Development
Beyond just being cute decorations, rolled paper crafts offer significant developmental benefits for children:
- Spatial Awareness: Transitioning a flat piece of 2D paper into a 3D cylinder helps kids understand geometry and volume.
- Precision and Control: The act of rolling paper tightly and securing it requires focus and fine motor coordination.
- Versatility: Once a child masters the “basic roll,” they can apply the technique to create almost any character imaginable.
Essential Supplies for Your Autumn Craft Session
Before you begin your crafting marathon, gather these basic supplies. Most of these are likely already in your art bin:
- Colored Craft Paper: You will need green (Frankenstein), orange (Jack-O-Lantern), black (Cat), and brown/red/yellow (Turkey).
- Googly Eyes: Various sizes to give each character a unique personality.
- Sharpies or Permanent Markers: For drawing stitches, whiskers, and smiles.
- Scissors: Child-safe scissors for cutting the strips.
- Craft Glue or Double-Sided Tape: Glue sticks work well, but a small dot of liquid glue or tape provides a more secure hold for the rolls.
1. The Thanksgiving Turkey: A Fall Special
We are starting our collection with the Turkey, which serves as a perfect bridge between Halloween and Thanksgiving celebrations.
Step-by-Step Instructions:
- Create the Body: Cut a broad strip of brown craft paper (approximately 4 inches wide and 8 inches long). Apply glue to one short end.
- The Roll: Carefully roll the paper into a cylinder so the unglued end overlaps the glue. Hold it for a few seconds until it stays in place. This is your turkey’s body.
- Feather Fan: Cut several “teardrop” shapes from red, yellow, and orange paper. Glue these in a fan shape to the back of your brown roll.
- The Face: Cut a small yellow triangle for the beak and a red “wiggle” for the wattle. Glue them to the front along with two googly eyes.
2. Frankenstein’s Monster: The Gentle Green Giant
No Halloween lineup is complete without the world’s most famous misunderstood monster!
Step-by-Step Instructions:
- The Base: Create a cylinder using bright green craft paper.
- The Hair: Cut a strip of black paper with a “zigzag” or jagged edge on one side. Wrap this around the top of the green cylinder and glue it down.
- Monstrous Details: Use a black Sharpie to draw a “scar” or stitches on his forehead.
- The Bolts: Cut two small grey rectangles and fold the ends to glue them to the sides of the roll—these are his iconic neck bolts. Add googly eyes to finish his look.
3. The Spooky Black Cat: A Midnight Favorite
This black cat is more “cute” than “scary,” making it a hit for younger children.
Step-by-Step Instructions:
- The Base: Roll a strip of black craft paper into a sturdy cylinder.
- The Ears: Cut two small black triangles. Glue them to the inside of the top rim of the cylinder so they poke out.
- The Tail: Cut a long, curved “S” shape from black paper. Attach it to the back of the roll so it curls around the side.
- The Face: Use a white or silver paint marker (or small paper scraps) to add whiskers. Place bright green googly eyes or paper circles to give the cat that classic “glowing eyes” look.
4. The Jack-O-Lantern: The Heart of Hallowee
The glowing pumpkin is the ultimate symbol of October 31st. By using paper, we avoid the mess of pumpkin guts!
Step-by-Step Instructions:
- The Base: Roll a wide strip of vibrant orange craft paper into a cylinder.
- The Stem: Roll a very small, thin strip of green paper and glue it to the inside top of the orange roll so it stands upright.
- Carving the Face: Instead of a knife, use a black marker or cut out black paper shapes (triangles for eyes, a toothy grin) and glue them to the front.
- Optional Vine: Wrap a thin strip of green paper around a pencil to curl it, then attach it next to the stem for a “fresh from the patch” look.
Creative Ways to Display Your Characters
Once your four characters are complete, don’t just let them sit in a drawer! Here are some fun ways to use them:
- Place Cards: For Thanksgiving dinner, write your guests’ names on the turkey rolls and place them on their plates.
- Candy Holders: If you use slightly thicker cardstock, you can place a small handful of wrapped treats inside the cylinders as party favors.
- Autumn Garland: Punch a hole in the back of each roll and string them together with twine to create a festive “Fall Parade” garland.
Tips for Teaching Different Age Groups
For Toddlers (Ages 2-4)
Focus on the sensory aspect. Let them feel the paper and help them press the glue down. You should handle the cutting, but they will love picking out which googly eyes to use!
For Preschoolers (Ages 5-7)
This is the perfect age to practice symmetry. Explain how the ears of the cat or the eyes of the turkey should be level with each other. This builds “visual-spatial” skills.
For Older Kids (Ages 8+)
Encourage them to experiment with texture. Suggest they fringe the turkey’s feathers with scissors or use “accordion folding” for the cat’s tail to add more dimension.
Final Thoughts
The beauty of these Rolled Paper Halloween Crafts lies in their simplicity. They don’t require expensive kits or high-tech tools—just paper, glue, and a bit of imagination. Whether you are building a green Frankenstein or a colorful turkey, you are doing more than just “passing time.” You are building traditions and nurturing a child’s creative spirit.