If there is one farm animal that universally captures the hearts of children and adults alike, it is the pig. With their squishy noses, curly tails, and cheerful demeanor, pigs are the perfect subject for arts and crafts.
Today, we are diving into a tactile and creative project: The Adorable Clay Pig Craft. This tutorial is an excellent choice for beginners to clay modeling, whether you are using polymer clay, air-dry clay, or even homemade playdough. The end result is a cute little friend you can perch on your desk, place on a bookshelf, or gift to a loved one.
But before we get our hands dirty, let’s talk a little bit about our porcine friends. Have you ever heard someone say they are “sweating like a pig”? This common phrase implies that pigs sweat profusely, but the truth is actually the opposite—pigs do not possess functional sweat glands! That is why you often find them wallowing in puddles of mud. It isn’t just because they like being messy; the mud cools their skin and protects them from the sun.
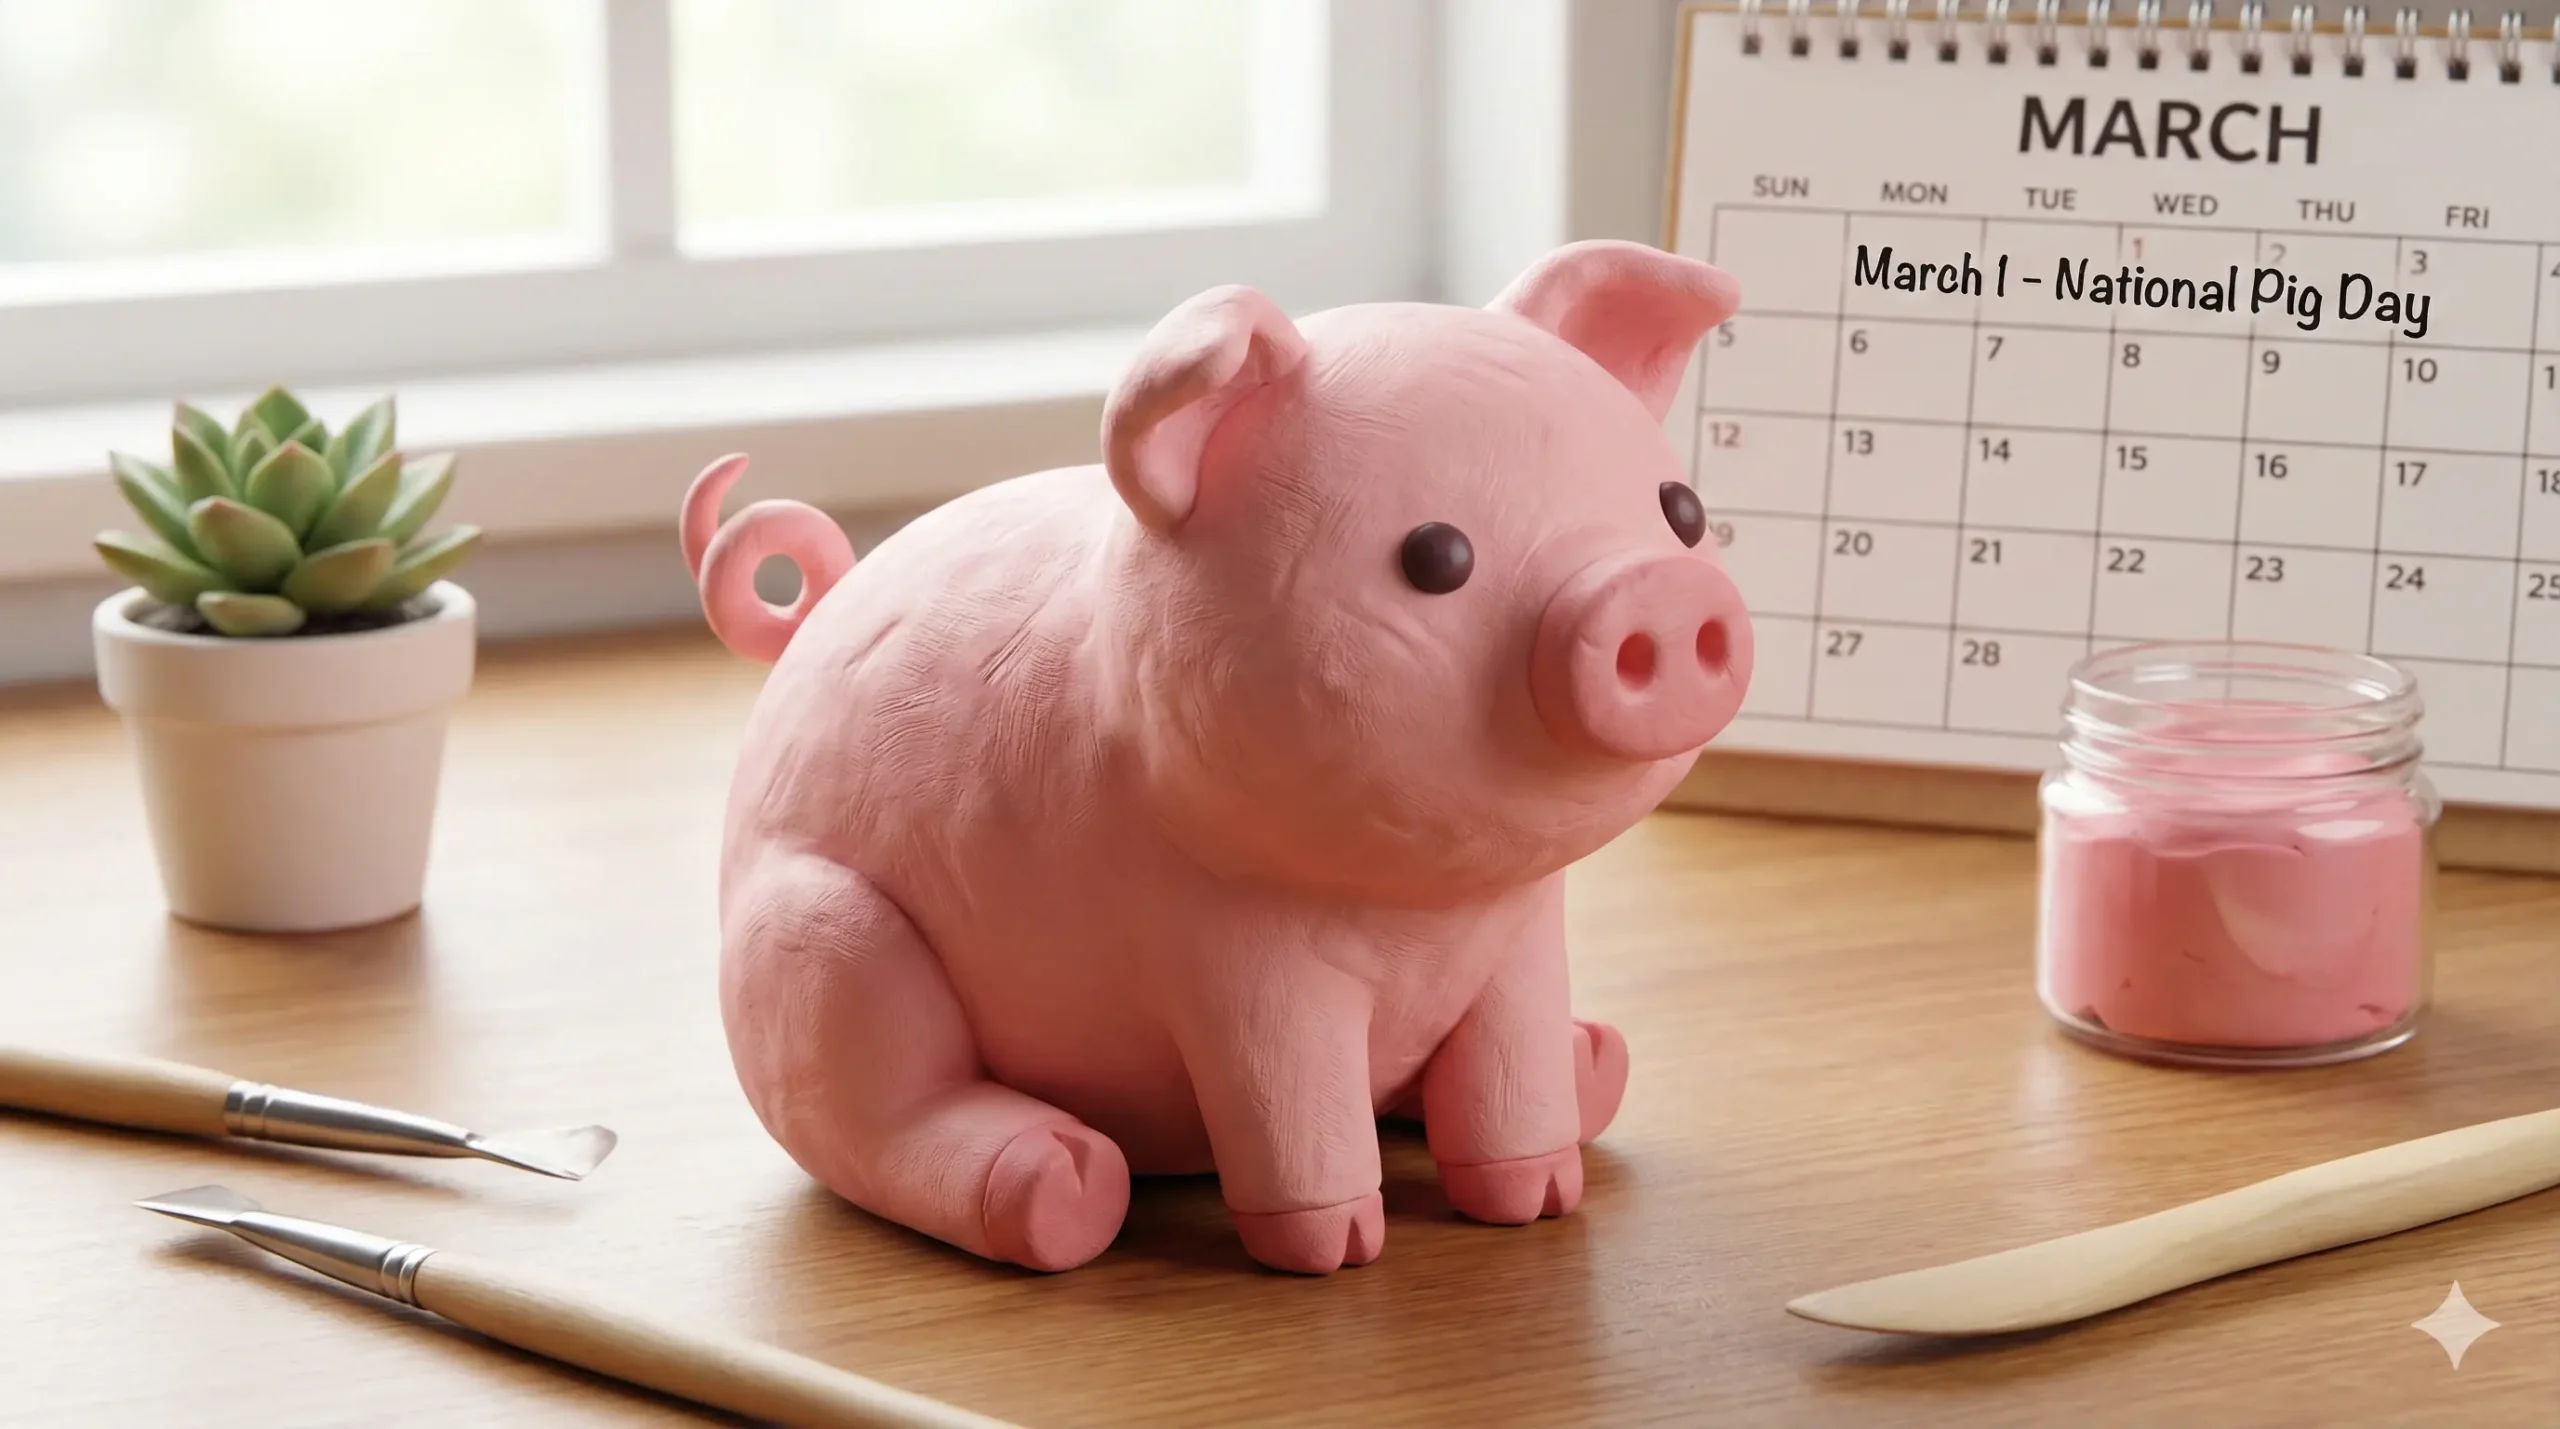
While we are not sure if pigs are offended by the saying, we do know they deserve a celebration. Did you know that the 1st of March is National Pig Day? It is a day dedicated to according the pig its rightful, though generally unrecognized, place as one of man’s most intellectual and domesticated animals.
So, in honor of National Pig Day—or just because you love cute animals—let’s get started on this fun clay pig craft!
Why Clay Modeling is Beneficial for Kids
Crafting with clay is more than just a way to pass the time. It is a developmental powerhouse for children.
- Fine Motor Skills: Rolling, squishing, and shaping clay strengthens the small muscles in the hands and fingers. This “dexterity” is crucial for tasks like writing, tying shoelaces, and typing.
- Sensory Processing: The texture of clay—whether cool and damp like air-dry clay or firm like polymer—provides a soothing sensory experience that can help regulate emotions and improve focus.
- Spatial Awareness: Creating 3D objects helps children understand form, perspective, and proportion in a way that 2D drawing cannot.
- Patience and Persistence: Clay requires steps. You cannot rush the process, or the pig might fall apart! This teaches children the value of patience.
Fun Pig Facts to Share While Crafting
Keep the conversation going while you sculpt with these interesting tidbits:
- Super Smart: Pigs are incredibly intelligent. They are often ranked as smarter than dogs and can learn tricks, solve puzzles, and even play video games!
- Clean Freaks: Despite their reputation, pigs are actually very clean animals. They keep their living areas (where they sleep and eat) separate from where they go to the bathroom.
- Great Communicators: Pigs use over 20 different vocalizations to communicate with each other, from barks and squeals to low grunts.
Materials Needed for Your Clay Pig
To get started, gather your supplies. The beauty of this craft is that you don’t need expensive tools.
- Modeling Clay: You can use:
- Air Dry Clay: Great for kids, dries hard overnight, can be painted.
- Polymer Clay (e.g., Fimo or Sculpey): Comes in vibrant colors, needs to be baked in an oven (adult supervision required).
- Non-Hardening Modeling Clay: Good for practice if you want to reuse the clay.
- Colors: You will need Light Pink (for the body) and Dark Pink (for the snout and ears). If you have white clay, you can mix in a tiny bit of red to make your own pinks.
- Black Beads or Clay: For the eyes.
- Toothpick or Clay Tool: For adding details like nostrils.
- A Clean Surface: A plastic placemat or wax paper works well to keep your table clean.
Step-by-Step Clay Pig Tutorial
Follow these easy steps to build your pig from the ground up.
Step 1: Prepare Your Clay
Start by warming up the clay. If you are using polymer or modeling clay, knead it in your hands for a few minutes. This softens the material, making it pliable and easier to shape without cracking.
- Separating the Colors: Divide your clay. You will need a large amount of Light Pink and a smaller amount of Dark Pink.
Step 2: Shape the Head and Body
Depending on the style you want, you can make a pig that stands on four legs or a “sitting” pig that looks like a cute blob. For this tutorial, we will make a sitting pig figure.
- The Head: Take a medium-sized chunk of Light Pink clay. Roll it between your palms in a circular motion until you have a smooth, perfect sphere.
- The Body: Take a slightly larger chunk of Light Pink clay. Roll it into a ball, then gently roll it back and forth on the table to elongate it slightly into an oval or egg shape.
- Assembly: Gently press the head onto the top of the body. If the clay is dry, you might need a tiny drop of water (for air-dry clay) or liquid clay (for polymer) to help them stick. Tip: You can insert a small piece of a toothpick between the head and body to act as a supportive spine.
Step 3: Create the Signature Snout
The snout is the most important feature of a pig!
- Take a small piece of Dark Pink clay.
- Roll it into a small ball, then flatten it slightly into an oval disc.
- Press this disc onto the center of the pig’s face.
- The Nostrils: Use a toothpick or a small dotting tool to poke two holes into the dark pink oval. This instantly gives your pig personality!
Step 4: Add the Ears
Pig ears can be perky or floppy. For a cute look, we usually go with slightly floppy.
- Make two small balls of Light Pink clay.
- Flatten them into triangles.
- Make two even smaller triangles of Dark Pink clay and press them into the center of the light pink triangles. This creates the inner ear.
- Attach the ears to the top of the head. Fold the tips down slightly so they look like they are flopping forward.
Step 5: The Limbs and Hooves
- Arms: Roll two sausage shapes from the Light Pink clay. Attach them to the sides of the body, just under the head. You can pose them so the pig is holding its belly or waving!
- Legs: Roll two slightly thicker sausage shapes for the legs. Attach them to the bottom front of the body so the pig looks like it is sitting down.
- Hooves: Use your toothpick to press a small indent or slit into the end of each arm and leg to represent the cloven hooves.
Step 6: The Curly Tail
No pig is complete without a curly tail.
- Roll a very thin “snake” of Light Pink clay.
- Twist it around a toothpick to create a spiral coil.
- Gently slide it off the toothpick and attach it to the back of the pig’s body.
Step 7: Eyes and Finishing Touches
- Eyes: You can use two small black beads for eyes, or roll tiny specks of black clay. Press them into the face above the snout.
- Cheeks: For extra cuteness, add two tiny flattened circles of dark pink clay under the eyes for rosy cheeks.
- Texture: If you want your pig to look fuzzy or textured, you can gently tap the surface with an old toothbrush (optional).
Step 8: Drying or Baking
- Air Dry Clay: Leave your pig in a safe, dry place for 24-48 hours. Turn it occasionally so the bottom dries too.
- Polymer Clay: Bake according to the instructions on your specific package (usually 275°F/135°C for 15-30 minutes). Always have an adult handle the oven.
Tips for Success with Clay
- Clean Hands: Clay picks up dust and lint easily. Wash your hands before starting, especially when working with light colors like pink.
- Cracks: If you see cracks forming in the clay, dip your finger in a little water (for water-based clay) or baby oil (for oil-based clay) and smooth it over the crack.
- Sticking Together: If pieces keep falling off, scoring the clay helps. Use a toothpick to scratch rough lines on both surfaces where they will join (this is called “scoring”), then press them together.
Creative Variations
Once you have mastered the basic pig, try these fun twists:
- The Muddy Pig: Use brown paint or brown clay splotches on the legs and belly to make it look like your pig just finished wallowing in a puddle.
- The Piggy Bank: If you are feeling ambitious and have enough clay, build the body around a hollow structure (like a foil ball) and cut a slot in the top to make a mini coin bank.
- The Super-Pig: Add a clay cape and a mask to create a superhero pig character.
Conclusion
Creating a clay pig is a wonderful way to celebrate nature, animals, and creativity. Whether it is for National Pig Day, a farm unit in school, or just a rainy Saturday afternoon, this craft is sure to bring smiles to everyone’s faces.
The best part about working with clay is that if you make a mistake, you can just squish it up and start again. There is no right or wrong way to make art—if your pig has lopsided ears or a giant snout, that just means it has more character!
So grab your clay, roll up your sleeves, and get ready to make some barnyard magic. We hope you enjoy your new little piggy friend!
Frequently Asked Questions (FAQ)
Q: Can I paint the clay after it dries? A: Yes! If you use air-dry clay (which is usually white or gray), you can paint your pig with acrylic paints once it is fully dry. This is a great way to add details like spots or eyelashes.
Q: How do I store leftover clay? A: Air-dry clay must be stored in an airtight container or a Ziploc bag with as much air squeezed out as possible. If it dries out, it becomes unusable. Polymer clay doesn’t dry out, but it should be kept in a cool, dark place to prevent it from getting too soft or attracting dust.
Q: Is this craft safe for toddlers? A: Clay crafting is great for toddlers, but supervision is required. Ensure they do not eat the clay. For very young children (under 3), homemade edible playdough is a safer alternative to commercial modeling clay.
Q: My clay pig fell apart after drying. What do I do? A: Don’t worry! This happens. You can easily fix broken air-dry or baked polymer clay pieces with a dab of super glue or strong craft glue. To prevent this next time, make sure you press the pieces together firmly during the building phase.