Categories: Christmas Crafts, Kids Activities, DIY Papercrafts, Holiday Decor Keywords: Rocking elf craft, papercraft for kids, Christmas elf DIY, holiday crafts for preschoolers, interactive paper toys, elf on the shelf ideas, Christmas activities for students.
Who says elves can’t rock and roll? When we think of Santa’s little helpers, we usually picture them making toys, wrapping gifts, or perhaps sitting mischievously on a shelf reporting back to the North Pole. But this holiday season, we are adding a little kinetic energy to the mix.
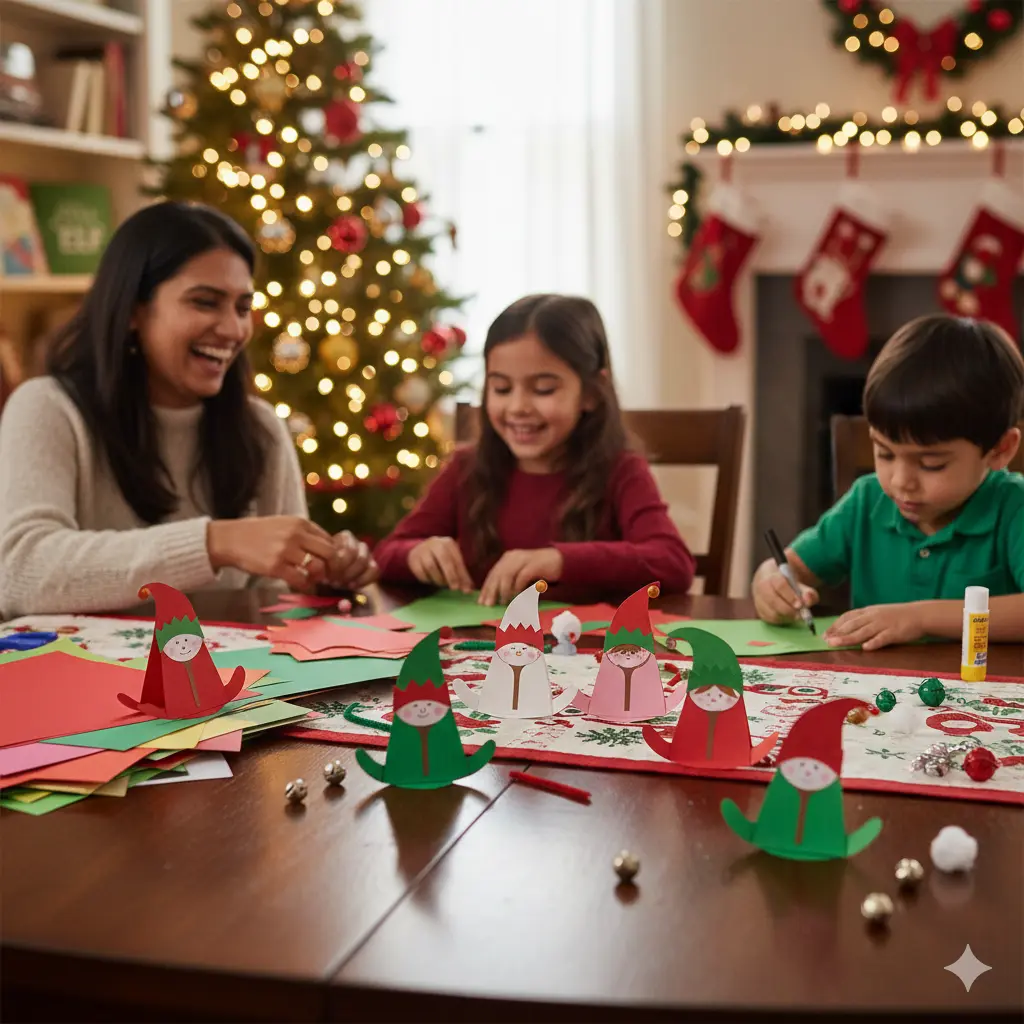
Picture this: An elf is on the loose in your living room, but instead of hiding, he is rocking back and forth, dancing to the holiday tunes!
With Christmas just around the corner, keeping the excitement alive (and the children occupied) can be a challenge. That is why we love crafts that double as toys. This Rocking Elf Papercraft is not just a decoration; it is an interactive 3D paper toy that wobbles and rocks when you tap it. It is perfect for children of all ages, helps develop fine motor skills, and uses materials you likely already have in your drawer.
Before we dive into the glue and glitter, let’s set the mood. The best way to engage a child in a craft is to connect it to a story.
Bringing the Magic to Life: Books About Elves
Show and Tell programs and library visits are buzzing with holiday themes right now. If you want to make this craft educational, start by reading a story. Pairing a book with a hands-on activity helps children improve reading comprehension and memory retention.
Here are five fantastic books about elves that will inspire your kids’ creativity before they pick up the scissors:
- “How to Catch an Elf” by Adam Wallace: A hilarious New York Times bestseller! This book is perfect for STEM lovers. It follows a mischievous elf evading various traps set by children. Craft Connection: After making our rocking elf, challenge your kids to build a “trap” (a box or cage) to catch him!
- “The Littlest Elf” by Brandi Dougherty: A sweet story about a tiny elf trying to find his special talent in the North Pole. It teaches a great lesson that size doesn’t matter; heart does.
- “There’s an Elf in Your Book” by Tom Fletcher: This is an interactive book that asks the reader to tap, clap, and sing to help the elf. Craft Connection: Our rocking elf is the perfect companion for this interactive reading session.
- “The Little Christmas Elf” by Nikki Shannon Smith: This story focuses on perseverance. When an elf struggles to finish a teddy bear in time for Christmas, she learns not to give up.
- “The Pajama Elves” by Hayden Edwards: A heartwarming tale about a family tradition involving magic pajamas.
Now that we have the storytime sorted, let’s head to the craft table!
The Benefits of Papercrafting for Kids
Why choose papercrafts over plastic toys? Aside from being eco-friendly and budget-conscious, projects like this Rocking Elf offer significant developmental benefits:
- Bilateral Coordination: Holding the paper with one hand while cutting with the other requires both sides of the brain to communicate.
- Focus and Patience: waiting for glue to dry and aligning edges teaches delayed gratification.
- Understanding Mechanics: This specific craft teaches basic physics. Kids learn how a curved base and a low center of gravity allow the paper figure to balance and rock without falling over.
Supplies You Will Need
To build your rocking North Pole friend, gather the following materials. We recommend using Cardstock (heavier paper) for the base if possible, as it makes the rocking motion sturdier, but regular construction paper works too.
- Colored Craft Papers:
- Red or Green: For the tunic and hat.
- Skin Tone: Pink, beige, brown, or tan (encourage your kids to make an elf that looks like them!).
- White: For the trim and pom-pom.
- Yellow/Gold: For the belt buckle.
- Black: For the belt and shoes.
- Pencil: For tracing shapes.
- A Pair of Scissors: Kid-safe scissors for the little ones.
- Craft Glue: A glue stick is less messy, but white liquid glue lasts longer.
- Markers/Sharpies: Black for the eyes and mouth, and pink for rosy cheeks.
- Optional: Glitter, cotton balls, or small real bells for extra flair.
Step-by-Step Instructions: How to Make the Rocking Elf
This project is easy to assemble. If you are doing this with a large group (like a classroom), we suggest pre-cutting the shapes for younger children.
Step 1: Prepare the Shapes
First, you need to create your pieces. You can draw these freehand or look for a template online. Here is the breakdown of the shapes you need:
- The Base (The Rocker): A large circle (approx. 6 inches in diameter).
- The Head: A medium-sized circle in your chosen skin tone.
- The Ears: Two small teardrop shapes or pointed ovals.
- The Hat: A large triangle (cone shape) to fit the head.
- The Hat Trim: A jagged or wavy strip of white paper.
- The Arms: Two long rectangles or slight curves.
- The Hands: Two small mitten shapes.
Step 2: Create the Rocking Mechanism
This is the most important step!
- Take your large circle (The Base) cut from the red or green paper.
- Fold it perfectly in half to create a semi-circle crease.
- Open it back up and cut along the crease line? NO! Keep it folded!
- Actually, for this specific craft, you just need to fold the large circle in half. The folded crease will sit on the table, and the curved part will face up? No, that’s a bridge.
- Correction: To make it rock, fold the circle in half. The curved side goes on the table. The straight folded edge is at the top. This creates a “boat” shape that rocks back and forth. Wait, that’s 2D.
- Better Method: Cut a large circle. Fold it in half. Now you have a semi-circle. Overlap the edges slightly to create a very wide, shallow cone, OR simply use the folded semi-circle card standing up (like a tent card) which rocks if you tap the sides.
- Our Preferred Method for this Craft: Cut a circle. Fold it in half. This semi-circle is your body. It stands on the curved edge. When you tap the sides, it rocks!
Step 3: Assemble the Head and Hat
While your body base is ready, let’s make the face.
- Glue the Ears to the sides of the Head circle. Pointy side up!
- Glue the Hat triangle to the top of the head.
- Add the Hat Trim (the white wavy paper) where the hat meets the forehead.
- Glue a small white circle (pom-pom) to the very tip of the hat.
- The Face: Use your markers to draw two eyes and a happy smile. Don’t forget to add rosy cheeks!
Step 4: Dress the Elf
Now, let’s decorate the rocking body (the semi-circle).
- The Belt: Cut a strip of black paper and glue it horizontally across the middle of the semi-circle body.
- The Buckle: Glue a yellow square or hollow square in the center of the black belt.
- The Collar: Cut a zig-zag collar out of green or white paper and glue it at the top center of the folded edge (where the neck would be).
Step 5: Put It All Together
- Glue the finished Head onto the top center of the rocking body. Ensure about half the face overlaps with the body so it stays sturdy.
- The Arms: Glue the arms coming out from the sides of the body, or have them holding the belly (as if the elf ate too many cookies!).
- The Hands: Attach the mitten shapes to the ends of the arms.
Step 6: The Rock Test
Stand your elf on a flat surface (table or floor). Give one side of the semi-circle a gentle tap. Does it wobble and rock back and forth? Success! You have created a moving toy.
Fun Variations to Try
Once you have mastered the basic elf, why stop there? Here are some ways to customize your creation:
- The Texture Elf: Instead of paper trim, use real cotton balls for the hat fluff. It adds a nice sensory element for toddlers.
- The Jingle Elf: Punch a small hole in the tip of the hat and tie a real mini jingle bell. When the elf rocks, he will actually jingle!
- The Santa Squad: Use the same template but change the colors! Make a Santa (Red suit, white beard), a Reindeer (Brown suit, antlers), or a Snowman (White body). You can create a whole rocking village.
- Name Tags: Write a child’s name on the black belt using a gold gel pen. These make adorable place settings for Christmas dinner.
Conclusion
This Rocking Elf Papercraft is more than just a way to pass an afternoon; it is a memory in the making. In a season often dominated by expensive gadgets and digital screens, taking the time to cut, paste, and create something tangible brings us back to the heart of the holidays.
Whether you use them as festive decorations for your mantle, interactive toys for the kids, or personalized gift tags, these little rocking elves are sure to spread joy.
So, put on your favorite holiday playlist, grab those scissors, and let the rocking begin!
We’d love to see your creations! Did your elf have a green hat or a red one? Did you add glitter? Creativity has no rules.
Happy Crafting and Merry Christmas!