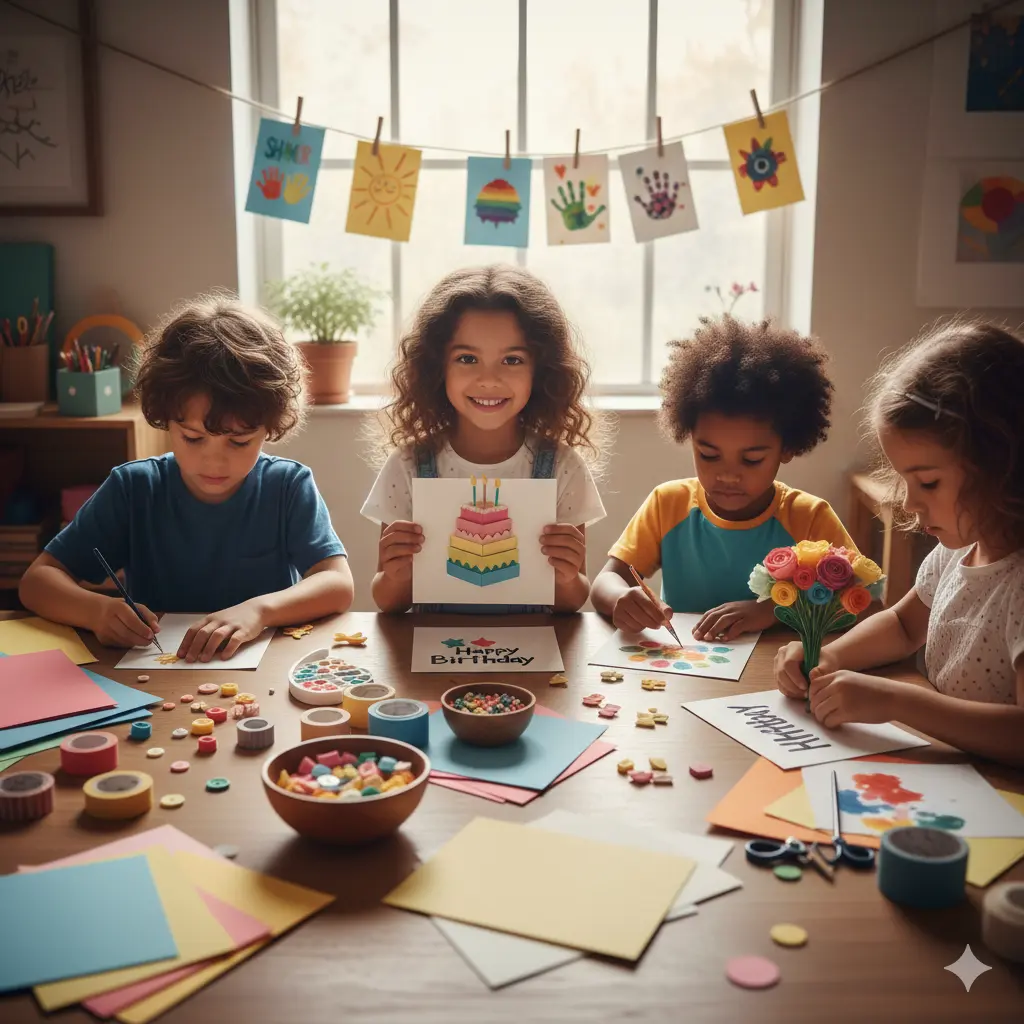
Before we dive into the list, let’s look at why DIY cards are superior for a child’s development:
- Fine Motor Skills: Folding, cutting, and gluing are essential for hand-eye coordination.
- Color Theory: Kids learn which colors “pop” against each other.
- Confidence: Completing a project from start to finish gives children a massive sense of accomplishment.
1. The 3D Layered Cake Card
You can’t have a birthday without a cake! This card uses folded strips of paper to create a “pop-up” effect.
- How to do it: Cut three rectangles of different sizes. Fold them into “steps” and glue the ends to the inside of the card. When the recipient opens it, the cake stands up! Add tiny yellow paper “flames” on top of “candles” made from scrap paper.
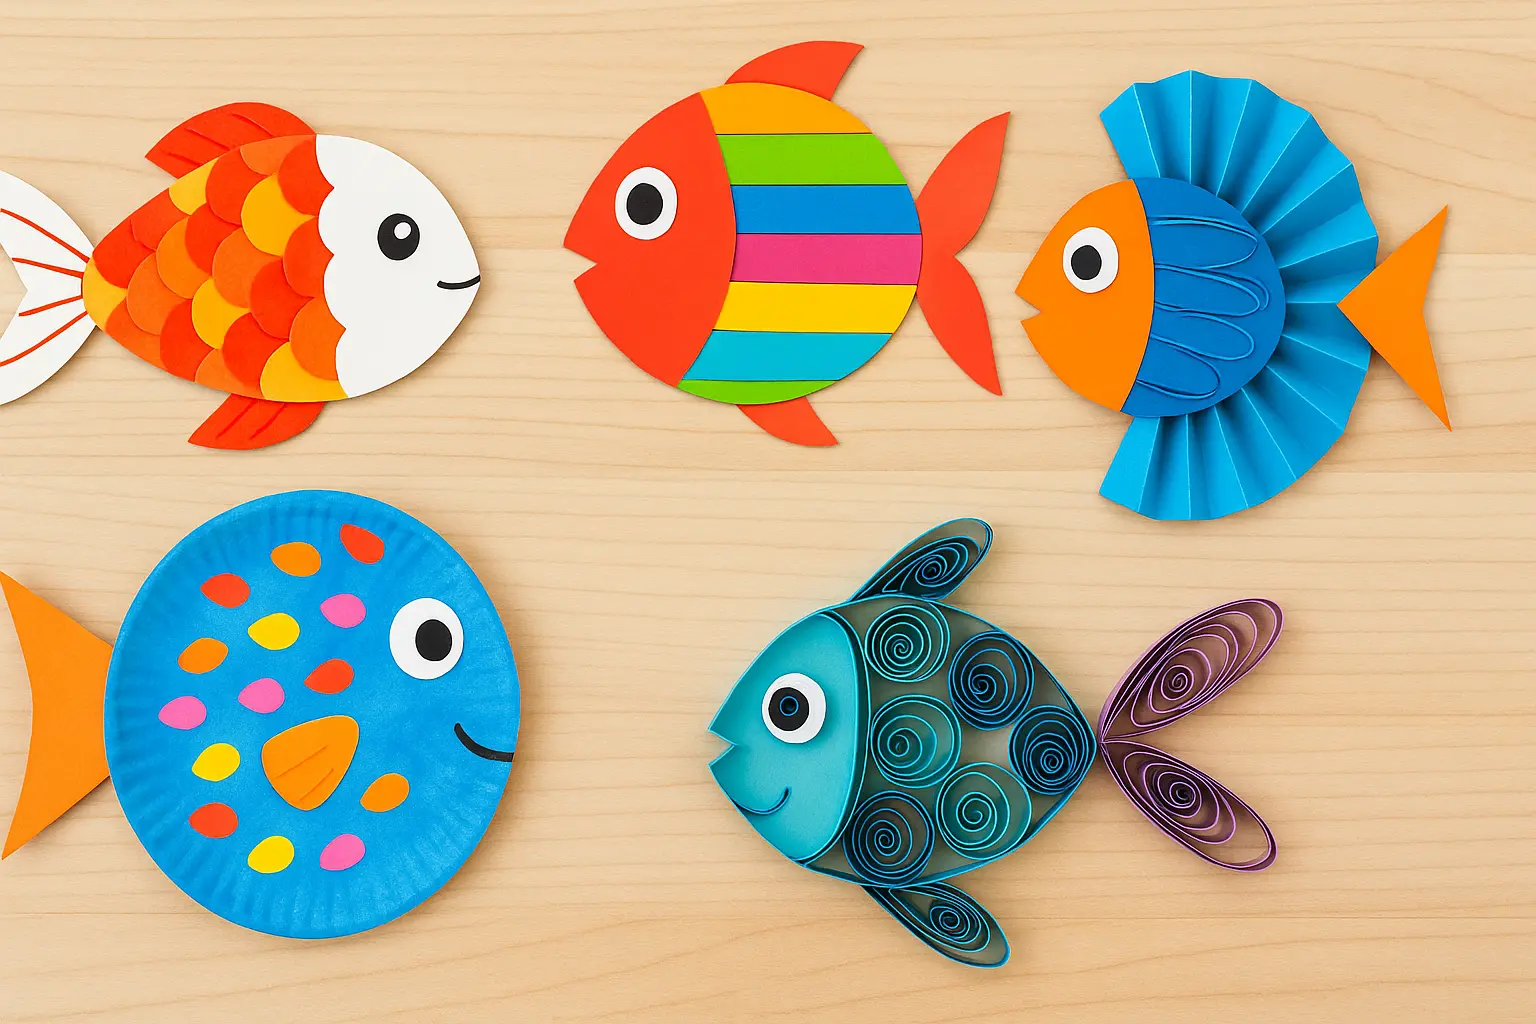
2. The Textured Spring Bouquet
Flowers are a classic birthday gesture. This card uses paper quilling (rolling thin strips of paper) to create 3D flower petals. It adds a wonderful tactile element that people love to touch. If quilling is too advanced, try using colorful buttons as the centers of the flowers!
3. Abstract Watercolor Masterpiece
You don’t need to be a professional artist for this one.
- The Technique: Wet the paper first, then drop different colors of watercolor paint onto the surface. Let them bleed and blend naturally. Once dry, use a black permanent marker to write “Happy Birthday” in bold letters over the top. Each one is a unique work of art.
4. The “Birthday Bear” Hug Card
This card features a cute bear with long arms that fold over the front of the card. When you “open” the bear’s arms, the birthday message is hidden underneath. It’s essentially a paper hug!
5. Washi Tape Candle Card
This is perfect for toddlers because it requires zero drying time.
- Method: Take various patterns of Washi tape and stick them vertically on the card at different heights. Draw a little flame at the top of each tape strip with a yellow marker. Instant birthday candles!
6. Fingerprint Balloon Extravaganza
What’s a party without balloons? Have your child dip their thumb into various paint colors and stamp “balloons” all over the card. Once the paint is dry, draw a single string from each thumbprint leading down to a “hand” at the bottom.
7. Pom-Pom Cupcake Card
Glue a large, fluffy craft pom-pom onto a paper “cupcake liner” cutout. It looks like a giant dollop of frosting! It’s simple, colorful, and very cute.
8. The Rainbow Pasta Card
Yes, you read that right! Take some dry bowtie pasta, paint them in bright rainbow colors, and glue them to the card. They look like little colorful bowties or butterflies.
9. Confetti Window (Shaker Card)
Cut a circle out of the front of the card and tape a piece of clear plastic (from a food sandwich bag) over the hole. Fill the “gap” with sequins or paper confetti before sealing it. When the friend shakes the card, the confetti dances!
10. Handprint Sun Card
For a “You are my Sunshine” theme, paint your child’s hand yellow and press it onto the card. The fingers become the sun’s rays. It’s a wonderful keepsake for grandparents.
Comparison of Card Styles
| Card Type | Difficulty | Best For | Main Material |
| Washi Tape | Very Easy | Toddlers | Patterned Tape |
| 3D Pop-up | Medium | Older Kids | Cardstock |
| Watercolor | Easy | All Ages | Paint & Water |
| Shaker Card | Hard | Crafty Kids | Sequins/Plastic |
11. The Origami Heart Card
A simple heart folded from a square of origami paper can be glued to the center of a card for a clean, modern look. It’s elegant and heartfelt.
12. Button Alphabet Card
Does the birthday boy’s name start with a “B”? Trace the letter in glue and cover it with colorful buttons. It’s a great way to use up that random button jar in the kitchen.
13. Monster Eye Birthday
Glue 20 or 30 googly eyes of different sizes all over the card. Write a caption like: “Eye hope you have a Monster-sized Birthday!”
14. Nature-Pressed Card
Go for a walk and find some flat leaves or small wildflowers. Press them inside a heavy book for a few days, then glue them to a card for a beautiful, “boho” look.
15. The String Art Star
Punch holes in the shape of a star or a heart. Let the child “sew” through the holes with colorful yarn. This creates a wonderful geometric pattern.
16. Chalk Art Blackboard Card
Use black cardstock and white or neon chalk markers. It mimics the look of a trendy cafe chalkboard and makes the colors look incredibly vibrant.
17. Scrappy Paper Collage
Don’t throw away those tiny scraps from other projects! Let kids glue them down in a mosaic pattern to create a “patchwork” birthday card.
18. The “Popcorn” Card
Glue real popcorn (plain, no butter!) to a card to look like clouds or sheep, or even just a tub of popcorn for a “movie night” themed birthday.
19. Sticker Bomb Card
Sometimes, simple is best. Give a child a sheet of 100 stickers and let them decorate the card. For SEO purposes and “Google Discover” appeal, choosing a theme like “Space” or “Dinosaurs” works best.
20. The Secret Message (White Crayon)
Write a message with a white wax crayon on white paper. When the friend receives it, they have to paint over it with watercolor to reveal the “invisible” birthday wish!
Tips for Getting AdSense Approval on Your Craft Blog
If you are posting these ideas on your website, keep these AdSense and AdX guidelines in mind:
- Original Images: Always use clear, high-resolution photos of your finished cards. Google favors original visual content.
- Step-by-Step Instructions: Don’t just list the ideas; explain how to make them. This increases the “time on page.”
- Safety First: Always include a disclaimer about adult supervision when using scissors or glue.
- User Experience: Use bullet points and headers (like the ones above) to make the content easy to read on mobile devices.
Making a DIY birthday card is about more than just saving money—it’s about the smiles, the glitter on the floor, and the pride in a child’s eyes when they hand over their creation. Happy crafting!