Before we dive into the crafts, let’s take a quick trip around the world to see how different cultures use puppets:
- Indonesia: Wayang Kulit uses intricate leather shadows to tell ancient epics.
- Japan: Bunraku involves large, highly detailed puppets operated by three masters at once.
- India: String puppets called Kathputlis are vibrant, wooden figures used in folk tales.
- Taiwan: Budaixi are glove puppets that feature incredible martial arts movements.
45 DIY Puppets for Kids: From Simple to Spectacular
1. The Classic Paper Clown Puppet
Nothing says “showtime” like a clown! Clowns have been the heart of the circus for generations.
- How to make: Use a sturdy piece of cardstock for the body. Attach the arms and legs with brass fasteners (brads) so they can move. Add a bright red pom-pom for a nose and some colorful yarn for hair.
- Performance Tip: Use this puppet to practice jokes and slapstick comedy.
2. Brown Paper Bag Monsters
One of the easiest puppets for toddlers and preschoolers is the paper bag puppet.
- How to make: The bottom flap of the bag becomes the monster’s mouth. Glue on giant googly eyes, some jagged paper teeth, and maybe a few “horns” made of pipe cleaners.
- Skill Building: This craft helps children develop fine motor skills as they glue small shapes onto the bag.
3. Finger Puppet Friends
Perfect for quiet play or traveling, finger puppets can be made from felt or even old glove fingers.
- Theme Ideas: Make a family, a set of farm animals, or even tiny space aliens.
- Method: Cut two identical felt shapes, sew or glue the edges (leaving the bottom open), and decorate with markers.
4. Shadow Puppets with Cereal Boxes
Explore the ancient art of shadows!
- How to make: Cut silhouettes out of black cardstock and tape them to wooden skewers or straws.
- The Theater: Hang a white sheet or piece of parchment paper over a box and shine a flashlight from behind.
5. Wooden Spoon Characters
Transform your kitchen utensils into kings, queens, and pirates!
- The Project: Use the “bowl” of a wooden spoon as the face. Acrylic paint works best for the features, and fabric scraps can be tied around the handle as a cape or dress.
6. Sock Puppet Divas
Every home has a “missing” sock. Take its partner and turn it into a talkative diva or a silly dog.
- Pro Tip: Use a piece of cardboard inside the “mouth” area to give the puppet a structured jaw. Add buttons for eyes and a long felt tongue.
7. Stick Puppets from Drawings
The fastest way to start a show!
- The Project: Have your child draw their favorite characters on paper, color them in, and cut them out. Tape them to a popsicle stick.
- Benefit: This encourages original character design and storytelling.
8. Toilet Paper Roll Animals
Don’t throw away those rolls!
- The Project: Paint the rolls to look like tigers, elephants, or owls. By attaching a string to the top, they can become simple marionettes.
9. Moving Mouth Dragon Puppet
Using two paper cups and a strip of fabric, you can create a fire-breathing dragon.
- The Action: When you pull the string, the dragon’s jaw snaps shut! Use red and orange tissue paper for the “fire” coming out of its nose.
10. Handprint Puppets
Trace your child’s hand on cardstock and cut it out. The fingers can become the legs of an octopus or the feathers of a turkey.
How to Build a Simple DIY Puppet Theater
To truly bring these 45 puppets to life, you need a stage. You don’t need fancy wood—just a large cardboard box.
- Cut the Window: Cut a large rectangle out of the front of the box.
- Add Curtains: Use old kitchen towels or scraps of fabric. Secure them with a tension rod or simply glue them to the top.
- Decorate: Paint the box with stars, theater masks, or the name of your child’s theater company (e.g., “The Backyard Broadway”).
Why Puppetry is Great for Child Development
Creating and performing with puppets isn’t just “filler” activity; it provides significant psychological and educational benefits:
1. Confidence Building
Many children who are shy find it easier to speak through a puppet. It acts as a “shield,” allowing them to experiment with voices and public speaking without feeling the pressure of all eyes being directly on them.
2. Emotional Expression
Puppets are often used by therapists to help children process big feelings. A child might have their “Monster Puppet” talk about what makes them scared, helping parents understand their child’s inner world.
3. Language Skills
Writing a “script” for a puppet show encourages vocabulary growth and teaches narrative structure (beginning, middle, and end).
SEO Tips for Crafting Blogs
If you are a blogger looking to reach more parents, consider these strategies:
- Keywords: Include terms like “Recycled puppet crafts,” “Easy puppet theater for home,” and “World Puppetry Day activities.”
- Visual Content: Google loves “How-to” images. Ensure each craft has a clear, brightly lit photo of the finished product.
- Internal Links: Link back to your other articles about “10 Recycled Cardboard Projects” or “Best Rainy Day Activities for Kids.”
Final Thoughts
Puppetry is a bridge between the physical world and the world of imagination. Whether you make a simple stick puppet or a complex string marionette, you are participating in a tradition that spans five thousand years.
This weekend, clear the dining table, bring out the scrap fabric and buttons, and let your kids lead the way. You might be surprised at the incredible stories they have been waiting to tell!
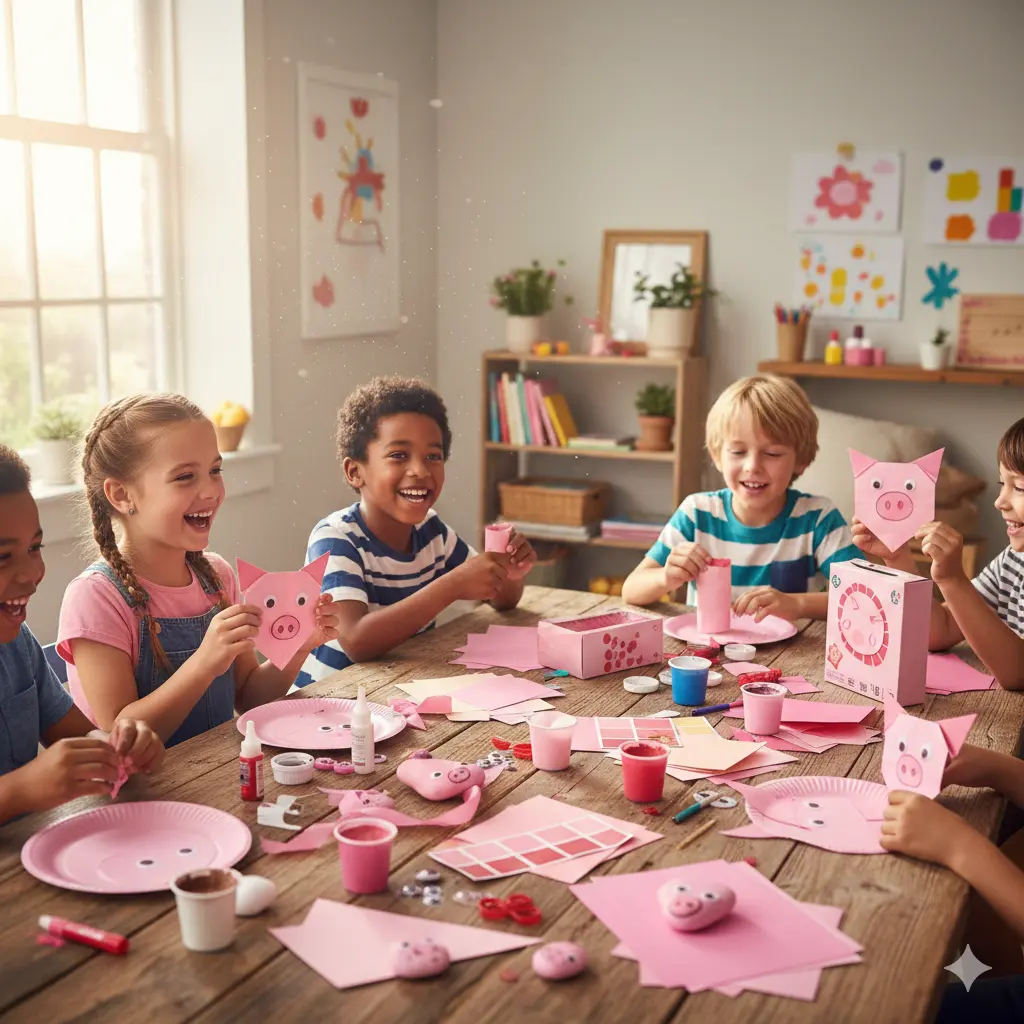
![When a birthday party invite arrives, the excitement begins! There is a gift to choose, wrapping paper to find, and of course, the search for the perfect birthday card. While it is easy to pick up a mass-produced card from the local store, nothing quite matches the charm and emotional value of a handmade birthday card.When a child sits down to create a card, they aren't just putting paper and glue together; they are creating a one-of-a-kind masterpiece. In a world of digital messages and store-bought items, a handmade card stands out as a unique piece of art—there isn't another copy of it in the entire world!If you want to help your children move away from the "buy it" culture and embrace the "make it" spirit, we have gathered 20 bright and colorful DIY birthday card ideas. These projects range from simple toddler-friendly designs to more intricate crafts for older kids.Why Choose Handmade Birthday Cards?Beyond the fun of getting messy with craft supplies, making DIY cards offers several benefits:Personal Connection: The recipient knows that time, effort, and thought went into their gift.Skill Development: Crafting improves fine motor skills, color coordination, and patience.Unique Aesthetic: Each card is a "limited edition." No two strokes of a brush or placements of a sticker are exactly the same.Eco-Friendly & Budget-Friendly: You can often use scraps of paper, buttons, and ribbons you already have at home.Top 20 Creative DIY Birthday Card Ideas1. The "Calorie-Free" Pop-Up Cake CardYou can’t have a birthday without a cake! This clever design uses folded paper strips to create a 3D "pop-up" effect when the card is opened. Kids can "frost" their paper cake with glitter, pom-poms for "cherries," and even add paper candles. It’s a calorie-free surprise that looks professional but is simple enough for school-aged children.2. Textured Spring Bouquet CardNothing cheers someone up like a bouquet of flowers. For this card, kids can use basic quilling skills—rolling thin strips of paper into coils—to create vibrant petals and leaves. The result is a 3D floral arrangement with incredible texture that the recipient will want to touch and display.3. Beginner’s Watercolor Abstract CardDon’t worry if you aren't a pro artist! The beauty of watercolors is in their fluidity. Let kids experiment with wet-on-wet techniques, allowing bright blues, pinks, and yellows to bleed into one another. Once dry, they can write "Happy Birthday" over the top in a bold black marker. Each card will be a unique work of abstract art.4. Washi Tape Birthday CandlesThis is a fantastic last-minute idea. Simply cut strips of colorful washi tape in different lengths and stick them vertically on the front of the card. Draw a small yellow flame at the top of each strip. In minutes, you have a modern, stylish card featuring a row of glowing candles.5. Fingerprint Balloon ExtravaganzaPerfect for toddlers! Draw a small basket at the bottom of the card and a few "strings" leading up. Let the child dip their fingers in various paint colors and "stamp" balloons at the end of each string. It’s a sweet, personalized keepsake that records just how small their fingers were.6. Button Hot Air Balloon CardIf you have a jar of mismatched buttons, this is the project for you. Glue buttons of different sizes and colors in a large bunch to create the "balloon" part of a hot air balloon. Use a black fineliner to draw the basket and the clouds.7. Scrappy Paper Cupcake CardUse leftover scraps of patterned scrapbook paper to cut out a cupcake liner shape and a fluffy "frosting" top. Mix and match patterns—like polka dots for the liner and floral for the frosting—for a whimsical, "shabby-chic" look.8. Pom-Pom Cupcake TopperSimilar to the cupcake card, but add a single, large red pom-pom on top as the "cherry." It adds a delightful 3D element that makes the card pop.9. Handprint Sun "You Are My Sunshine" CardPaint a child's hand yellow and press it onto the card. Draw a smiling face in the center of the palm. It’s a bright, cheerful card that is perfect for a parent’s or grandparent’s birthday.10. Confetti Shaker CardCut a window out of the front of the card and tape a small plastic bag (or clear vellum) filled with colorful sequins or confetti behind it. When the recipient shakes the card, the confetti dances around!11. Origami Heart CardFold a small piece of red or pink paper into an origami heart and glue it to the center of a minimalist white card. It’s elegant, simple, and shows a high level of effort.12. Dinosaur "RAWR" CardFor the dino-lover! Use green cardstock to create a dinosaur silhouette. Give the dinosaur a small party hat made of felt or glitter paper to make it look festive.13. Rainbow Ribbon CardGlue short lengths of different colored ribbons horizontally across the card. It’s a great way to use up "scrap" ribbon and creates a beautiful, tactile rainbow.14. Chalkboard Style Birthday CardUse black cardstock as your base and let the kids draw with white or neon gel pens. It mimics the look of a chalkboard and looks very modern and "on-trend."15. Leaf-Printed Nature CardGo for a walk and find some interesting leaves. Paint one side of the leaf and press it onto the card like a stamp. This creates a beautiful, earthy card perfect for an autumn birthday.16. LEGO-Inspired Pattern CardIf your child loves building blocks, they can use the actual blocks as stamps! Dip the circular "nubs" of a LEGO brick into paint to create a cool, geometric dot pattern.17. String Art "Star" CardPoke small holes in the shape of a star or an initial. Let the child "sew" through the holes with colorful embroidery thread to create a geometric string art masterpiece.18. 3D Paper Balloon CardCut out several identical paper circles. Fold them in half and glue them back-to-back to create a 3D sphere. Glue this "balloon" to the card for a striking effect.19. Photo-Collage Birthday CardPrint out small photos of the birthday boy or girl and the child making the card. Arrange them in a heart shape and decorate with stickers. It’s a guaranteed tear-jerker for family members!20. Pom-Pom Ice Cream ConeDraw a simple triangle "cone" and glue three different colored pom-poms on top as "scoops" of ice cream. It’s cute, simple, and looks good enough to eat.Essential Supplies for Your DIY Card StationHaving a dedicated "card kit" makes it easy to whip up a masterpiece at a moment's notice. Here are the essentials:Cardstock: Multi-colored packs of heavy paper.Adhesives: Glue sticks for paper, and white liquid glue for heavier items like buttons or pom-poms.Coloring Tools: Watercolors, markers, and gel pens.Embellishments: Washi tape, sequins, buttons, and ribbons.Scraps: Never throw away small pieces of wrapping paper or construction paper!A Quick Guide to Card LayoutsElementIdeaFront Message"Happy Birthday," "Let's Celebrate," or "A Special Wish."Inside MessageA funny joke, a poem, or a simple "I love you."Back "Signature""Made with love by [Name]" or "Limited Edition."Conclusion: Making Birthdays BrighterIn the end, it doesn't matter if the lines aren't perfectly straight or if there is a little too much glitter. The joy of a DIY birthday card is in the personality it carries. When a child hands over a card they made themselves, they feel a sense of pride, and the person receiving it feels truly seen and appreciated.So, the next time a birthday rolls around, skip the card aisle at the supermarket. Instead, clear off the dining table, bring out the paints and buttons, and let your kids' imaginations run wild. You’ll be creating more than just a card—you’ll be creating a memory.](https://resultdr.com/wp-content/uploads/2025/12/ChatGPT-Image-Dec-19-2025-11_51_26-AM.webp)