Before we get to the glue and glitter, let’s set the scene. Why do we celebrate this green giant?
It all started with a volcano. In 1815, Mount Tambora in Indonesia erupted so violently that it changed the global weather, leading to the “Year Without a Summer” in Europe. During this gloomy, rainy summer, author Mary Shelley was stuck indoors on holiday with her friends. To pass the time, they held a ghost story contest.
Struggling with writer’s block, Mary had a waking dream about a scientist who brought a creature to life. That nightmare became her winning story, Frankenstein. Today, we honor her on her birthday, August 30th, and again just before Halloween on Frankenstein Friday.
Now, let’s get crafting!
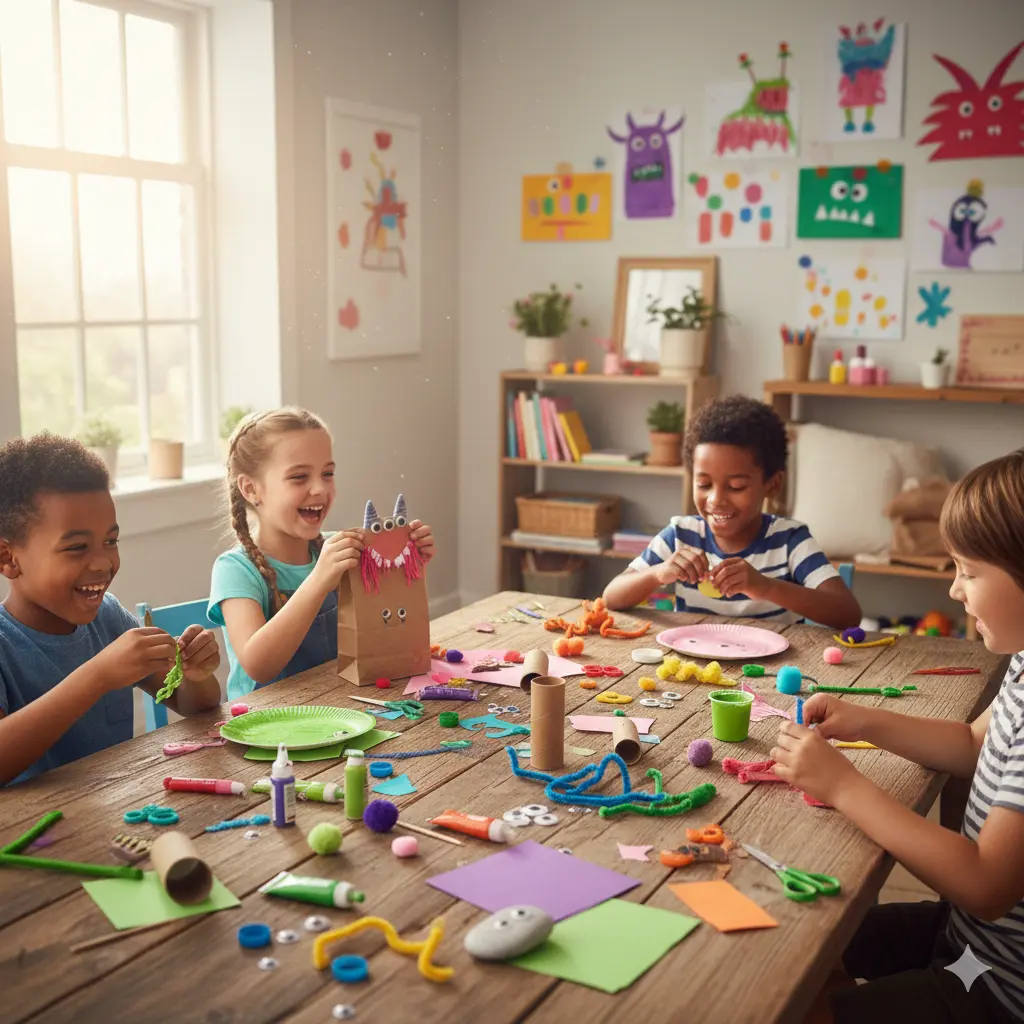
1. Paper Bag Frankenstein Puppet
Turn a boring lunch bag into a chatty monster.
- Materials: Brown paper lunch bag, green paint, black construction paper, glue.
- How-to: Paint the flap and the front of the bag green. Once dry, cut jagged black hair and glue it to the top of the flap. Add two big white circles for eyes and draw a stitched mouth on the flap. Slide your hand inside to make him talk!
2. Toilet Roll Tube Monster
Don’t throw away those empty rolls!
- Materials: Toilet paper roll, green paint, black marker, two small bolts (or aluminum foil balls).
- How-to: Paint the tube bright green. Draw a thick black unibrow and a scar on the “face.” Glue the foil balls or bolts to the sides of the “neck” (the bottom of the tube) for that classic mechanical look.
3. Popsicle Stick “Fence” Frankenstein
A sturdy little monster perfect for a magnet.
- Materials: 6-8 popsicle sticks, green paint, black felt, glue.
- How-to: Line up the sticks side-by-side and glue a diagonal stick across the back to hold them together. Paint the front green. Cut a strip of black felt for the hair and glue it to the top. Add googly eyes and a drawn-on mouth.
4. Paper Plate Mask
Let the kids become the monster!
- Materials: Paper plate, green paint, craft knife (for adults), elastic string.
- How-to: Cut eye holes in the plate. Let the child paint the front green. Add a black paper brow and hair. Punch holes on the sides and tie the elastic string so they can wear their spooky creation.
5. Glowing Mason Jar Lantern
Perfect for a spooky nightlight.
- Materials: Clean jar, green tissue paper (or translucent paint), Mod Podge/glue, battery tea light.
- How-to: Coat the outside of the jar with glue and stick on layers of green tissue paper. Cut a face from black paper and glue it on. Drop the tea light inside to see him glow eerie green!
6. Frankenstein Suncatcher
Catch the last rays of summer sun.
- Materials: Contact paper, green tissue paper squares, black cardstock.
- How-to: Cut a square frame from black cardstock. Place it on the sticky side of the contact paper. Have kids fill the center with green tissue squares. Seal with another sheet of contact paper. Cut out a silhouette face and stick it on top.
7. Painted Rock “Paperweights”
- Materials: Smooth river stone, acrylic paints.
- How-to: Wash the rock and paint it solid green. Use black paint to add the flat-top hair and stitches. These make great doorstops or garden decorations.
8. Green Slime Lab
A sensory craft that mimics the “mad scientist” lab.
- Materials: Clear glue, baking soda, contact lens solution, green food coloring, glitter.
- How-to: Mix 6oz of glue with green dye and glitter. Stir in 1/2 tsp baking soda and 1 tbsp contact solution. Knead until slimy! You can store it in a jar decorated like Frankenstein’s head.
9. Tin Can Pencil Holder
- Materials: Clean tin can (edges taped for safety), green felt or construction paper.
- How-to: Wrap the can in green felt. Glue on button eyes and a felt nose. Use a black pipe cleaner formed into a squiggle for the mouth. It’s a desk accessory that screams “Organized!”
10. Milk Jug Mask
- Materials: Empty plastic gallon jug, scissors, paint.
- How-to: Cut the back off a milk jug so the handle becomes the nose. Paint the entire jug green. The handle makes a perfect 3D nose for a giant monster mask.
11. Frankenstein Bowling
- Materials: 6 empty plastic water bottles, green paint, a ball.
- How-to: Pour a little green paint inside the bottles, cap them, and shake until coated. Draw monster faces on the outside. Set them up like bowling pins and try to knock them down!
12. Origami Corner Bookmark
- Materials: Green square paper, black marker.
- How-to: Fold a classic origami corner bookmark using green paper. Cut a jagged black paper strip for the “hair” at the top corner. Draw eyes and stitches below. It bites onto the page to save your spot!
13. Wooden Spoon Monster
- Materials: Wooden cooking spoon, paint, googly eyes.
- How-to: Paint the back of the spoon green. Paint the handle black for the body. Glue on googly eyes and use black yarn for hair. These can be used as puppets in a theater show.
14. Cupcake Liner Card
- Materials: Green cupcake liner, cardstock.
- How-to: Flatten a green cupcake liner and glue it to a folded card. This is the face. Cut the top third off another black liner for the hair. Add eyes and a message: “I love you frankly very much!”
15. Frankenstein Headband
- Materials: Strip of green paper, stapler, two bottle caps.
- How-to: Measure the paper strip around the child’s head and staple. Glue two gray bottle caps to the sides for “bolts.” Draw stitches all around the band.
16. Paper Cup with Glowing Nose
- Materials: Green paper cup, battery tea light, craft knife.
- How-to: Turn the cup upside down. Cut a small X where the nose should be. Push the “flame” of the tea light through the hole from the inside. Draw the rest of the face around the glowing nose.
17. Handprint Keepsake
- Materials: Green and black paint, white paper.
- How-to: Paint the child’s palm green and their fingers black. Press it onto paper. The fingers become the hair! Once dry, draw a face on the green palm.
18. Puffy Paint Frankenstein
- Materials: Shaving cream, white glue, green food coloring.
- How-to: Mix equal parts shaving cream and glue with green dye. Let kids paint a thick, fluffy monster face on cardstock. When it dries, it remains puffy and 3D!
19. CD/DVD Recycled Monster
- Materials: Old CD, green paper or paint.
- How-to: Cover the shiny side of a CD with green paper (or paint it). The hole in the middle can be the nose! Add cardboard ears and bolts. Attach a string to hang it as a shiny ornament.
20. Giant Trash Bag Yard Monster
- Materials: Large green trash bag (lawn bag), newspapers, permanent marker.
- How-to: Stuff the bag with crumpled newspaper until it’s a giant ball. Tie it closed. Turn it upside down (knot at the bottom). Draw a massive face with a permanent marker. Place it on your front porch to greet neighbors!