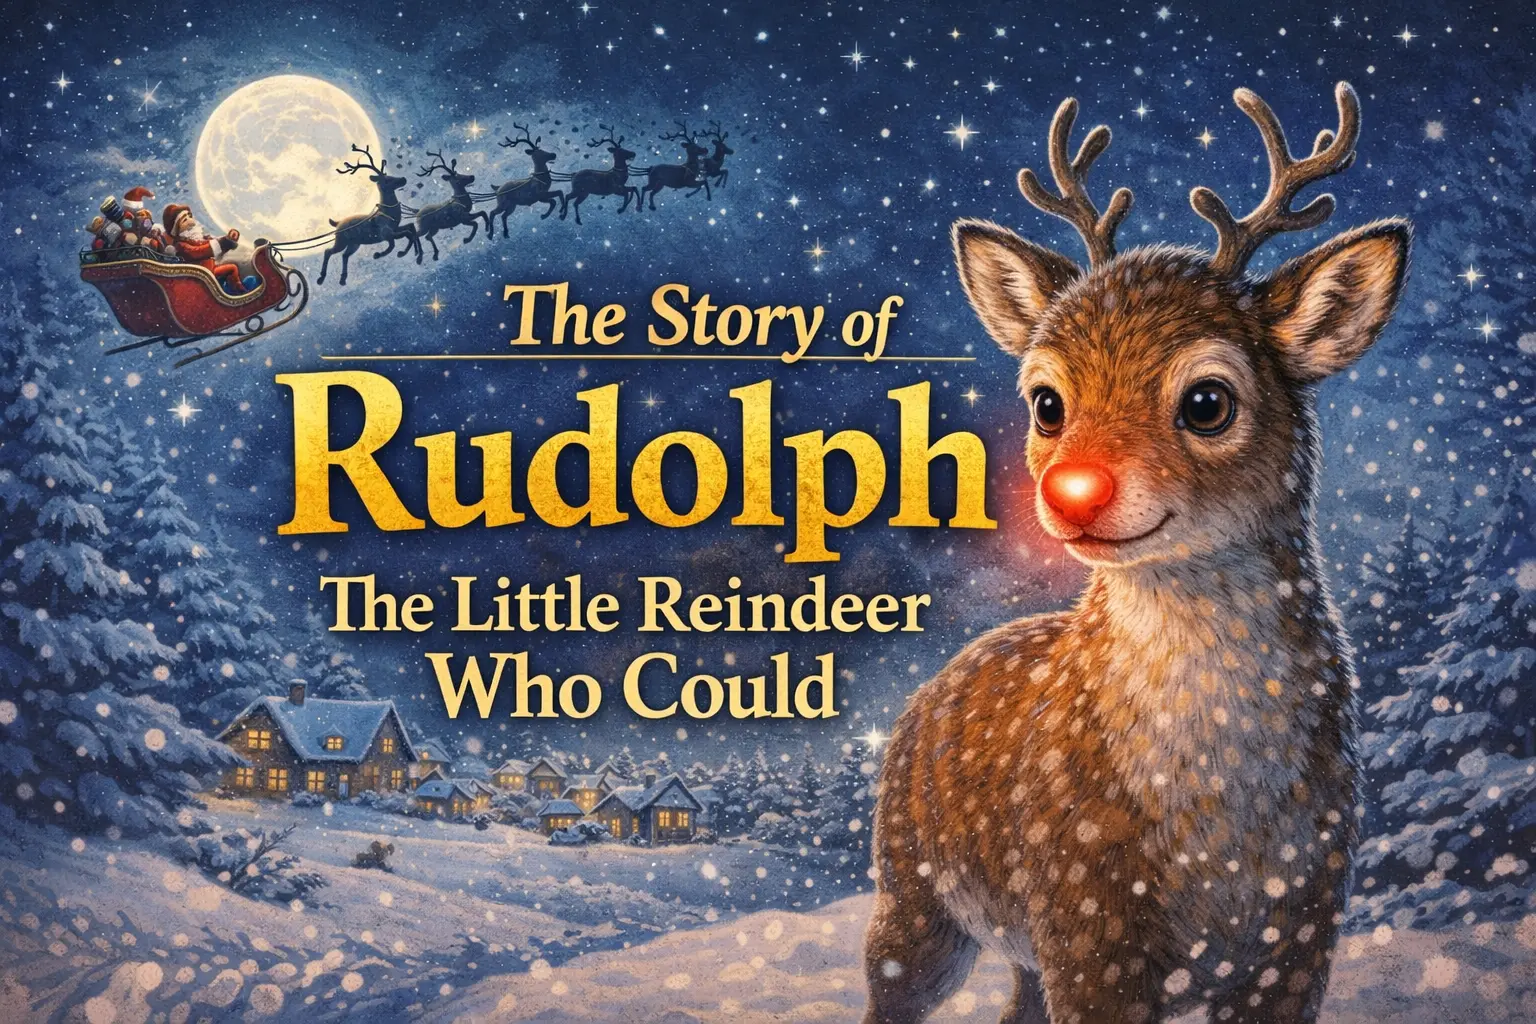
It is a common misconception that Rudolph is the leader of the pack because of his age or seniority. In reality, according to the original lore, Rudolph is actually the youngest of Santa’s reindeer! His story is one of the most powerful lessons we can teach children during the holidays: that the things that make us “different” are often the very things that make us special and capable of saving the day.
Whether your child is a fan of the classic stop-motion films or the catchy song, making a Rudolph craft helps bring that story to life right at the kitchen table.
Why Upcycled Crafts are Best for Families
In an era of high-tech toys, there is a distinct charm in “trash-to-treasure” crafting. Using a simple cardboard tube (toilet paper roll) teaches children several valuable lessons:
- Sustainability: It shows them that items we usually throw away can be repurposed into art.
- Spatial Awareness: Working with a cylindrical shape (3D) is more challenging and rewarding than flat paper crafts (2D).
- Cost-Effectiveness: You don’t need an expensive kit from a craft store. Most of what you need is already in your recycling bin or junk drawer.
DIY Toilet Paper Roll Rudolph Craft Guide
This project is straightforward and high-impact. Below is everything you need to know to get started.
Supplies Required
To make your very own red-nosed reindeer, gather these basic supplies:
- Empty toilet paper roll (one per reindeer)
- Colored craft papers (Brown, dark brown, red, and a festive color for the scarf)
- Pencil (for tracing)
- A pair of scissors (safety scissors for younger kids)
- Craft glue or a glue stick
- Sharpies/Markers (black and white for details)
- Optional: Red pom-pom for a 3D nose
Step-by-Step Instructions
1. Prepare Your Base
Start by covering your cardboard tube with brown craft paper. Measure the height of the roll and wrap the paper around it, securing it with glue. This forms Rudolph’s sturdy body.
2. Create the Head and Face
Using the brown paper, cut out a circular or slightly oval shape for the head. Inside this, you can glue a lighter brown “snout” area. If you are using a template, this is where you would cut out the head and face pieces and layer them together.
3. The Iconic Antlers
No reindeer is complete without antlers! Use a darker shade of brown or even black craft paper to cut out two antler shapes. Glue these to the back of the head so they peek out over the ears.
4. The Famous Red Nose
This is the most important part! You can cut a small circle out of bright red glitter paper or use a simple red marker. For a fun touch, glue a small red pom-pom onto the snout. It gives Rudolph that signature “glow.”
5. Eyes and Cheeks
Add two eyes (you can use googly eyes or draw them with your Sharpie) and two small pink circles for cheeks to give Rudolph a friendly, warm expression.
6. Adding the Winter Scarf
Since it’s cold at the North Pole, Rudolph needs a scarf! Cut a thin strip of patterned or bright green/red paper. Wrap it around the middle of the cardboard tube and let the ends hang down. This adds a beautiful pop of color to the craft.
7. Final Assembly
Glue the finished head onto the top front of the cardboard tube. Hold it in place for a few seconds to ensure the glue sets. Now, your Rudolph is ready to lead Santa’s sleigh!
Educational Integration: Reindeer Facts for Kids
While the kids are busy gluing and cutting, you can share these fun, real-life reindeer facts to turn craft time into a mini-science lesson:
- Built-in Snowshoes: Reindeer have wide hooves that spread out when they walk, acting like natural snowshoes so they don’t sink into the deep snow.
- Clicking Knees: When reindeer walk, their knees actually make a clicking sound! This helps them find each other and stay together during heavy blizzards.
- Antlers for All: Unlike many other deer species, both male and female reindeer grow antlers.
- Cold Weather Experts: Reindeer have hair on their noses to help warm the air before it enters their lungs. (Though real reindeer noses don’t usually glow red!)
Creative Variations to Try
If you want to take your crafting session a step further, consider these variations:
- The Whole Team: Don’t stop at Rudolph! Make eight more reindeer using black noses instead of red. You can write the names—Dasher, Dancer, Prancer, Vixen, Comet, Cupid, Donner, and Blitzen—on their scarves.
- A “Flying” Rudolph: Attach a piece of string or fishing line through the top of the cardboard tube to hang him from the Christmas tree as a handmade ornament.
- Candy Holders: If you fold in the bottom of the toilet paper roll before starting, these reindeer can double as adorable party favor boxes for small holiday treats.
Skills Development Overview
| Feature | Skill Developed |
| Tracing Shapes | Visual-Motor Integration |
| Cutting Antlers | Advanced Scissor Skills (bilateral coordination) |
| Applying Glue | Sensory Processing and Precision |
| Following Steps | Executive Function and Sequential Planning |
Conclusion: Making Memories This Christmas
Holiday crafts like this Toilet Paper Roll Rudolph are about more than just the end result. They are about the smell of glue, the scraps of paper on the floor, and the quiet moments spent together as a family. When you bring these little reindeer out each year as part of your holiday decor, they will serve as a wonderful reminder of the year your child was old enough to “help” Rudolph lead the way.