Here is a comprehensive, SEO-optimized article tailored for high-quality content standards. It uses a conversational, authoritative tone suitable for a parenting or DIY niche, ensuring it meets the 1000+ word requirement without feeling repetitive. 20 Fun and Cute Rainbow Crafts for Kids: The Ultimate St. Patrick’s Day & Spring Guide It’s time to go over the rainbow and discover that pot of gold! Whether you are celebrating St. Patrick’s Day, gearing up for "Find a Rainbow Day," or simply welcoming the fresh vibes of Spring, there is nothing quite as cheerful as a splash of color. Every festival brings with it a great many legends and tales, and St. Patrick’s Day is no different. With shamrocks, leprechauns, and hidden treasures, it is a holiday bursting with storytelling potential. But perhaps the most magical element of all is the rainbow. Scientifically, rainbows appear when sunlight works its magic through raindrops—a perfect metaphor for the arrival of Spring in the northern hemisphere. But for kids, a rainbow is pure magic. It’s a promise of treasure, a burst of joy, and the perfect subject for an afternoon of crafting. In this guide, we have curated 20 Fun and Cute Rainbow Crafts that are perfect for toddlers, preschoolers, and elementary-aged kids. We will dive deep into step-by-step tutorials for the best ones, and provide a mega-list of ideas to keep your little ones busy all season long. Gather your paints, your paper plates, and every color in your craft bin—we are about to make something beautiful! Why Rainbow Crafts Are Important for Development Before we jump into the glue and glitter, let’s talk about why these crafts are such a "pot of gold" for your child’s development. It isn't just about making something pretty; rainbow crafts are powerhouse educational tools. 1. Color Recognition and Theory For toddlers, a rainbow is the ultimate lesson in color identification. Sorting materials into the classic "ROYGBIV" (Red, Orange, Yellow, Green, Blue, Indigo, Violet) order helps reinforce color names and visual discrimination. 2. Fine Motor Skills Many of the crafts listed below involve pincer grasps (picking up small items), cutting with scissors, or threading beads. These small movements strengthen the hand muscles required for writing later in life. 3. Sensory Exploration Rainbows lend themselves to texture. From fluffy cotton ball clouds to smooth buttons and sticky glue, these projects engage multiple senses, which is crucial for early childhood brain development. The Essential Rainbow Craft Toolkit You don’t need expensive supplies to create these masterpieces. In fact, you probably have most of these items in your "junk drawer" or craft bin right now. Here is your checklist: Paper Plates: The classic semi-circle base for almost any rainbow craft. Cotton Balls: Essential for making fluffy clouds. Pom Poms: Great for texture and color sorting. Pipe Cleaners: Perfect for arching shapes and fine motor threading. Tissue Paper: Ideal for suncatchers and "bleeding" color art. Construction Paper: A staple for mosaics and paper chains. Glue: Both stick glue (for paper) and liquid school glue (for heavier items like buttons/pasta) are needed. Top 5 "Hero" Rainbow Crafts (Step-by-Step) Here are detailed instructions for five of our favorite rainbow projects. These are tried-and-true winners for classrooms and kitchen tables alike. 1. The Pom Pom Rainbow Challenge Best for: Preschoolers and Fine Motor Practice This is more than just a craft; it is a dexterity challenge. Supplies: A piece of cardboard or heavy cardstock, a bag of multi-colored pom poms, liquid glue, and tweezers (optional). The Method: Draw an arch on the cardboard and outline the "lanes" for each color. Apply a generous amount of glue to one lane at a time. Ask your child to pick up the pom poms—using tweezers for an extra challenge—and place them in the correct color lane. Why we love it: It keeps kids quiet and focused! The act of picking and placing requires concentration and hand-eye coordination. 2. The 3D Paper Plate Rainbow Best for: Toddlers and Quick Wins Supplies: A paper plate, paint (all rainbow colors), cotton balls, and a stapler. The Method: Cut a paper plate in half. Let your child paint arches of different colors on the plate. It doesn’t have to be perfect—abstract rainbows are beautiful too! Once the paint dries, glue a handful of cotton balls to the bottom of each side of the arch to represent clouds. The Twist: Punch a hole in the top and thread a string through it to hang it from the ceiling. It spins beautifully! 3. Tissue Paper Suncatcher Best for: Older kids and Room Decor Supplies: Contact paper (clear sticky shelf liner), black construction paper, and tissue paper cut into small squares. The Method: Cut a "frame" in the shape of a rainbow out of the black paper (an outline). Place this onto the sticky side of a sheet of contact paper. Let your child stick the tissue paper squares onto the sticky surface inside the frame. When they are done, seal it with another sheet of contact paper and cut out the rainbow shape. The Result: Tape this to a window. When the sun hits it, it looks like stained glass! 4. The Rainbow Wind Spinner Best for: Outdoor Play Supplies: An empty toilet paper roll, blue paint, and streamers (crepe paper) in rainbow colors. The Method: Paint the toilet paper roll blue (like the sky) and glue cotton balls on it. Cut long strips of crepe paper—one for each color of the rainbow. Glue or staple these strips to the bottom inside edge of the roll. punch two holes at the top for a handle. How to Play: Take it outside on a windy day and watch the rainbow colors dance in the breeze! 5. "Pot of Gold" Chain Link Countdown Best for: St. Patrick's Day Anticipation Supplies: Colored paper strips, a black plastic pot (or a black paper cup), and gold glitter. The Method: Create a paper chain by looping strips of colored paper together. Connect the red to the orange, orange to yellow, and so on. At the very end of the purple link, attach a black paper "pot." You can fill the pot with chocolate gold coins or simply glittery yellow paper circles. The Mega List: 15 More Rainbow Craft Ideas To round out our list of 20, here are 15 more quick-fire ideas. These are perfect for when you need a 10-minute activity to fill the gap before dinner. Q-Tip Painting: Don't have brushes? Bundle 5-6 Q-tips together with a rubber band, dip them in different paint colors, and swipe them across the page to make an instant rainbow. Rainbow Pasta Necklaces: Dye dry penne pasta using rubbing alcohol and food coloring. Once dry, thread them onto yarn. Coffee Filter Science: Draw a circle with washable markers on a coffee filter. Spray it with water and watch the colors bleed and blend into a tie-dye rainbow. Handprint Rainbow: Paint your child's hand in stripes of paint and stamp it onto paper. The palm is the cloud, and the fingers are the rainbow rays. Rainbow Slime: Make clear slime and separate it into bowls. Add glitter and color to each, then swirl them together for a sensory experience. Button Mosaic: Similar to the pom pom craft, but using old buttons. This is great for older kids who can handle smaller objects. Rainbow Salt Tray: Pour salt into a tray. Place a rainbow-colored paper underneath the clear bottom of the tray. When the child traces their finger in the salt, the rainbow colors appear! Popsicle Stick Puzzle: Line up 7 popsicle sticks and paint a rainbow across them. Once dry, mix them up and have the child put the puzzle back together. Rainbow Rain Stick: Use a paper towel tube, fill it with rice, and seal the ends. Decorate the outside with rainbow washi tape. Shaving Cream Marbled Art: Spray shaving cream in a pan, drop food coloring in, and swirl with a toothpick. Press paper onto the foam to pick up a marbled rainbow print. Lego Rainbow: Challenge your kids to build a bridge or arch using only their Lego bricks in ROYGBIV order. Fruit Loop Rainbow: A classic edible craft. Glue Fruit Loop cereal onto a paper page (or string them up). Just try not to eat too many! Rainbow Rocks: Go for a nature walk, find smooth rocks, and paint them with stripes. Hide them around the neighborhood for others to find. Paper Strip 3D Arches: Cut strips of colored paper in varying lengths (red longest, purple shortest). Staple the ends together so they bow out, creating a standing 3D rainbow. Rainbow Wreath: Cut the center out of a paper plate. Glue scrunched-up balls of colored tissue paper all around the ring to create a fluffy rainbow door hanger. Bringing the Legend to Life While crafting, take the opportunity to tell the stories associated with these symbols. If you are making the Pot of Gold crafts, tell the story of the Leprechauns—the mischievous fairies of Irish folklore who mend shoes and hide their gold at the end of the rainbow. Ask your children questions to spark their imagination: "If you found a pot of gold, what would you spend it on?" "Do you think leprechauns are friendly or tricky?" "Why do you think the sky makes rainbows after it rains?" These conversations turn a simple gluing activity into a bonding moment and a lesson in storytelling. Conclusion: A Season of Color We hope this list of 20 Fun and Cute Rainbow Crafts inspires you to get creative this St. Patrick’s Day. Whether you are building a complex leprechaun trap or simply scribbling colors with crayons, the goal is the same: to celebrate the beauty of the season and the joy of creating something with your hands. Global Recycling Day and Earth Day are also around the corner, so don't forget that many of these crafts can be made with recycled materials like egg cartons, cardboard boxes, and old newspapers. So, go ahead! Catch a sight of that rainbow—even if you have to make it yourself with paint and paper. It is a treasure no less valuable than a pot of gold.

Trash to Treasure: The Ultimate Guide to Recycled Crafts for Kids to Make, Play, and Gift

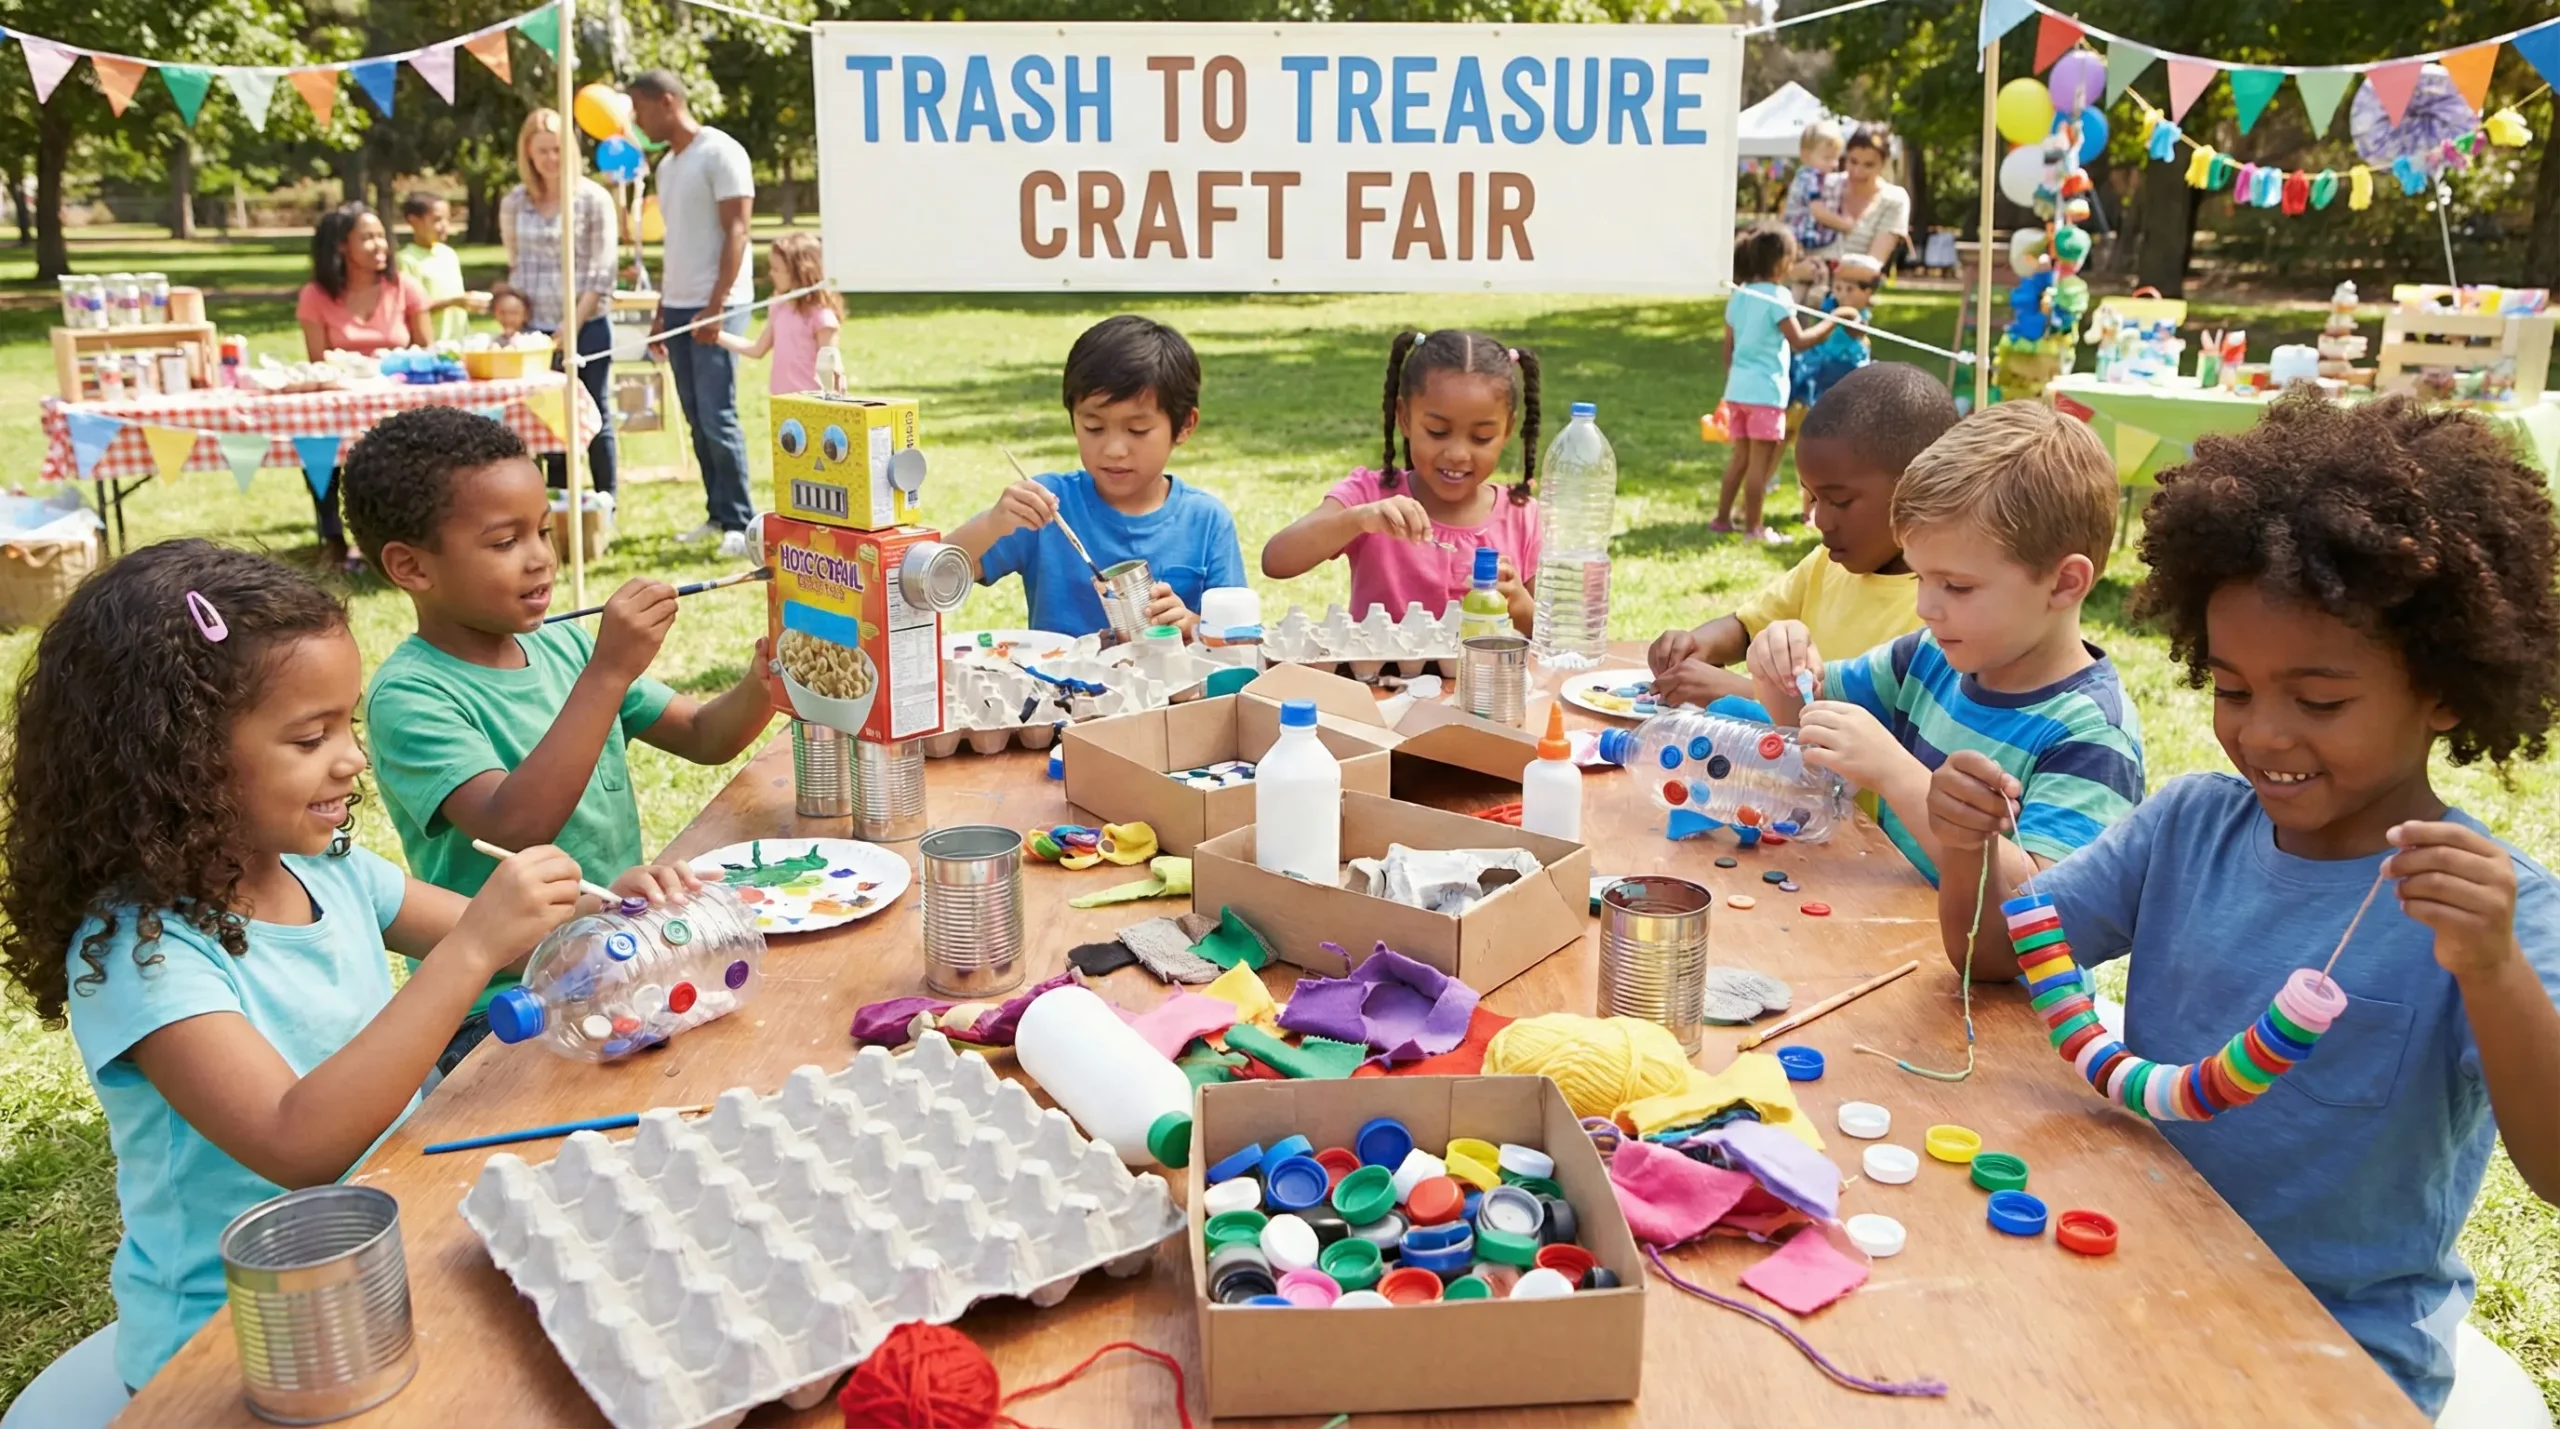
How do we turn trash into treasure and do our bit for the environment? It starts right at the kitchen table.

In a world where the headlines are dominated by climate crises—from the Arctic blast to untimely rains causing floods and destroying crops, or soaring temperatures that make summer unbearable—it has never been more critical to teach the next generation about sustainability. But let’s be honest: lecturing kids about carbon footprints isn’t nearly as effective as showing them how to turn a piece of “garbage” into a brand-new toy.

Welcome to the ultimate guide for recycled crafts for kids. We believe that you don’t need a specific day to start recycling, but these projects are the perfect way to spread awareness on Global Recycling Day (March 18th), Earth Day (April 22nd), or World Environment Day (June 5th).

Have you ever stopped to weigh how much trash your family generates in a single day? You can probably eyeball the figure just by looking at how quickly the kitchen bin fills up. Now, what if I told you that you could put a significant portion of that waste to good use?

Those used egg cartons, plastic eggs left over from Easter, empty tin cans, and Styrofoam takeout containers can all be transformed. With a little imagination and some glue, trash becomes treasure. It’s time to gather your friends, raid the recycling bin, and get your craft supplies ready.

Below, we dive into creative categories and specific tutorials to help you get started on your eco-friendly journey.

Why Recycled Crafting Matters

Before we jump into the glue and glitter, it is important to understand the why. Crafting with recycled materials isn’t just about saving money on art supplies (though that is a huge bonus). It is about shifting a mindset.

When a child looks at an empty tin can and sees a potential pencil holder rather than garbage, they are learning resourcefulness. They are learning that materials have a lifecycle that extends beyond their initial use. This “reuse” mentality is the cornerstone of sustainable living. Plus, it fosters creativity. When you aren’t limited by a pre-packaged craft kit, your imagination has to work harder to see the possibilities in a cardboard box.

Part 1: Plastic Egg Transformations

Don’t toss those colorful plastic shells!

Plastic eggs are often used once for a hunt and then discarded. However, their smooth shape and bright colors make them the perfect base for creating little critters. Here are four specific ways to turn those plastic shells into adorable toys.

1. The Plastic Egg Whale

This is a fan favorite because it is incredibly simple yet looks striking.

  • What you need: A blue plastic egg, blue cardstock, a black marker, and a pipe cleaner (white or blue).
  • How to make it: Use the blue plastic egg as the body. Cut a tail and fins out of the blue cardstock and glue them to the sides and back of the egg. The “spout” is the most important detail: poke a small hole in the top (or use an existing one if your egg has it) and insert a small bunch of pipe cleaners to look like water spraying out. Draw a smile and eyes, and you have a realistic little whale ready to swim across the table.

2. The Plastic Egg Frog

“Ribbit, ribbit!” Who is that jumping on the lily pad?

  • What you need: A green plastic egg, green pom-poms, googly eyes, green cardstock, and red paper.
  • How to make it: Turn the egg on its side. Glue two green pom-poms on top of the egg to create the mounds for the eyes, then stick googly eyes onto the pom-poms for that characteristic bulging frog look. Cut out feet from the green cardstock and glue them to the bottom so the frog sits up. Finally, curl a thin strip of red paper to represent a long, catching tongue.

3. The Plastic Egg Bird

This craft is perfect for spring lessons about animal babies or just for adding a splash of color to a room.

  • What you need: Plastic eggs (any color), real or faux feathers, orange felt, and markers.
  • How to make it: This is where kids can mix and match. A pink body with yellow feathers? Why not! Glue feathers to the sides for wings and one at the back for a tail. Cut a small diamond shape out of orange felt, fold it in half, and glue it on for a beak. The best part about this project is creating a whole flock of “Birds of Paradise” in different colors.

4. The Plastic Egg Alien

The aliens have landed—and they are adorable.

  • What you need: Neon-colored plastic eggs, pipe cleaners, googly eyes (various sizes), and sequins.
  • How to make it: This project is great for using up mismatched egg halves. Combine a pink top with a green bottom for a funky look. Use pipe cleaners to create antennas—twist them, curl them, or make them zig-zag. You can add three eyes, one big eye, or six small ones. There are no rules in space!

Part 2: Tin Can Alley

From the pantry to the craft room.

Steel and tin cans are durable, hold their shape well, and are abundant in most households. Safety Tip: Always ensure the cans are washed thoroughly and use a safety can opener to ensure there are no sharp edges before giving them to children.

Tin Can Drums

Turn a soup can into a musical instrument.

  • The Method: Remove the label and paint the can in bright, geometric patterns. Take a sturdy balloon, cut off the nozzle, and stretch the remaining rubber tightly over the open top of the can. Secure it with a rubber band or strong tape. Kids can use chopsticks or wooden dowels as drumsticks. It’s noisy, fun, and totally free.

The Upcycled Pen Holder

Why buy a plastic organizer when you can make a custom one?

  • The Method: This is a great project for older kids who want to decorate their desks. Wrap the can in wrapping paper, fabric, or decorate it with Washi tape. You can even glue several cans together in a honeycomb pattern (laying flat or standing up) to organize markers, pencils, and scissors separately.

Tin Can Planters

Teach biology and recycling simultaneously.

  • The Method: Poke a few holes in the bottom of a clean can using a hammer and nail (adult supervision required). Let the kids paint the outside to look like a bug, a face, or abstract art. Fill it with soil and plant a seed. It’s a science experiment and a craft rolled into one.

Part 3: Egg Carton Creativity

Smart recycling for smart kids.

Egg cartons are incredibly versatile. The shape of the cups naturally lends itself to 3D art. Whether you have cardboard or Styrofoam cartons, don’t throw them out.

Egg Carton Flowers

These flowers never wilt and make beautiful 3D greeting cards.

  • The Idea: Cut out the individual cups. Trim the edges to look like petals—you can make them rounded for a daisy look or pointy for a tulip look. Paint them bright colors (acrylic paint works best on Styrofoam). Punch a hole in the center and thread a green pipe cleaner through for a stem. A bouquet of these makes a heartwarming Mother’s Day gift.

The Egg Carton Boat

  • The Idea: The deep cups of an egg carton are perfect for floating. Cut a section of two cups (for a catamaran) or a single cup. Use a toothpick and a small triangle of paper to make a sail. Note: If using cardboard cartons, these won’t float for long, but Styrofoam ones work great in the bathtub!

Character Masks and Darth Vader

  • The Idea: Because the cups protrude, they look like snouts, noses, or masks. You can paint a section black, add details, and turn it into the breathing apparatus of Darth Vader, or paint it pink to make a pig snout mask tied on with elastic.

Part 4: The Mega List – 100+ Ideas at a Glance

To truly hit that “100+” mark, you need to look at every piece of trash as a component. Here is a rapid-fire list of categories and ideas to inspire your next session.

Cardboard Box Creations

  • Cardboard Castles: Use large shipping boxes.
  • DIY Guitars: Tissue boxes with rubber bands.
  • Marble Run: Strips of cardboard glued as ramps.
  • Shadow Puppet Theater: A cereal box with a cutout screen.
  • Pizza Box Laptop: For pretend play.

Toilet Paper Roll Crafts

  • Binoculars: Two rolls taped together with a string neck strap.
  • Fire-breathing Dragons: A roll painted green with crepe paper streamers at the mouth.
  • Race Cars: Cut a hole for the “seat” and add bottle cap wheels.
  • Butterflies: The roll is the body; cardboard wings are attached to the back.
  • Seed Starters: Fold the bottom in; they are biodegradable!

Plastic Bottle Projects

  • Sensory Bottles: Fill with water, glitter, and food coloring.
  • Bird Feeders: Cut a hole, insert a wooden spoon for a perch, and fill with seed.
  • Bowling Pins: Paint 10 bottles and use a tennis ball to knock them down.
  • Jet Packs: Spray paint two 2-liter bottles silver and strap them to a kid’s back.

Old CD/DVD Art

  • Suncatchers: Scratch off the foil or paint over them; they reflect light beautifully.
  • Spinning Tops: Glue a marble to the center hole.
  • Mosaic Tiles: (For older kids) Cut old CDs into shards to make shiny mosaic frames.

Conclusion: Start Your Collection Today

We hope this list has sparked a fire in your imagination. The next time you go to throw something away, pause for a second. Ask yourself (or your kids): “Can this be a whale? A drum? A jetpack?”

By integrating these recycled crafts into your playtime, you aren’t just making toys—you are instilling a lifelong respect for the environment. You are teaching the next generation that we have the power to reduce waste and create beauty in the process.

Leave a Reply

Your email address will not be published. Required fields are marked *